Prepare Jars: Examine all jars for cracks or chips and discard any damaged jars. Wash jars and rings in hot soapy water, rinse thoroughly, and keep jars hot in a 180°F oven or simmering water until ready to fill.
Heat Lids: Place new canning lids in a small saucepan, cover with hot water at 180°F, and keep hot until ready to use. Do not boil lids as this may damage the sealing compound.
Ready Canner: Add 2-3 inches of water to your pressure canner and place the rack inside. Begin heating the canner while preparing the beans to save time during processing.
Prepare and Cook Beans: Sort and rinse dried beans, removing any stones or damaged beans. Soak beans overnight in water covering by 2 inches, or quick-soak by boiling for 2 minutes then standing 1 hour. Drain soaked beans, cover with fresh water, and boil gently for 30 minutes until tender but not mushy.
Make Sauce: In a large pot, combine molasses, brown sugar, tomato paste, mustard, chopped onion, salt, and pepper. Mix thoroughly and cook over medium heat for 5 minutes, stirring constantly to prevent sticking and blend flavors.
Combine Beans and Sauce: Drain cooked beans, reserving cooking liquid. Add hot beans to the sauce mixture and stir gently to coat evenly. Add enough hot water or reserved bean cooking liquid to make the mixture soupy, as liquid will be absorbed during processing.
Heat Mixture: Bring the bean and sauce mixture to a boil, stirring gently to prevent sticking. Maintain heat throughout filling process to ensure beans are very hot when packed into jars for safe processing temperatures.
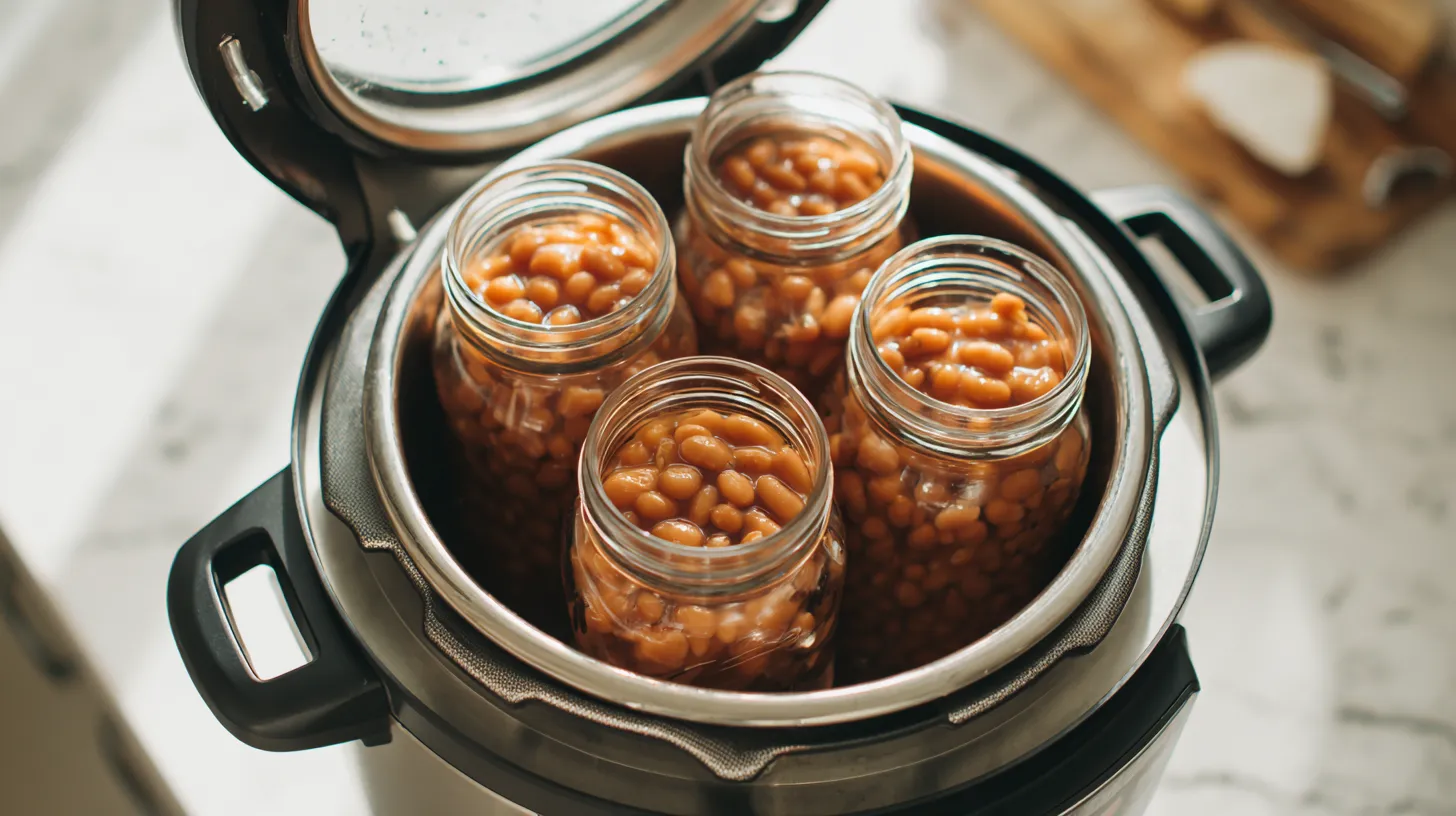
Fill Jars: Using a ladle and wide-mouth funnel, fill hot jars with bean mixture, distributing beans and liquid evenly. Leave exactly 1 inch headspace from the rim of each jar, ensuring proper liquid coverage of beans.
Remove Air and Seal: Remove air bubbles by running a plastic tool around the inside of each jar, adjusting liquid level as needed to maintain 1 inch headspace. Wipe jar rims thoroughly with a clean, damp cloth and center hot lids on jars with rings finger-tight only.
Process Under Pressure: Place filled jars on the canner rack using a jar lifter, ensuring jars do not touch each other. Lock canner lid in place, heat until steam vents steadily for 10 minutes, then place pressure regulator on vent and process at 11 pounds pressure for 80 minutes for pints or 100 minutes for quarts. Adjust pressure for altitude: 1,001-2,000 feet use 11 lbs, 2,001-4,000 feet use 12 lbs, 4,001-6,000 feet use 13 lbs, 6,001-8,000 feet use 14 lbs. After processing, turn off heat and let pressure return to zero naturally before opening canner.