Prepare Jars: Examine all jars for cracks or chips and discard any damaged jars. Wash jars and rings in hot soapy water, rinse thoroughly, and keep jars hot in a 180°F oven or hot water until ready to fill.
Heat Lids and Syrup: Place new canning lids in a small saucepan with hot water at 180°F and keep hot until ready to use. In another large pot, combine sugar and water for syrup, bring to a boil, and keep hot throughout packing process.
Prepare Canner: Fill your boiling water bath canner with enough water to cover jars by 1-2 inches when submerged. Begin heating water to a rolling boil while preparing apples.
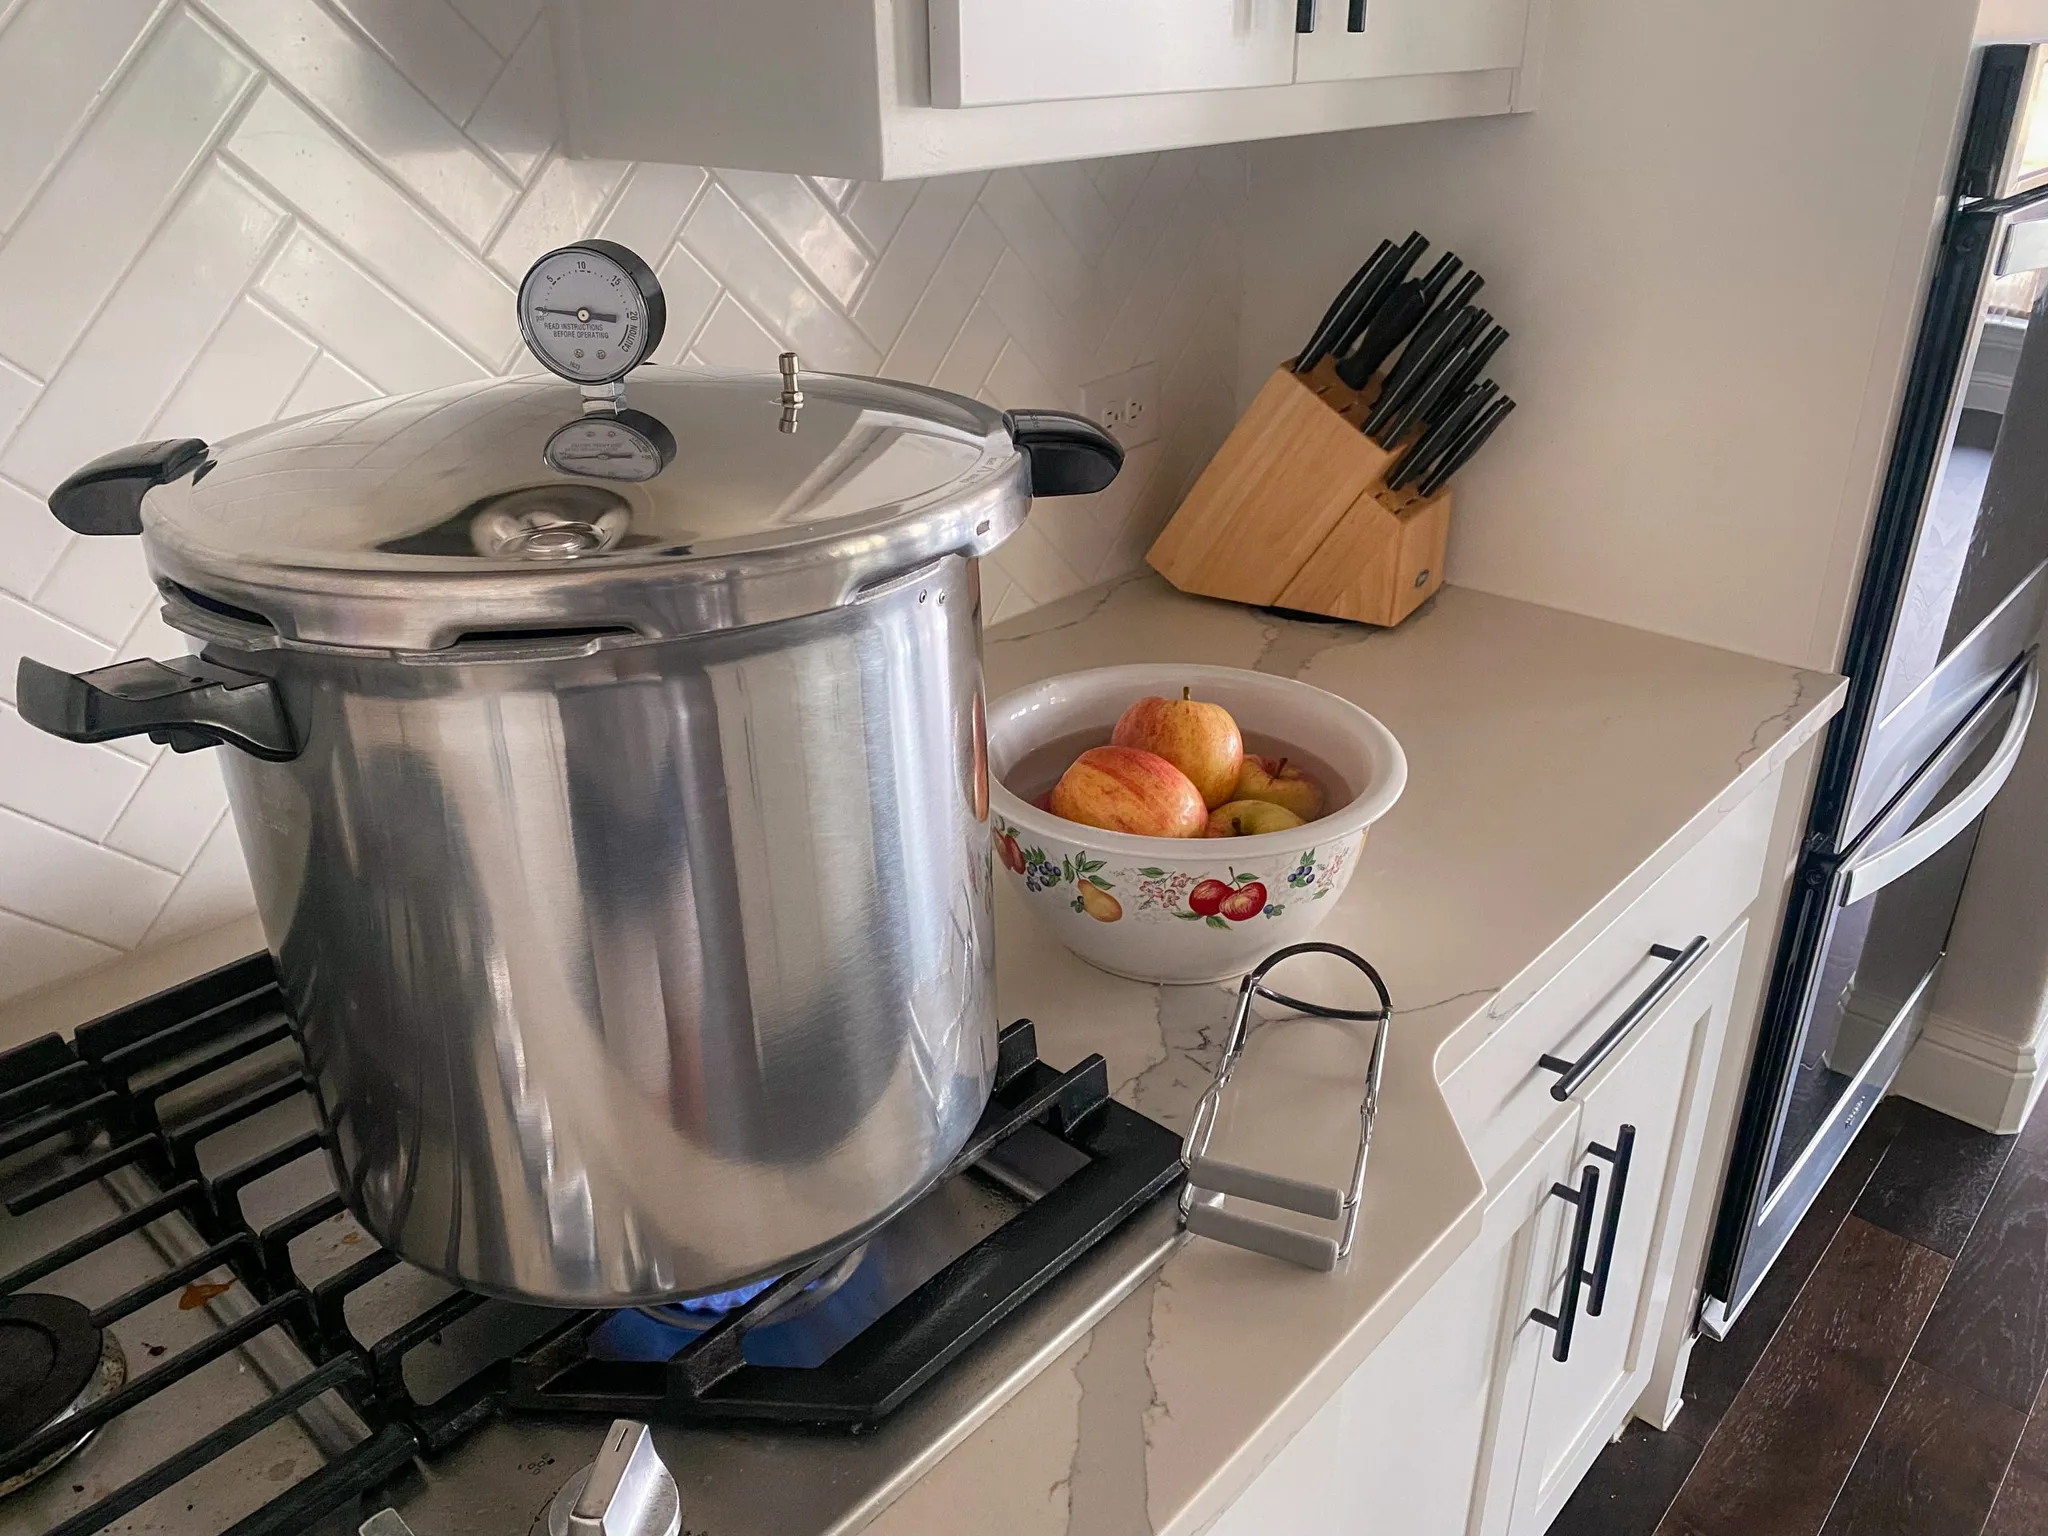
Prepare Anti-Browning Solution: Fill a large bowl with 1 gallon of water and add 3 tablespoons ascorbic acid or 1/2 cup lemon juice. Stir to dissolve completely and keep solution ready for treating cut apples immediately.
Prepare Apple Slices: Wash, core, and peel apples, then cut into uniform slices approximately 1/2 inch thick. Immediately drop prepared apple slices into the anti-browning solution to prevent oxidation and maintain attractive appearance.
Blanch Apple Slices: Working in batches, remove apple slices from anti-browning solution and blanch in boiling water for 5 minutes to soften slightly and remove air from tissues. This hot pack method produces better quality and color retention.
Pack Hot Apples: Using a slotted spoon, pack hot blanched apple slices into hot jars, leaving 1/2 inch headspace. Arrange slices compactly but do not press down firmly as this can damage fruit texture.
Add Hot Syrup: Cover packed apple slices with boiling syrup, maintaining the 1/2 inch headspace and ensuring liquid covers fruit completely. The syrup helps maintain fruit texture and color during storage.
Remove Air and Seal: Remove air bubbles by running a plastic tool around the inside of each jar, adjusting syrup level as needed to maintain proper headspace. Wipe jar rims thoroughly with a clean, damp cloth and center hot lids on jars with rings finger-tight only.
Process in Water Bath: Using jar lifter, place filled jars on canner rack and lower into boiling water, ensuring jars are covered by 1-2 inches of water. Process pint jars for 20 minutes or quart jars for 25 minutes, adjusting for altitude: add 5 minutes for 1,001-3,000 feet, add 10 minutes for 3,001-6,000 feet, add 15 minutes for above 6,000 feet. Remove jars and cool undisturbed on a towel for 12-24 hours.