I'm a former tech executive who traded a corporate paycheck for a paid off house, homeschooled kids, and a family that hasn't needed the grocery store the same way in years - all from a suburban ranch home with no farm (yet).
Hi! I'm Janiece
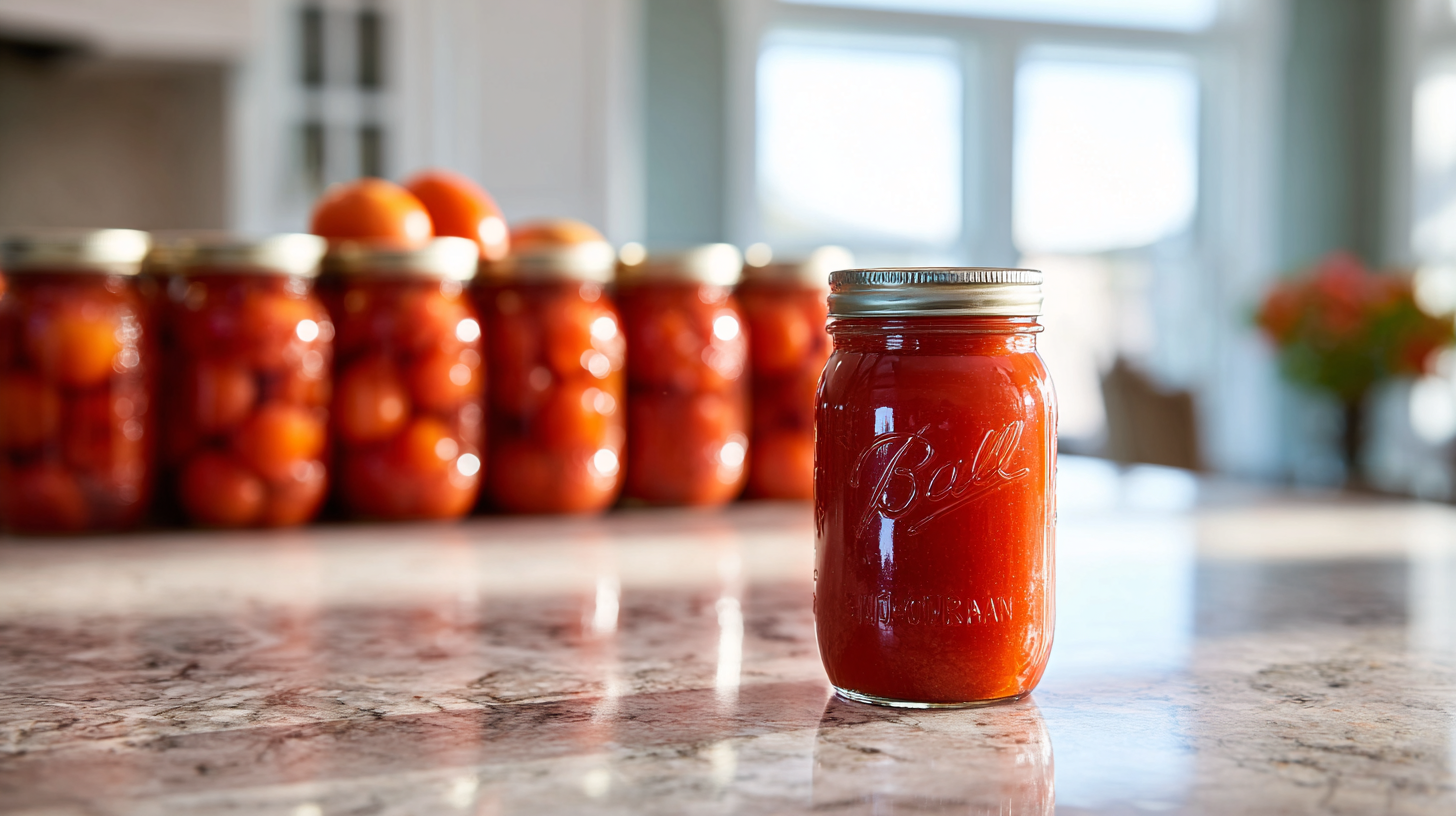
There’s something deeply satisfying about opening a jar of homemade tomato sauce in the dead of winter and tasting that burst of summer sunshine. I remember the first time my grandmother taught me how to can tomato sauce—her kitchen filled with the rich aroma of simmering tomatoes, steam rising from bubbling pots, and rows of gleaming mason jars waiting to be filled. It felt like magic, transforming our garden’s bounty into shelf-stable treasures that would nourish us for months to come.
Canning tomato sauce isn’t just about preserving food; it’s about preserving tradition, saving money, and taking control of what goes into your family’s meals. But here’s the thing—safety absolutely must come first. When done incorrectly, home canning can pose serious health risks, including botulism. That’s why I’m going to walk you through every step of the process, ensuring you can enjoy delicious, safe tomato sauce all year long.
Why Can Tomato Sauce at Home?
Before diving into the how-to, let’s talk about the why. Home-canned tomato sauce offers incredible advantages over store-bought versions. You control every ingredient—no mysterious preservatives, excess sodium, or added sugars unless you choose to include them. The flavor is unmatched, capturing the peak ripeness of tomatoes at their absolute best.
From a financial perspective, canning your own sauce makes tremendous sense. A single tomato plant can yield 10-15 pounds of fruit, and when tomatoes are in season, they’re often available at farmers markets for a fraction of grocery store prices. One canning session can stock your pantry for an entire year.
Essential Equipment for Safe Canning
Having the right equipment isn’t optional—it’s crucial for safe canning. Here’s what you’ll need:
Must-Have Canning Equipment
A water bath canner or large stock pot with a tight-fitting lid forms the foundation of your setup. You’ll need a canning rack to keep jars off the pot’s bottom, preventing breakage and ensuring proper heat circulation. Invest in quality mason jars—Ball or Kerr brands are reliable choices. Always use new lids for each canning session, though rings can be reused if they’re rust-free and undamaged.
A jar lifter will save your hands from burns and make the process much safer. A canning funnel prevents spills and keeps jar rims clean, while a bubble removal tool helps eliminate air pockets that could compromise seal quality.
Additional Helpful Tools
A large, heavy-bottomed pot for cooking your sauce prevents scorching. A food mill or immersion blender helps achieve your desired consistency. Keep clean kitchen towels handy, and a timer ensures precise processing times.
Selecting and Preparing Tomatoes
The foundation of excellent canned tomato sauce begins with choosing the right tomatoes. Not all varieties are created equal for canning purposes.
Best Tomato Varieties for Sauce
Paste tomatoes like San Marzano, Roma, or Amish Paste work beautifully because they’re naturally lower in water content and higher in flesh. These varieties create thick, rich sauces without requiring excessive cooking time to reduce moisture.
If you’re growing your own tomatoes, harvest them at peak ripeness—they should be fully colored but still firm. Overripe tomatoes can reduce the acidity level, which is critical for safe water bath canning.
Preparation Steps
Start by washing your tomatoes thoroughly under cold running water. Remove any stems, blemishes, or soft spots. To remove skins easily, score an “X” on the bottom of each tomato and blanch them in boiling water for 30-60 seconds, then immediately transfer to an ice bath. The skins will slip right off.
Core the tomatoes and remove seeds if you prefer a smoother sauce. Some people enjoy a chunkier texture and leave the seeds in—both approaches work perfectly fine.
How to Make Tomato Sauce for Canning
Creating the perfect tomato sauce for canning requires balancing flavor development with safety requirements.
Basic Tomato Sauce Recipe
For every 20 pounds of prepared tomatoes, you’ll create approximately 7-9 quarts of sauce. Crush the tomatoes by hand or run them through a food mill to achieve your preferred consistency. Heat the crushed tomatoes in your large pot, stirring frequently to prevent sticking.
Simmer the mixture until it reaches your desired thickness—typically 1-2 hours depending on the water content of your tomatoes and how thick you prefer your sauce. Season sparingly during cooking, as flavors will concentrate as moisture evaporates.
Critical Safety Addition
Here’s the non-negotiable safety requirement: you must add acid to ensure safe water bath canning. Add 2 tablespoons of bottled lemon juice or ½ teaspoon of citric acid per quart jar, or 1 tablespoon of bottled lemon juice or ¼ teaspoon of citric acid per pint jar. Never use fresh lemon juice, as its acidity can vary significantly.
Step-by-Step Canning Process
Now comes the exciting part—actually canning your sauce. This process requires attention to detail and precise timing.
Preparing Your Equipment
Fill your water bath canner with enough water to cover your jars by 1-2 inches. Begin heating the water while you prepare your sauce. Wash your jars and lids in hot, soapy water, then keep them hot until ready to use. You can run them through the dishwasher or keep them in a pot of hot water.
Filling and Processing Jars
Ladle your hot sauce into hot jars, leaving ½ inch of headspace at the top. Add your required acid (lemon juice or citric acid) to each jar. Run a bubble removal tool or clean knife around the inside edge to release trapped air bubbles, which could prevent proper sealing.
Wipe jar rims clean with a damp cloth—any residue can prevent proper sealing. Center the lids on jars and apply rings, tightening them fingertip-tight. Don’t over-tighten, as air needs to escape during processing.
Water Bath Processing
Using your jar lifter, carefully lower filled jars into the boiling water bath. Ensure water covers jars by 1-2 inches. Once water returns to a rolling boil, start timing. Process pint jars for 35 minutes and quart jars for 40 minutes, adjusting for altitude as needed.
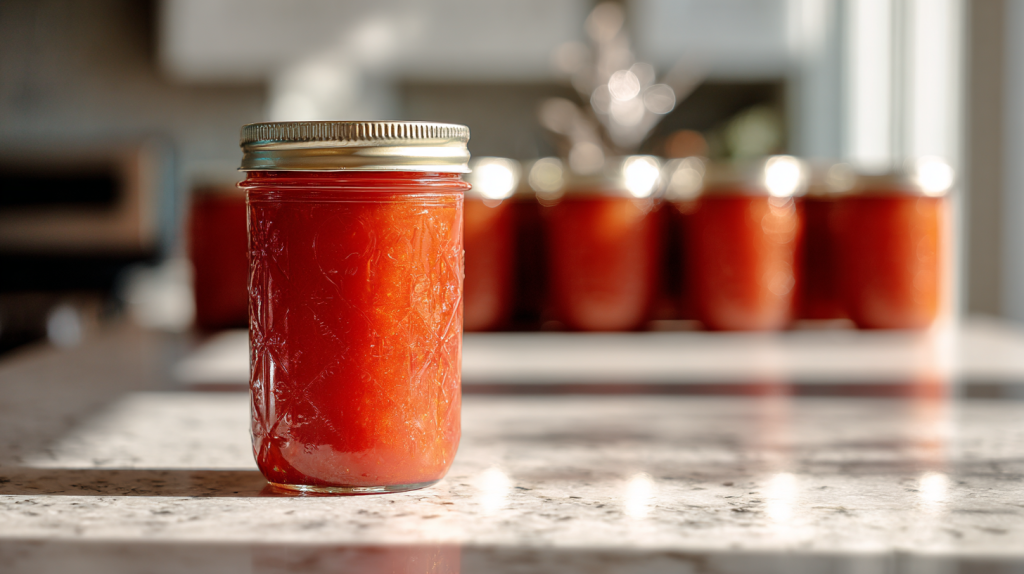
Testing Seals and Storage
After processing, carefully remove jars and place them on a towel-lined counter. You’ll hear the satisfying “ping” of lids sealing as they cool. Let jars sit undisturbed for 12-24 hours.
Checking Seal Quality
Press the center of each lid—properly sealed lids won’t flex or make a popping sound. Any jars that failed to seal should be refrigerated and used within a week or reprocessed with new lids within 24 hours.
Successfully sealed jars can be stored in a cool, dark place for up to one year. Remove the rings before storage to prevent rust, and label your jars with contents and date.
How To Can Tomato Sauce
Learn how to can tomato sauce safely with our complete step-by-step guide. Discover essential equipment, safety tips, and preserve summer's bounty year-round.
Water bath canner or large stock pot with tight-fitting lid
Canning rack
Mason jars (pint or quart size)
New canning lids and rings
Jar lifter
Method
Inspect mason jars for cracks or chips, then wash them and keep them hot until ready to use.
Wash new lids and rings with hot, soapy water.
Fill your water bath canner with enough water to cover jars by 1-2 inches and begin heating.
Remove tomato skins by blanching in boiling water, then core and crush the tomatoes. Place crushed tomatoes in a large pot, bring to a boil, and simmer until thickened, stirring often.
Add bottled lemon juice or citric acid to each hot jar to ensure safe acidity.
Fill hot jars with hot tomato sauce, leaving ½ inch headspace; remove air bubbles and wipe rims clean.
Apply lids and rings fingertip-tight, then place jars in the canner and process (pints: 35 min; quarts: 40 min, plus altitude adjustments as needed).
Remove jars, cool undisturbed for 12-24 hours, check seals, then label and store in a cool, dark place.
Notes
Never skip the acid addition—this ensures safe pH levels for water bath canning
Use only bottled lemon juice or citric acid—fresh lemon juice acidity varies
Follow processing times exactly—insufficient processing can lead to spoilage or illness
Any unsealed jars must be refrigerated and used within one week
If liquid is lost during processing, jars are still safe as long as they sealed properly
Troubleshooting Common Issues
Even experienced canners occasionally encounter problems. Liquid loss during processing is common and doesn’t affect safety as long as jars sealed properly. Separation of liquid and solids is purely cosmetic—simply stir before using.
If your sauce seems too thin, you can always simmer it longer before serving. Too thick? Add a bit of water or broth when reheating.
Take Your Food Independence to the Next Level
Learning to can tomato sauce connects you to generations of home preservers who understood the value of food security and self-reliance. This skill represents far more than just saving money it’s about taking control of your family’s nutrition and building resilience in an uncertain world.
Every jar you fill carries forward the wisdom of those who came before us, preserving not just tomatoes but the knowledge that has sustained families through countless seasons. Whether you’re motivated by health, economics, or the simple satisfaction of creating something with your own hands, canning represents a powerful step toward true food independence.
Start with this basic tomato sauce recipe, then expand your skills to include salsa, whole tomatoes, and other garden favorites. Each successful batch builds confidence and connects you more deeply to the food that nourishes your family. The generational knowledge of home preservation is too valuable to lose and it starts with your first perfectly sealed jar of homemade tomato sauce.
A daily 90-second lesson delivered straight to your inbox, with the exact steps I took to eliminate my dependencies - house, electricity, water, food - and get out in just 5 years (without leaving the suburbs, without acres of land).