I'm a woman who left a corporate job, paid off every bill we used to owe every month, and bought back our time decades before retirement. My mission? To teach families how to do the same by owning more of their life.
Hi! I'm Janiece
Listen to the pod
Ownership Playbook
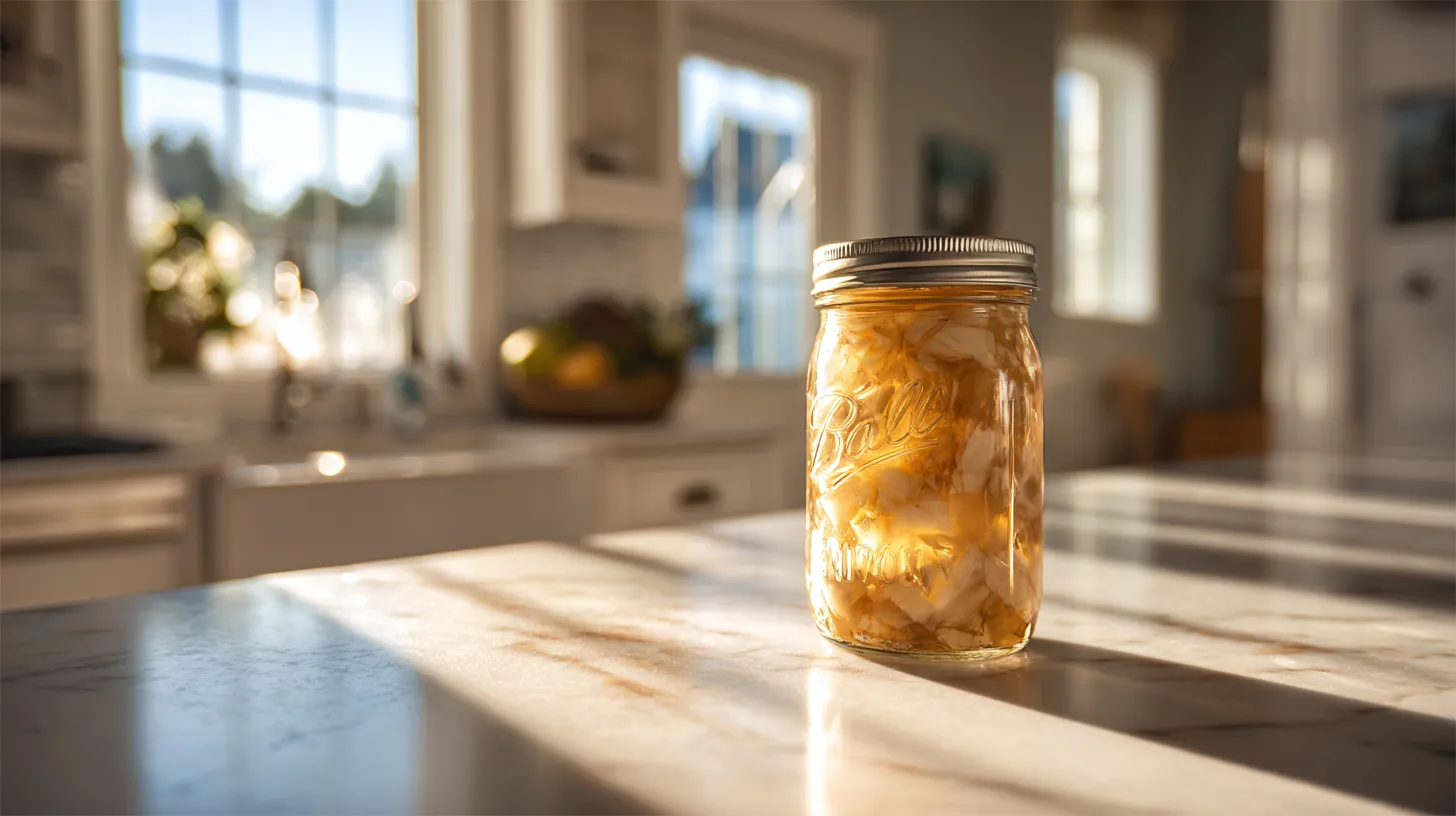
The convenience of having tender, fully-cooked chicken ready at a moment’s notice transforms meal planning completely. This premium protein preserves beautifully when processed correctly, creating versatile ingredients that rival any restaurant quality. You’re about to master a preservation technique that turns fresh poultry into shelf-stable convenience without sacrificing nutrition or flavor. If you’ve been searching for a reliable canning chicken recipe or wondering how to start canning protein-rich foods safely, this method offers incredible peace of mind and culinary flexibility. There’s profound satisfaction in knowing your pantry contains high-quality protein that’s ready whenever your family needs nourishing meals.
Why Master a Canning Chicken Recipe
Learning to preserve chicken gives you control over one of the most versatile proteins available. Fresh chicken has limited storage life, but properly canned versions maintain nutrition and flavor for years. You can buy chicken in bulk when prices are favorable and preserve it for consistent meal planning. Having shelf-stable chicken means quick soups, casseroles, salads, and sandwiches are always within reach without last-minute shopping trips.
Best Chicken for Preservation Success
Choose the freshest, highest-quality chicken possible for the best preservation results. Young, tender birds work better than older, tougher chickens. Both white and dark meat preserve well, though dark meat tends to stay more moist during processing. Remove all skin and visible fat before processing as these can interfere with proper sealing and shelf life. Fresh chicken processed within 24 hours of purchase delivers optimal results.
Essential Equipment for Chicken Preservation
You’ll need specific equipment for safely preserving this low-acid protein. A pressure canner is absolutely mandatory – chicken requires pressure processing for safety, never water bath methods. Sharp knives for uniform cutting, clean cutting boards, and sanitized work surfaces prevent contamination. Standard canning jars with new lids, pressure canning tools, and accurate measuring equipment ensure successful preservation every time.
Critical Safety Requirements
Here’s where food safety becomes absolutely non-negotiable for successful chicken preservation. Poultry must be pressure canned because it’s a low-acid food that can harbor extremely dangerous bacteria. Follow tested recipes exactly – never experiment with processing times, pressure levels, or ingredient additions. The risk of botulism with improperly canned meat is serious and potentially fatal. Always use current, tested recipes from reliable sources.
Chicken Canning Recipe
Learn to preserve fresh chicken for convenient, shelf-stable protein storage.
11poundsfresh chicken (any combination of pieces, skinless and boneless preferred)
Water or chicken broth for covering
1/2tspsalt per pint jar or 3/4 teaspoon salt per quart jar (optional)
Equipment
Pressure canner with accurate gauge (dial or weighted)
7 pint (16 oz) or 4 quart (32 oz) canning jars with new lids and rings
Jar lifter, bubble removal tool, and headspace gauge
Sharp knife and clean cutting board for chicken preparation
Large pot for hot pack method (optional)
Method
Prepare Jars: Examine all jars for cracks or chips and discard any damaged jars. Wash jars and rings in hot soapy water, rinse thoroughly, and keep jars hot in a 180°F oven or simmering water until ready to fill.
Prepare Jars: Examine all jars for cracks or chips and discard any damaged jars. Wash jars and rings in hot soapy water, rinse thoroughly, and keep jars hot in a 180°F oven or simmering water until ready to fill.
Ready Canner: Add 2-3 inches of water to your pressure canner and place the rack inside. Begin heating the canner while preparing the chicken to save time during processing.
Prepare Chicken: Remove all skin, bones, and visible fat from fresh chicken using a sharp knife. Cut chicken into pieces that fit easily into jars with proper headspace. Keep chicken refrigerated until ready to pack and work quickly to maintain food safety.
Choose Packing Method: For raw pack, fill jars with raw chicken pieces leaving 1 1/4 inches headspace, add salt if desired, then cover with boiling water or broth. For hot pack, pre-cook chicken until heated through but not fully cooked, then pack hot chicken and cooking juices into jars.
Fill Jars with Chicken: Pack chicken pieces into hot jars, leaving exactly 1 1/4 inches headspace from the rim. Do not press chicken down firmly as this can prevent proper heat penetration during processing.
Add Liquid and Salt: Add salt to each jar if desired for flavor, then cover chicken with boiling water or broth, maintaining the 1 1/4 inches headspace. Ensure liquid covers chicken completely but does not exceed headspace requirements.
Remove Air and Seal: Remove air bubbles by running a plastic tool around the inside of each jar, adjusting liquid level as needed to maintain proper headspace. Wipe jar rims thoroughly with a clean, damp cloth and center hot lids on jars with rings finger-tight only.
Load Canner: Place filled jars on the canner rack using a jar lifter, ensuring jars do not touch each other or the sides of the canner. Lock canner lid in place and heat on high until steam vents steadily for 10 minutes to purge air from canner.
Process Under Pressure: Place pressure regulator on vent and process at 11 pounds pressure for 75 minutes for pints or 100 minutes for quarts. Adjust pressure for altitude: 1,001-2,000 feet use 11 lbs, 2,001-4,000 feet use 12 lbs, 4,001-6,000 feet use 13 lbs, 6,001-8,000 feet use 14 lbs. After processing, turn off heat and let pressure return to zero naturally before opening canner.
Notes
Use only the freshest chicken possible, preferably processed within 24 hours of purchase
Do not add vegetables, pasta, rice, or dairy products as these require different processing methods
Maintain proper headspace and processing times exactly as specified for food safety
Check pressure gauge accuracy annually at your local extension office
Store properly sealed jars in a cool, dark place for up to 5 years for best quality
Always inspect jars before opening – discard if lid is bulging, leaking, or contents smell off
If any jar fails to seal properly, refrigerate immediately and use within 2 days
Step-by-Step Chicken Preparation
Start with the freshest chicken possible and work in clean conditions throughout the process. Cut chicken into uniform pieces that fit easily in your chosen jar size. Some recipes call for pre-cooking, while others use raw pack methods. Remove all bones, skin, and excess fat for the best texture and safety. Keep chicken refrigerated until ready to process and work quickly to maintain food safety.
Proper Pressure Processing Methods
Pack prepared chicken into sterilized jars according to your chosen recipe specifications. Raw pack and hot pack methods each have specific requirements for chicken preservation. Add salt for flavor if desired, but never add other seasonings before processing. Cover with boiling water or broth, maintaining proper headspace throughout. Process at correct pressure and timing for your altitude and jar size.
Storage and Serving Applications
Store properly sealed jars in cool, dark places where they’ll maintain quality for up to five years. Label clearly with contents and processing dates for easy meal planning. When ready to use, drain if needed and add to any recipe calling for cooked chicken. It’s perfect for quick salads, soups, casseroles, or sandwiches that require no additional cooking time.
Creative Recipe Applications
Your preserved chicken works wonderfully beyond basic preparations. Use it in quick curry dishes, add to pasta sauces, or mix into grain bowls for protein-packed meals. It makes excellent chicken salad, works beautifully in quesadillas, or can be added to vegetables for complete one-pan dinners. The convenience factor opens up countless weeknight meal possibilities.
Troubleshooting Preservation Issues
Sometimes chicken may become slightly softer than fresh versions, which is normal for canned meat. The nutrition and safety remain excellent even with texture changes. Any jars that don’t seal properly should be refrigerated immediately and used within several days. Natural separation of liquids during storage is normal and safe.
Build Your Protein Independence
Mastering a reliable canning chicken recipe creates the foundation for true protein security that serves your family through every season and circumstance. These advanced preservation skills connect you to generations of home preservers who understood the value of having high-quality protein readily available. When you learn how to start canning substantial proteins like chicken, you’re building resilience and self-sufficiency that transforms your family’s food security.
Every jar represents mastery over convenience culture and commitment to wholesome nutrition that doesn’t depend on refrigeration or grocery availability. You’re creating culinary insurance while building knowledge that provides both peace of mind and delicious meal solutions. Transform fresh poultry into the cornerstone of a protein-rich pantry that delivers restaurant-quality convenience with complete food independence!
Interested in learning to accelerate your path to freedom? Click here. I'll help you speed up your path to freedom by decades.
I cut decades off my family's path to financial freedom by refusing to play the game everybody else was playing. Now, I help thousands of families build the life of their dreams through ownership and good ol' fashioned skills.
If you're tired of renting your life and ready to own it, you'll get the real stories, the lessons that saved me years, and one small step each week to move you closer. You in?