I'm a woman who left a corporate job, paid off every bill we used to owe every month, and bought back our time decades before retirement. My mission? To teach families how to do the same by owning more of their life.
Hi! I'm Janiece
Listen to the pod
Ownership Playbook
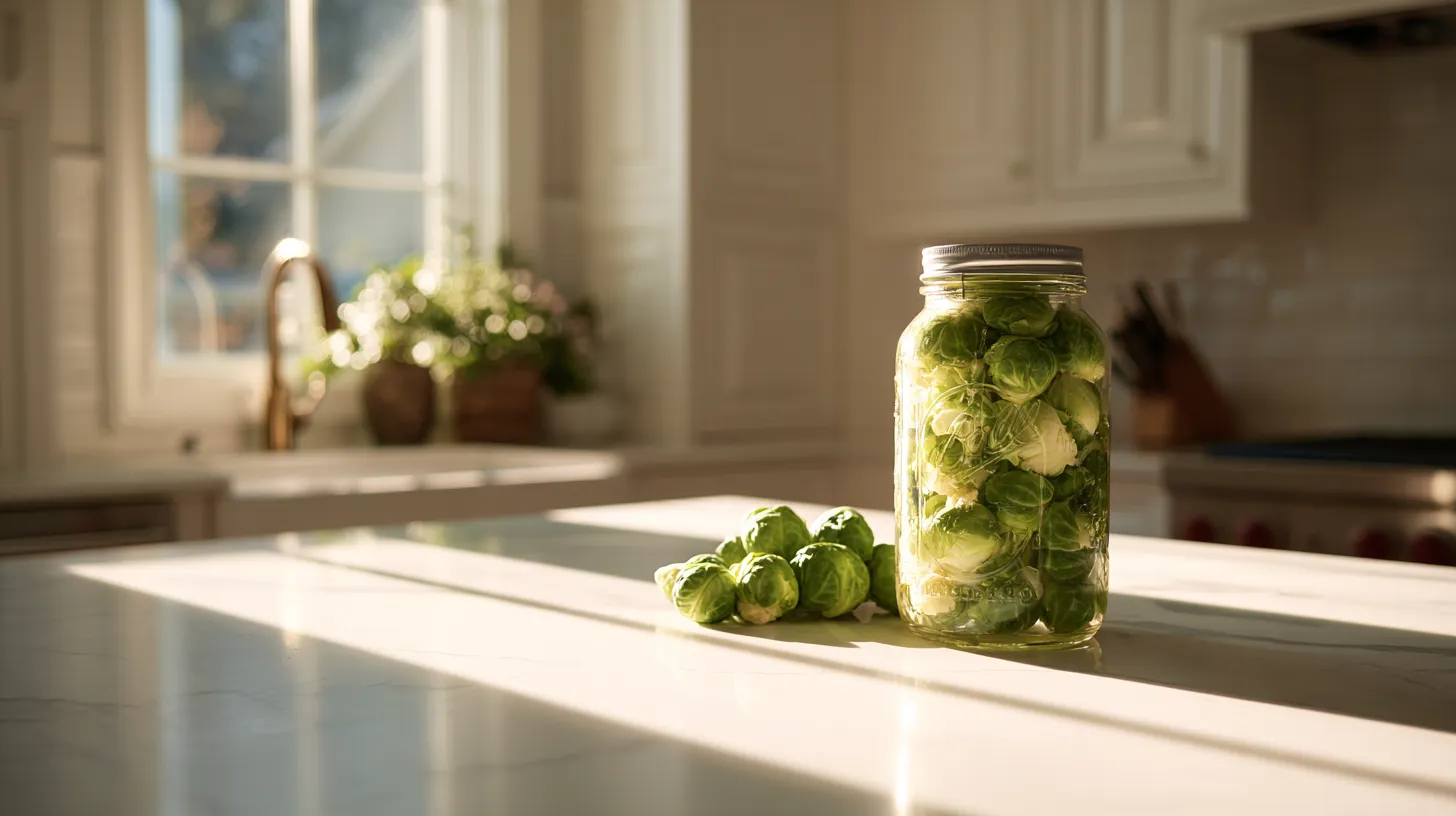
Brussels sprouts have undergone a complete culinary transformation from childhood nightmare to gourmet vegetable sensation. These tiny cabbages pack incredible nutrition and flavor when preserved properly at home. You’re about to discover preservation methods that capture peak-season Brussel sprouts while they’re sweet and tender. If you’ve been curious about canned Brussels sprouts or wondering how to start canning nutritious vegetables that store beautifully, these mini cabbages offer surprising versatility and exceptional nutritional value. There’s real satisfaction in transforming fresh garden abundance into convenient, shelf-stable vegetables that enhance meals throughout the year.
Why Create Canned Brussel Sprouts
Learning to preserve Brussels sprouts gives you control over this nutritional powerhouse year-round. Fresh Brussels sprouts have a limited season and don’t store well without proper preservation. When you make canned Brussels sprouts at home, you capture them at peak freshness when they’re naturally sweet and tender. Having preserved Brussels sprouts ready means quick side dishes, soup ingredients, or healthy additions to any meal without seasonal limitations.
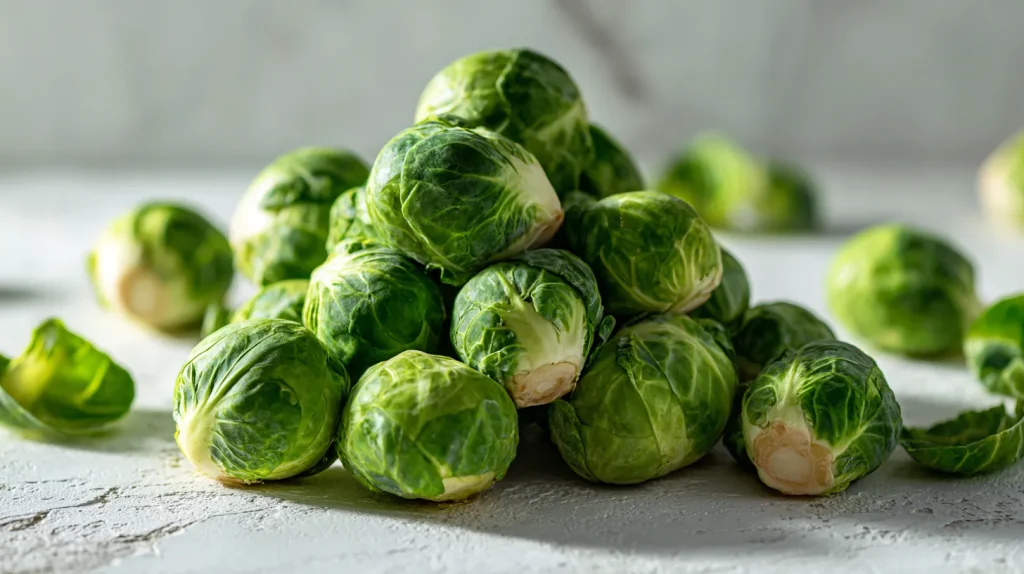
Best Brussel Sprouts for Preservation
Choose small to medium Brussels sprouts that are tight, bright green, and free from yellowing or blemishes. Smaller sprouts tend to be more tender and sweet than oversized ones. The outer leaves should be compact and firmly attached. Avoid any sprouts with black spots, soft areas, or loose, yellowing leaves as these indicate age or damage that won’t improve during preservation.
Essential Equipment for Brussel Sprouts Canning
You’ll need specific equipment for safely preserving these low-acid vegetables. A pressure canner is absolutely mandatory – Brussels sprouts require pressure processing for safe preservation. Sharp paring knives for trimming, large cutting boards for preparation, and clean work surfaces prevent contamination. Standard canning jars with new lids, pressure canning tools, and accurate measuring equipment ensure successful preservation.
Critical Safety Requirements
Here’s where food safety becomes absolutely essential for Brussel sprouts preservation. These vegetables must be pressure canned because they’re low-acid foods that can harbor dangerous bacteria. Follow tested recipes precisely – never experiment with processing times, pressure levels, or ingredient additions. The consequences of improper vegetable canning can be serious, so always use current, tested recipes from reliable sources like the USDA.
How to Can Brussel Sprouts
Learn to make canned Brussels sprouts using safe pressure canning methods.
1/2tspsalt per pint jar or 3/4 teaspoon salt per quart jar (optional)
Equipment
Pressure canner with accurate gauge (dial or weighted)
7 pint (16 oz) or 4 quart (32 oz) canning jars with new lids and rings
Jar lifter, bubble removal tool, and headspace gauge
Sharp paring knife for trimming Brussels sprouts
Large pot for blanching (optional for hot pack method)
Method
Prepare Jars: Examine all jars for cracks or chips and discard any damaged jars. Wash jars and rings in hot soapy water, rinse thoroughly, and keep jars hot in a 180°F oven or simmering water until ready to fill.
Heat Lids: Place new canning lids in a small saucepan, cover with hot water at 180°F, and keep hot until ready to use. Do not boil lids as this may damage the sealing compound.
Ready Canner: Add 2-3 inches of water to your pressure canner and place the rack inside. Begin heating the canner while preparing the Brussels sprouts to save time during processing.
Prepare Brussels Sprouts: Remove outer leaves and trim stem ends from Brussels sprouts. Cut a small X in the stem end of each sprout to ensure even heat penetration during processing. Wash thoroughly in cool water and drain completely.
Choose Packing Method: For raw pack, fill jars with raw Brussels sprouts leaving 1 inch headspace, add salt if desired, then cover with boiling water. For hot pack, blanch sprouts in boiling water for 3 minutes, then pack hot sprouts into jars with blanching water.
Fill Jars: Pack Brussels sprouts into hot jars using your chosen method, leaving exactly 1 inch headspace from the rim. Arrange sprouts with cut ends down when possible to ensure proper heat penetration during processing.
Add Water and Salt: Add salt to each jar if desired for flavor, then cover Brussels sprouts with boiling water or blanching liquid, maintaining the 1 inch headspace. Ensure liquid covers vegetables completely but does not exceed headspace requirements.
Remove Air and Seal: Remove air bubbles by running a plastic tool around the inside of each jar, adjusting liquid level as needed to maintain proper headspace. Wipe jar rims thoroughly with a clean, damp cloth and center hot lids on jars with rings finger-tight only.
Load Canner: Place filled jars on the canner rack using a jar lifter, ensuring jars do not touch each other or the sides of the canner. Lock canner lid in place and heat on high until steam vents steadily for 10 minutes to purge air from canner.
Process Under Pressure: Place pressure regulator on vent and process at 11 pounds pressure for 30 minutes for pints or 35 minutes for quarts. Adjust pressure for altitude: 1,001-2,000 feet use 11 lbs, 2,001-4,000 feet use 12 lbs, 4,001-6,000 feet use 13 lbs, 6,001-8,000 feet use 14 lbs. After processing, turn off heat and let pressure return to zero naturally before opening canner.
Notes
NEVER use water bath canning for Brussels sprouts – pressure canning is mandatory for safety
Do not add butter, oil, or cream before canning as these can interfere with heat penetration and safety
Use only the freshest Brussels sprouts possible for best quality and safety
Maintain proper headspace and processing times exactly as specified for food safety
Check pressure gauge accuracy annually at your local extension office
Store properly sealed jars in a cool, dark place for up to 5 years for best quality
Always inspect jars before opening – discard if lid is bulging, leaking, or contents smell off
Brussels sprouts may become soft during storage and this is normal for this tender vegetable
If any jar fails to seal properly, refrigerate immediately and use within 3 days
Step-by-Step Brussel Sprouts Preparation
Start by selecting uniform-sized Brussels sprouts for even processing. Trim the stem ends and remove any damaged outer leaves. Cut an X in the stem end of larger sprouts to ensure even heat penetration during processing. Wash thoroughly in cool water and drain completely. Some recipes call for blanching before packing, while others use raw pack methods.
Proper Pressure Processing Methods
Pack prepared Brussels sprouts into sterilized jars according to your chosen recipe specifications. Raw pack and hot pack methods each have specific requirements for Brussels sprouts. Add salt if desired and cover with boiling water, maintaining proper headspace. Remove air bubbles thoroughly and wipe jar rims clean before processing at correct pressure and timing.
Storage and Serving Your Preserved Sprouts
Store properly sealed jars in cool, dark places where they’ll maintain quality for up to five years. Label clearly with contents and processing dates for easy meal planning. When ready to serve, simply drain and season as desired. They’re perfect for quick sautéing with bacon, roasting with herbs, or adding to soups and stews for nutritional enhancement.
Creative Preparation Ideas
Your preserved Brussel sprouts work wonderfully beyond simple side dishes. Add them to hearty winter stews for nutritional boost. Slice and sauté with garlic for quick pasta additions. They make excellent ingredients for grain bowls or can be roasted after canning for crispy textures. Each application showcases the versatility of properly preserved Brussels sprouts.
Troubleshooting Common Issues
Sometimes Brussel sprouts may become softer than expected during processing, which is normal for this tender vegetable. They remain safe and nutritious even with texture changes. If any jars don’t seal properly, refrigerate immediately and use within several days. The natural color may change slightly during storage but doesn’t affect safety or nutritional value.
Build Your Nutritional Independence
Mastering the preservation of nutritious vegetables like Brussel sprouts creates the foundation for year-round healthy eating that doesn’t depend on seasonal availability or grocery store prices. These skills connect you to generations of home preservers who understood the value of putting nutritious food by for leaner times. When you learn how to start canning vegetables that pack serious nutritional punch, you’re building true food security and health independence.
Every jar represents commitment to your family’s wellness and victory over processed convenience foods. You’re creating nutritional insurance while building practical skills that support both health and budget goals. Transform those fresh Brussels sprouts into the cornerstone of a nutrient-dense pantry that fuels your family’s vitality regardless of season or circumstance!
Interested in learning to accelerate your path to freedom? Click here. I'll help you speed up your path to freedom by decades.
I cut decades off my family's path to financial freedom by refusing to play the game everybody else was playing. Now, I help thousands of families build the life of their dreams through ownership and good ol' fashioned skills.
If you're tired of renting your life and ready to own it, you'll get the real stories, the lessons that saved me years, and one small step each week to move you closer. You in?