The crisp autumn air carries the sweet scent of apple harvest, and your kitchen counter overflows with nature’s candy. Rosy red apples, golden varieties, and everything in between wait to be transformed into pantry treasures that will brighten winter meals. You’re about to discover the incredible world of apple preservation that goes far beyond simple applesauce. If you’ve been curious about canning apple recipes or wondering how to start canning seasonal abundance, apples offer the perfect introduction to fruit preservation. There’s something deeply satisfying about capturing orchard-fresh flavor in jars that will sustain your family through the months ahead.
Why Master Canning Apple Recipes
Learning to preserve apples in various forms gives you incredible versatility in meal planning. You can create everything from breakfast toppings to dessert ingredients, from savory accompaniments to holiday gifts. Store-bought apple products can’t compete with the pure, concentrated flavor you achieve at home. Plus, buying apples in bulk during peak season and preserving them yourself saves significant money while ensuring your family gets the highest quality fruit.
Best Apple Varieties for Different Recipes
Not every apple works equally well for all preservation methods. Firm varieties like Granny Smith, Northern Spy, and Rome hold their shape beautifully in sliced preparations. Sweet apples like Gala, Fuji, and Golden Delicious make incredible applesauce and butter. Tart varieties create the best apple jelly and juice. Mixing different varieties often produces the most complex, interesting flavors in your finished products.
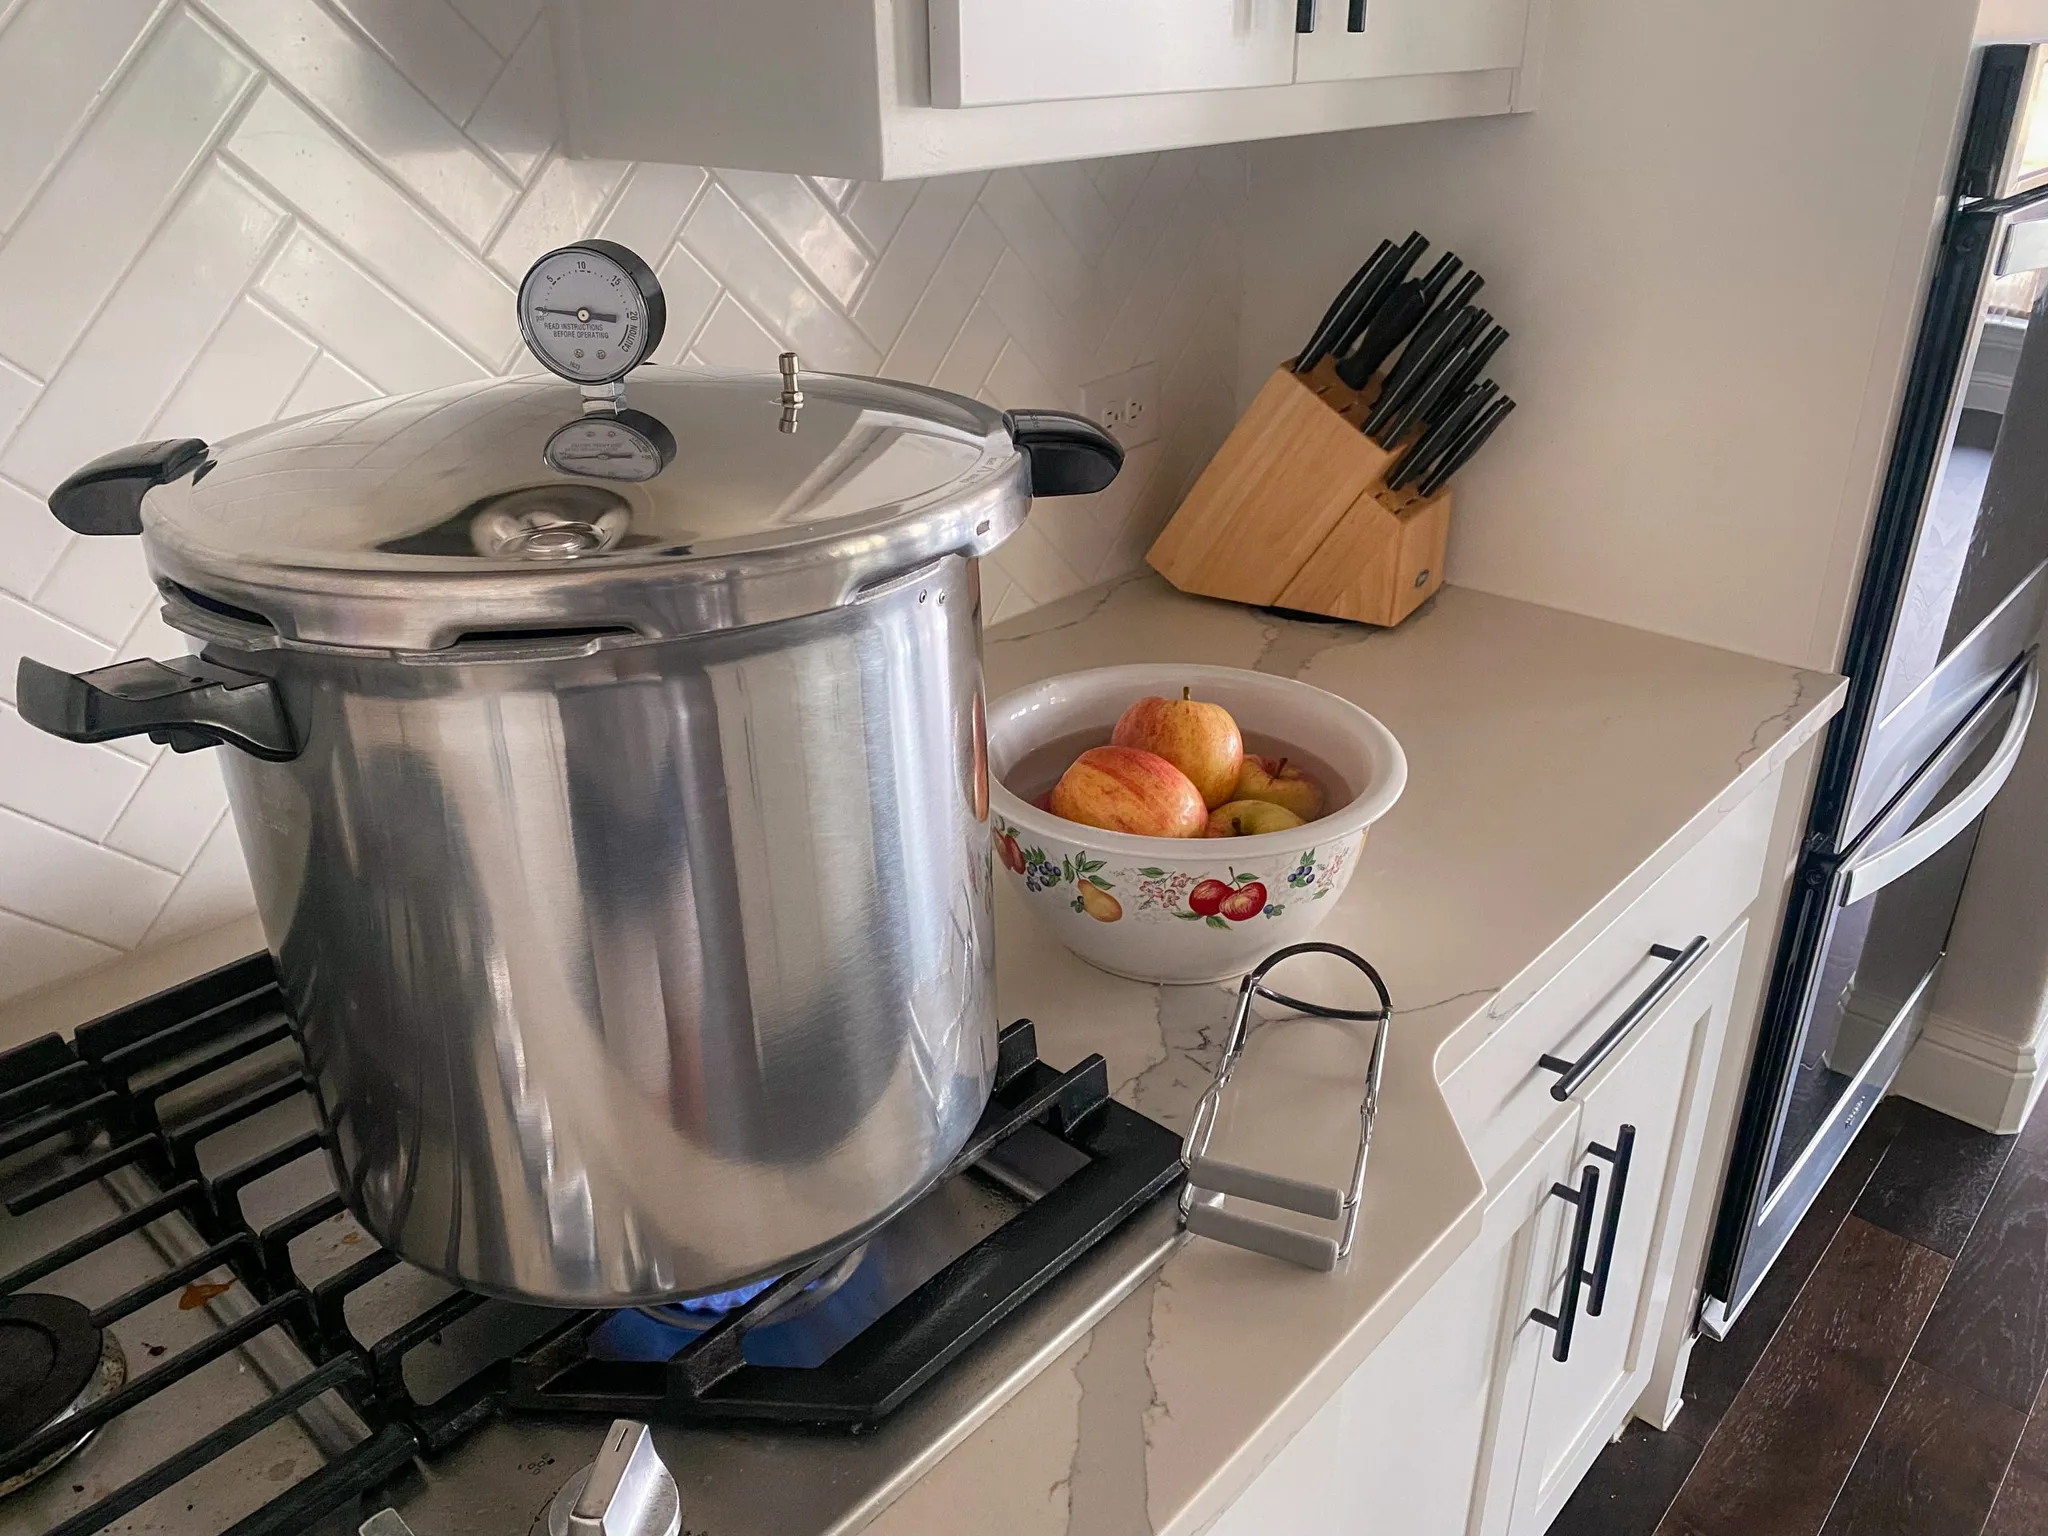
Essential Equipment for Apple Preservation
You’ll need some basic equipment to tackle various apple preservation projects. A large, heavy-bottomed pot prevents scorching during long cooking processes. Sharp paring knives and apple corers speed up preparation time significantly. A food mill creates smooth sauces and butters effortlessly. Standard canning jars with new lids, water bath canner, and basic canning tools handle most apple projects safely.
Popular Apple Preservation Methods
Canning apple recipes encompass an amazing variety of preparations. Classic applesauce offers comfort food in a jar that pleases all ages. Apple butter provides rich, concentrated flavor perfect for spreading or baking. Sliced apples in syrup create instant pie fillings or dessert toppings. Apple jelly captures pure fruit essence in crystal-clear preserves. Each method requires slightly different techniques but uses similar basic principles.
- 17.5 pounds fresh apples (firm varieties like Granny Smith, Jonathan, or Rome)
- Light syrup: 2.25 cups sugar + 5.25 cups water (or medium syrup: 3.25 cups sugar + 5.25 cups water)
- 3 tbsp ascorbic acid or 1/2 cup lemon juice per gallon of water (anti-browning treatment)
- Water for blanching and treatment
Large pot for blanching and syrup preparation
Apple corer and sharp paring knives
Boiling water bath canner or large stockpot with rack
7 quart (32 oz) or 14 pint (16 oz) canning jars with new lids and rings
Jar lifter, bubble removal tool, and headspace gauge
Large bowl for ascorbic acid treatment
Prepare Jars: Examine all jars for cracks or chips and discard any damaged jars. Wash jars and rings in hot soapy water, rinse thoroughly, and keep jars hot in a 180°F oven or hot water until ready to fill.
Heat Lids and Syrup: Place new canning lids in a small saucepan with hot water at 180°F and keep hot until ready to use. In another large pot, combine sugar and water for syrup, bring to a boil, and keep hot throughout packing process.
Prepare Canner: Fill your boiling water bath canner with enough water to cover jars by 1-2 inches when submerged. Begin heating water to a rolling boil while preparing apples.
Prepare Anti-Browning Solution: Fill a large bowl with 1 gallon of water and add 3 tablespoons ascorbic acid or 1/2 cup lemon juice. Stir to dissolve completely and keep solution ready for treating cut apples immediately.
Prepare Apple Slices: Wash, core, and peel apples, then cut into uniform slices approximately 1/2 inch thick. Immediately drop prepared apple slices into the anti-browning solution to prevent oxidation and maintain attractive appearance.
Blanch Apple Slices: Working in batches, remove apple slices from anti-browning solution and blanch in boiling water for 5 minutes to soften slightly and remove air from tissues. This hot pack method produces better quality and color retention.
Pack Hot Apples: Using a slotted spoon, pack hot blanched apple slices into hot jars, leaving 1/2 inch headspace. Arrange slices compactly but do not press down firmly as this can damage fruit texture.
Add Hot Syrup: Cover packed apple slices with boiling syrup, maintaining the 1/2 inch headspace and ensuring liquid covers fruit completely. The syrup helps maintain fruit texture and color during storage.
Remove Air and Seal: Remove air bubbles by running a plastic tool around the inside of each jar, adjusting syrup level as needed to maintain proper headspace. Wipe jar rims thoroughly with a clean, damp cloth and center hot lids on jars with rings finger-tight only.
Process in Water Bath: Using jar lifter, place filled jars on canner rack and lower into boiling water, ensuring jars are covered by 1-2 inches of water. Process pint jars for 20 minutes or quart jars for 25 minutes, adjusting for altitude: add 5 minutes for 1,001-3,000 feet, add 10 minutes for 3,001-6,000 feet, add 15 minutes for above 6,000 feet. Remove jars and cool undisturbed on a towel for 12-24 hours.
- Natural apple acidity makes slices safe for water bath canning without added acid
- Check that all lids have sealed properly before storing (lids should not flex when pressed)
- Store sealed jars in a cool, dark place for up to 2 years for best quality
- Refrigerate after opening and use within 1 week
- Apple slices may float to top of jars and this is normal and safe
- Slight browning may occur despite treatment and does not affect safety or quality
- Always inspect jars before opening – discard if lid is bulging, leaking, or contents smell off
- Use canned apple slices for pies, cobblers, crisps, or eat as a healthy snack
Step-by-Step Apple Preparation
Start by selecting apples at peak ripeness and washing them thoroughly. Remove any blemished or damaged areas completely. Depending on your chosen recipe, you’ll core, peel, and slice according to specific requirements. Some preparations benefit from pre-treating cut apples with ascorbic acid to prevent browning. Others rely on quick processing to maintain color and texture.
Safe Processing Techniques
The high natural acidity in apples makes most preparations safe for water bath canning. Follow tested recipes exactly for processing times and headspace requirements. Different apple preparations require different processing parameters, so never substitute one recipe’s instructions for another. Always adjust processing times for your altitude to ensure food safety.
Creative Flavor Combinations
Once you master basic techniques, endless flavor possibilities await your creativity. Spiced apple butter with cinnamon and nutmeg creates holiday magic. Apple-cranberry sauce offers beautiful color and complex tartness. Caramel apple topping brings dessert elegance to your pantry. Savory apple chutneys complement pork and poultry perfectly. Each variation expands your culinary repertoire significantly.
Storage and Usage Tips
Store your properly sealed jars in cool, dark places where they’ll maintain quality for up to two years. Label each jar clearly with contents and date. When planning meals, remember that preserved apples work wonderfully in both sweet and savory applications. They’re perfect for quick breakfast additions, dessert bases, or unexpected flavor elements in main dishes.
Troubleshooting Common Issues
Sometimes apple preparations don’t turn out exactly as expected, and that’s completely normal. Applesauce that’s too thin makes excellent pancake syrup. Apple butter that didn’t thicken enough works beautifully as ice cream topping. Every batch teaches valuable lessons about working with natural ingredients and seasonal variations.
Build Your Seasonal Preservation Skills
Mastering various canning apple recipes connects you to generations of home preservers who understood autumn’s bounty. These fundamental skills build food independence while creating delicious insurance for your family’s nutrition. When you learn how to start canning with versatile fruits like apples, you’re building a foundation that supports year-round meal planning and culinary creativity.
There’s incredible joy in opening your pantry and seeing rows of golden apple preserves ready to enhance any meal or create instant comfort food. You’re not just preserving fruit – you’re preserving traditions and building skills that will nourish your family through every season. So gather those apples and let’s start building your amazing, orchard-inspired pantry together!