I'm a woman who left a corporate job, paid off every bill we used to owe every month, and bought back our time decades before retirement. My mission? To teach families how to do the same by owning more of their life.
Hi! I'm Janiece
Listen to the pod
Ownership Playbook
Imagine opening a jar of rich, smoky baked beans that taste like they’ve been simmering all day. The molasses sweetness mingles perfectly with tender beans and savory seasonings. You’ve got an instant side dish that rivals any barbecue joint or family gathering favorite. If you’ve been curious about how to can homemade baked beans or wondering how to start canning hearty, filling foods, this project will transform your pantry game completely. There’s incredible satisfaction in creating your own comfort food staples that are ready whenever you need them.
Why Learn How to Can Homemade Baked Beans
Store-bought baked beans pale in comparison to homemade perfection. You control every ingredient that goes into your jars. No corn syrup, no artificial flavors, and no mystery preservatives. Your family gets wholesome nutrition in every spoonful. Plus, having shelf-stable baked beans means quick meals are always within reach. Camping trips, potluck dinners, or busy weeknights become effortless with your homemade convenience foods.
Best Bean Varieties for Canning
Navy beans are the classic choice for traditional baked beans. They hold their shape beautifully during long cooking and processing times. Great Northern beans work wonderfully too, offering a slightly larger size and creamy texture. Avoid kidney beans or other large varieties as they don’t hold up as well during the pressure canning process required for this recipe.
Essential Equipment for Baked Bean Canning
You’ll need specific equipment for safely preserving these protein-rich beans. A pressure canner is absolutely essential – baked beans are a low-acid food that requires pressure processing for safety. You’ll also need canning jars with new lids, basic canning tools, and a large pot for pre-cooking your beans. Don’t let the pressure canner intimidate you. It’s a worthwhile investment that opens up endless preservation possibilities.
Step-by-Step Bean Preparation Process
Start by sorting through your dried beans, removing any stones or damaged beans. Rinse them thoroughly under cold running water. Soak your beans overnight in plenty of water, or use the quick-soak method by boiling them for 2 minutes, then letting them stand for 1 hour. Drain and rinse the soaked beans before proceeding with your recipe.
Pre-cook your soaked beans until they’re just tender but not mushy. This usually takes 30-45 minutes of gentle boiling. The beans will continue cooking during the pressure canning process, so don’t overcook them at this stage. Drain the cooked beans, reserving some cooking liquid for your sauce.
Homemade Baked Beans Recipe
Learn how to can homemade baked beans safely with pressure canning.
Pressure canner with accurate gauge (dial or weighted)
6 pint (16 oz) canning jars or 3 quart (32 oz) jars with new lids and rings
Jar lifter, bubble removal tool, and headspace gauge
Large pot for cooking beans and sauce
Ladle and wide-mouth funnel
Method
Prepare Jars: Examine all jars for cracks or chips and discard any damaged jars. Wash jars and rings in hot soapy water, rinse thoroughly, and keep jars hot in a 180°F oven or simmering water until ready to fill.
Heat Lids: Place new canning lids in a small saucepan, cover with hot water at 180°F, and keep hot until ready to use. Do not boil lids as this may damage the sealing compound.
Ready Canner: Add 2-3 inches of water to your pressure canner and place the rack inside. Begin heating the canner while preparing the beans to save time during processing.
Prepare and Cook Beans: Sort and rinse dried beans, removing any stones or damaged beans. Soak beans overnight in water covering by 2 inches, or quick-soak by boiling for 2 minutes then standing 1 hour. Drain soaked beans, cover with fresh water, and boil gently for 30 minutes until tender but not mushy.
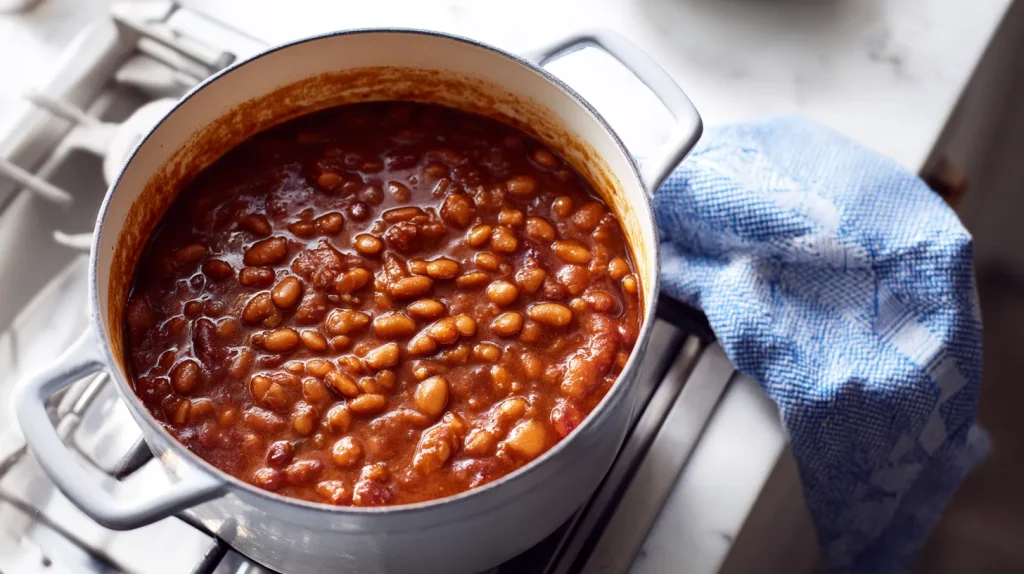
Make Sauce: In a large pot, combine molasses, brown sugar, tomato paste, mustard, chopped onion, salt, and pepper. Mix thoroughly and cook over medium heat for 5 minutes, stirring constantly to prevent sticking and blend flavors.
Combine Beans and Sauce: Drain cooked beans, reserving cooking liquid. Add hot beans to the sauce mixture and stir gently to coat evenly. Add enough hot water or reserved bean cooking liquid to make the mixture soupy, as liquid will be absorbed during processing.
Heat Mixture: Bring the bean and sauce mixture to a boil, stirring gently to prevent sticking. Maintain heat throughout filling process to ensure beans are very hot when packed into jars for safe processing temperatures.
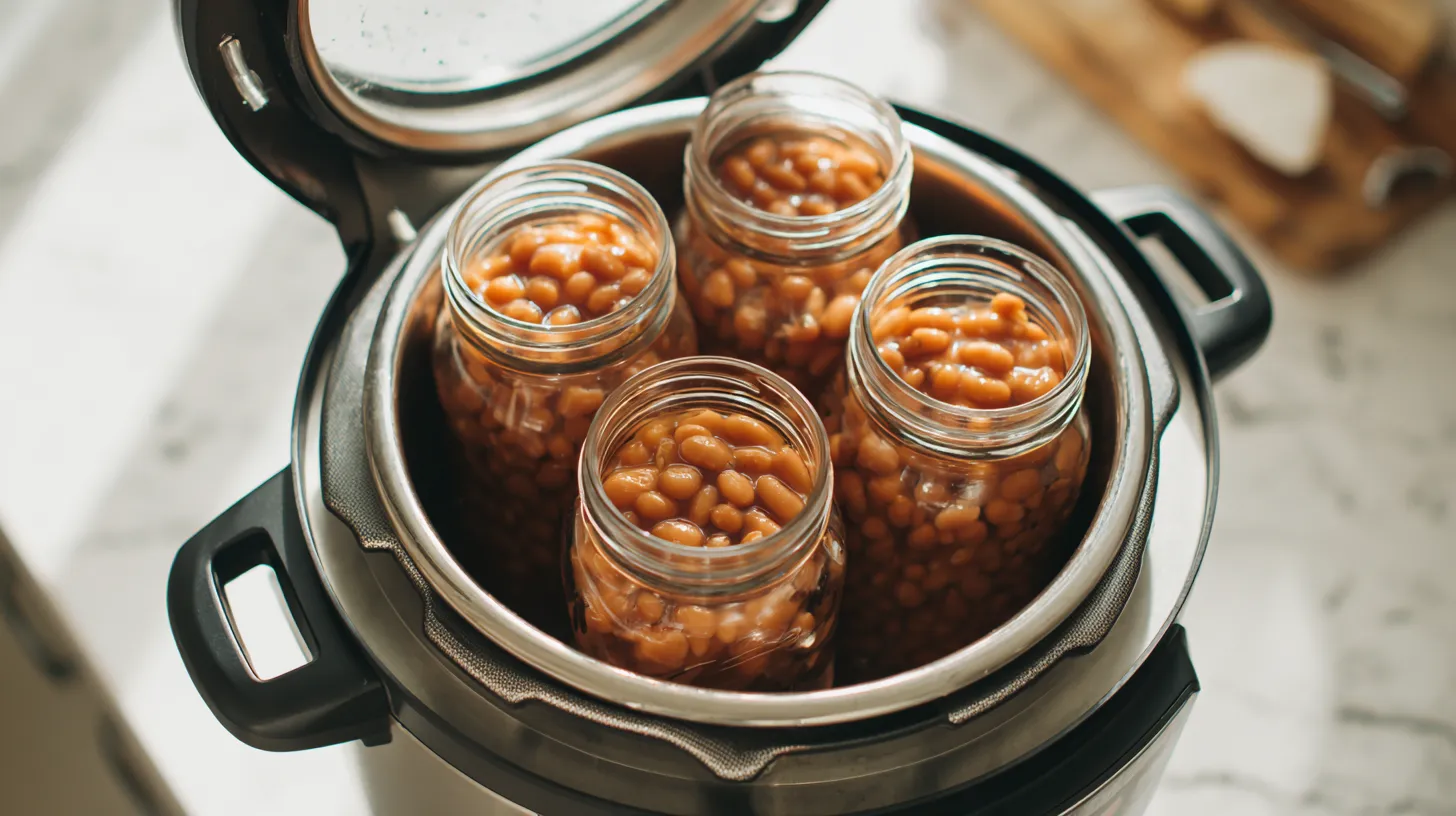
Fill Jars: Using a ladle and wide-mouth funnel, fill hot jars with bean mixture, distributing beans and liquid evenly. Leave exactly 1 inch headspace from the rim of each jar, ensuring proper liquid coverage of beans.
Remove Air and Seal: Remove air bubbles by running a plastic tool around the inside of each jar, adjusting liquid level as needed to maintain 1 inch headspace. Wipe jar rims thoroughly with a clean, damp cloth and center hot lids on jars with rings finger-tight only.
Process Under Pressure: Place filled jars on the canner rack using a jar lifter, ensuring jars do not touch each other. Lock canner lid in place, heat until steam vents steadily for 10 minutes, then place pressure regulator on vent and process at 11 pounds pressure for 80 minutes for pints or 100 minutes for quarts. Adjust pressure for altitude: 1,001-2,000 feet use 11 lbs, 2,001-4,000 feet use 12 lbs, 4,001-6,000 feet use 13 lbs, 6,001-8,000 feet use 14 lbs. After processing, turn off heat and let pressure return to zero naturally before opening canner.
Notes
Never use a boiling water bath for baked beans – pressure canning is mandatory for safety
Do not add meat or additional vegetables as these require different processing methods
Maintain proper headspace and processing times exactly as specified for food safety
Check pressure gauge accuracy annually at your local extension office
Store properly sealed jars in a cool, dark place for up to 5 years for best quality
Always inspect jars before opening – discard if lid is bulging, leaking, or contents smell off
Beans may become softer during storage and this is normal and safe
Liquid may darken or separate slightly during storage – stir when ready to serve
Creating the Perfect Baked Bean Sauce
The sauce makes baked beans truly special. Combine molasses, brown sugar, tomato paste, mustard, and your favorite seasonings. Onions add depth and flavor to the mix. Cook your sauce ingredients together until they’re well blended and aromatic. Taste and adjust seasonings as needed, remembering that flavors will concentrate during storage.
Safe Pressure Canning Requirements
Here’s where food safety becomes absolutely critical. Baked beans must be pressure canned because they’re a low-acid food. Water bath canning simply won’t reach the temperatures needed to eliminate dangerous bacteria. Follow tested recipes exactly and process at the correct pressure for your altitude. This isn’t the place to experiment with ingredients or timing.
Proper Processing Techniques
Combine your cooked beans with the sauce and pack the mixture into hot jars. Leave proper headspace as specified in tested recipes. Remove air bubbles carefully and wipe jar rims clean before applying lids. Process in your pressure canner for the recommended time, adjusting pressure for your specific altitude.
Storage and Serving Your Canned Beans
Once your jars have cooled and sealed properly, store them in a cool, dark place. Properly canned baked beans maintain quality for up to five years. When you’re ready to enjoy them, simply heat and serve. They’re perfect alongside grilled meats, mixed into casseroles, or enjoyed as a satisfying vegetarian meal with cornbread.
Troubleshooting Common Issues
Sometimes beans can become softer than expected during processing, and that’s perfectly normal. They’re still safe and delicious. If any jars don’t seal properly, refrigerate them immediately and use within a few days. You can also freeze unsealed jars for longer storage.
Build Your Self-Sufficient Pantry
Mastering bean preservation connects you to generations of home cooks who understood the value of protein-rich, shelf-stable foods. This skill builds true food independence and security for your family. When you learn how to start canning substantial foods like baked beans, you’re creating a foundation of nutrition that will serve your family well.
There’s incredible peace of mind in knowing your pantry is stocked with wholesome, homemade foods that rival any restaurant quality. You’re not just preserving beans – you’re preserving traditions and building skills that create lasting food security. So gather those beans and let’s start building your amazing, self-sufficient kitchen together!
Interested in learning to accelerate your path to freedom? Click here. I'll help you speed up your path to freedom by decades.
I cut decades off my family's path to financial freedom by refusing to play the game everybody else was playing. Now, I help thousands of families build the life of their dreams through ownership and good ol' fashioned skills.
If you're tired of renting your life and ready to own it, you'll get the real stories, the lessons that saved me years, and one small step each week to move you closer. You in?