


If you’re just stepping into the world of homesteading or striving for greater self-sufficiency, preserving your own food can be both empowering and rewarding. Few skills feel as satisfying as lining your pantry shelves with jars of food that you’ve canned yourself. For beginners, though, the world of canning often begins with one big question—what is the difference between water bath canning vs pressure canning?
Both methods help to preserve food safely, but each has unique tools, techniques, and best applications. Understanding the differences is crucial for ensuring the safety of your food and your confidence as you begin your canning adventures. Let’s take a deep dive into these two methods and explore what makes each one special.
Why Canning Matters for All of Us
Before we dig into the technical details, it’s worth reflecting on why canning is so important, especially for those striving to live a more independent lifestyle. Canning is a timeless preservation method, passed down through generations, that enables you to store seasonal fruits, vegetables, meats, and more for extended periods. For homesteaders, this means you can eat what you grow, avoid dependence on grocery stores, and reduce food waste.
Plus, there’s something so deeply satisfying and downright magical about preserving your summer tomato harvest to enjoy in the heart of winter. With just a little effort, you can build food security and reconnect with the simple yet powerful ways of the past.
The Basics of Canning
At its core, canning involves sealing food in glass jars to create a vacuum that prevents bacteria, mold, and yeast from spoiling your food. However, the method you choose to heat and seal these jars depends on the type of food you’re preserving. This is where the two main methods—water bath canning vs pressure canning—come into play.
Water Bath Canning
Water bath canning is often considered the gateway for beginning canners. It involves submerging jars of food in boiling water (at 212°F or 100°C at sea level) for a specified period of time. The high temperature, combined with the acidity of the food being processed, creates an environment where harmful microorganisms cannot survive.
What Foods Are Suitable for Water Bath Canning?
Water bath canning is specifically designed for high-acid foods, where the natural acidity inhibits the growth of bacteria like Clostridium botulinum (responsible for botulism). Foods that are safe to preserve using this method include:
- Fruits such as peaches, apples, berries, and cherries
- Jams, jellies, and marmalades
- Pickled vegetables (vinegar boosts acidity)
- Tomatoes (with added lemon juice or citric acid)
- Fruit juices and syrups
If you’re just starting, water bath canning is a great introduction to the world of food preservation. It’s less intimidating, requires minimal equipment – literally just a big stock pot– and is perfect for preserving the bounty of your garden during peak season.
What Equipment Do You Need?
Water bath canning is fairly straightforward in terms of equipment. You’ll need:
- A large pot with a lid (many beginners use a stockpot)
- A canning rack to keep jars from touching the bottom of the pot
- Mason jars, lids, and bands
- A jar lifter (essential for safely removing hot jars)
- A funnel for filling jars cleanly
- A headspace tool to ensure accurate filling measurements
You can use my ultimate guide on food preservation to see all of the essentials you need in your kitchen as well as shop my Amazon Shop that has the curated list of supplies you need.
MY PICK

Stainless Steel Stockpot 12 Quart
Durable Stainless-Steel Construction: Crafted with durable stainless steel, our pots and pans ensure high quality and long-lasting performance for the years to come.
MY PICK

12-inch Canning Rack, Stainless Steel
Canning rack is made of 18/10 stainless steel with thicker steel wire, making it stronger, more durable, rust-resistant, and less likely to deform.
Pros and Cons of Water Bath Canning
Pros:
- Beginner-friendly and less intimidating
- Less expensive to get started with minimal equipment
- Ideal for a wide variety of fruits, jams, and pickled items
Cons:
- Limited to high-acid foods
- Longer processing times compared to pressure canning
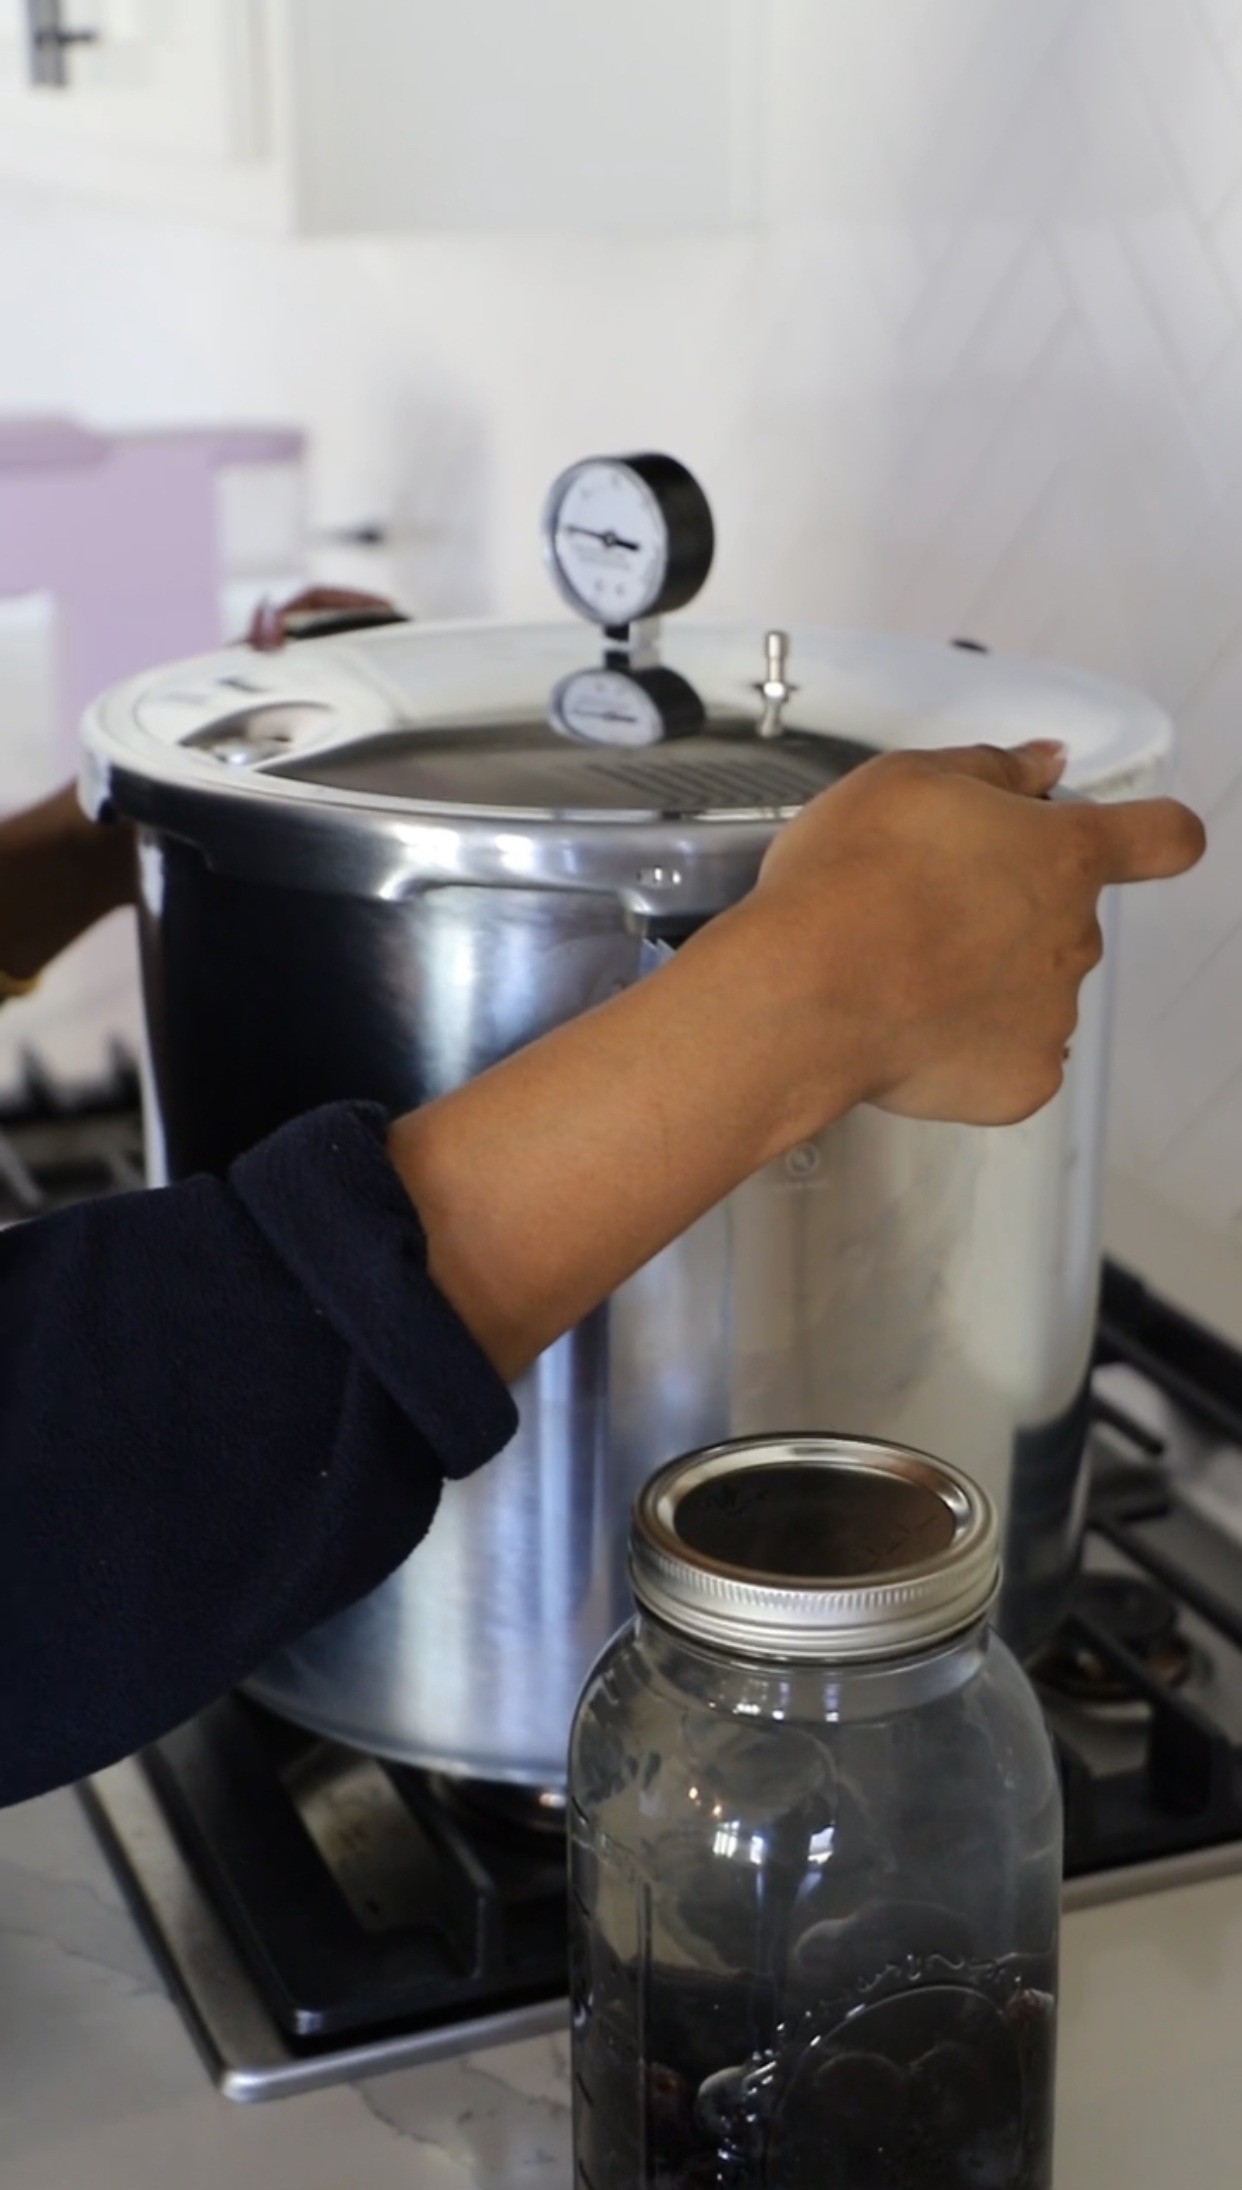
Pressure Canning
Once you’ve mastered water bath canning, pressure canning is your next step. Admittedly, this was the method that made me the most nervous but I plan to remove all anxiety and make it super easy for you to get started. This method involves placing jars in a specially designed pressure canner that heats food to temperatures above boiling (240°F or 116°C). This added heat is vital for safely preserving low-acid foods, where harmful bacteria can thrive.
What Foods Are Suitable for Pressure Canning?
Low-acid foods cannot be safely preserved with the water bath method. With pressure canning, you can preserve all kinds of hearty, nutrient-rich, and versatile foods, such as:
- Vegetables (carrots, green beans, corn—not pickled)
- Meats (poultry, beef, pork, and even fish)
- Soups and stews
- Legumes such as beans and chickpeas
- Broths and stocks
When it comes to low-acid foods, pressure canning is not just recommended—it’s essential. Without the additional heat and pressure, bacteria like Clostridium botulinum can survive and multiply, posing a serious health hazard.
What Equipment Do You Need?
Pressure canning requires a few additional tools beyond what’s used for water bath canning. The key piece of equipment here is, of course, the pressure canner. Here’s what you’ll need:
- A pressure canner (not to be confused with a pressure cooker—these are different!)
- Mason jars, lids, and bands
- A jar lifter and funnel
- A pressure gauge (many canners come equipped with this)
- A reliable source for your processing times and pressure levels (such as the USDA canning guide) – here’s my favorite canning book I’ve relied on since 2021.
Pros and Cons of Pressure Canning
Pros:
- Allows you to preserve a much wider variety of foods
- Faster processing times for many recipes
- Essential for safe preservation of low-acid foods
Cons:
- More expensive to get started (pressure canners can be an investment)
- Steeper learning curve that can feel intimidating to beginners
- Requires careful monitoring of pressure and time
Water Bath vs Pressure Canning Overview
Now for the million-dollar question—what is the real difference between water bath vs pressure canning? Here’s a breakdown of the key distinctions:
| Feature | Water Bath Canning | Pressure Canning |
|---|---|---|
| Temperature | Reaches boiling point (212°F) | Reaches higher temperatures (240°F) |
| Pressure | Atmospheric pressure | High-pressure environment |
| Suitable Foods | High-acid foods | Low-acid foods |
| Processing Time | Typically longer | Often faster |
| Cost | Lower initial investment | Higher initial cost for equipment |
| Ease of Use | Simple and beginner-friendly | Requires more skill and attention |
Understanding these key differences will help you decide which method best suits your preservation goals.
Tips for Getting Started
If you’re still wondering which method to try first, here are some practical tips to get you going:
- Start Small: Begin with water bath canning before moving on to the more advanced pressure canning method. Try simple recipes like berry jams or pickled cucumbers.
- Invest in Quality Equipment: While canning doesn’t have to break the bank, quality tools like sturdy jars, reliable canners, and accurate gauges will make the process smoother and safer.
- Follow Trusted Recipes: When it comes to canning, precise measurements and processing times are crucial for safety. Stick with trusted sources like the USDA canning guide or reputable canning cookbooks.
- Practice Proper Sanitation: Cleanliness is essential when preserving food. Make sure your equipment, jars, and hands are adequately sanitized before beginning the process.
- Don’t Be Afraid to Ask for Help: Canning can be intimidating at first, but don’t let that stop you! Reach out to friends or family who have experience, join online communities, or take a class to learn from experienced canners.
As you continue on your journey of preserving food through canning, you’ll discover the joy of creating delicious, nutritious, and long-lasting pantry staples. So go ahead and get started—happy canning! Happy preserving!
The possibilities are endless when it comes to canning—don’t be afraid to try new recipes or experiment with different fruits and vegetables. Before you know it, you’ll have a pantry full of homemade goodies that will make any meal special. And remember, the satisfaction of opening up a jar of something you preserved yourself is truly unmatched. Keep learning, keep experimenting, and enjoy the abundant harvests! Let’s preserve our food sustainably for a healthier and happier future. See you in the kitchen! Cheers

Interested in learning to build more options out of the system? Click here. Or join my newsletter where I share tips each week.
Thanks for reading!


Food independence
How We Built A Years Worth of Food Security
Popular Posts

Self Sufficiency
My 2020 Wake Up Call That Changed My Life

self sufficiency
What Self Reliance Really Means

Food preservation
The #1 Skill That Saves Us $300/month


New around here? Start with these resources
the FREEBIES

How To Detox Your Home Naturally
download
Self Sufficiency Checklist
download
The World Full of Natural Remedies
download
A daily 90-second lesson delivered straight to your inbox, with the exact steps I took to eliminate my dependencies - house, electricity, water, food - and get out in just 5 years (without leaving the suburbs, without acres of land).
Fast track your exit path from 30 -> to 5 years
free email course

Join over 1K+ Individuals & families
