


When it comes to food preservation, there’s something truly magical about dehydrating foods! It’s such a simple, yet incredibly effective way to fill your pantry with lightweight, nutrient-packed, and long-lasting staples. For anyone who loves the idea of self-sufficiency (like me!), dehydrating food isn’t just a handy skill—it’s a little act of empowerment. It means less waste, more security, and the peace of mind that comes with being prepared for whatever life throws your way.
Imagine having a stash of healthy, homemade snacks or knowing you can rely less on grocery stores. Whether you’re prepping for the long haul, cutting back on food waste, or just enjoying the satisfaction of creating something from scratch, learning to dehydrate food properly is an essential tool in your self-reliance toolkit.
But why does this method matter so much? Personally, I’ve found that diving into food preservation feels like stepping into a world of possibility—it’s both practical and deeply satisfying. If you’re curious about exploring this further, check out “The Ultimate Guide to Food Preservation” on my blog! It’s packed with other tried-and-true methods, and when paired with “The Best Foods for Long-Term Storage,” you’ll have everything you need to build a diverse, secure supply.
So, why not give it a try? Let’s explore this humble yet fascinating method together—you might just fall in love with it like I did!
Why Dehydrating Food Matters
Dehydrating food is one of the oldest and most fascinating preservation techniques—it’s like stepping back in time! Can you imagine ancient civilizations sun-drying fruits, vegetables, and meats to survive harsh winters or food shortages? It’s a practice that’s been around for thousands of years, and yet, here we are in the modern age, finding renewed excitement in it. Sure, we can just hop over to the grocery store for whatever we need, but isn’t there something so satisfying about taking food preservation into your own hands? Especially now, when sustainability and self-sufficiency feel more important than ever.
For those of us who love the idea of doing things the old-school way while staying prepared, the perks are endless:
- Reducing Food Waste: Ever stared at bruised apples or an overflowing garden harvest and thought, “What do I even do with this?” Dehydration gives them a second life! Turn them into shelf-stable snacks or ingredients you can use later.
- Portability: Imagine heading out on a hiking trip with lightweight, nutrient-packed snacks in your bag. Dehydrated foods are a lifesaver—literally! They’re also perfect for small pantry spaces or survival kits.
- Long Shelf Life: Properly dried and stored foods can last for years. No fridge, no freezer—just peace of mind that your prepper stash is ready when you need it.
- Nutritional Value: Here’s the magic—dehydration removes water but keeps most of the nutrients intact. It’s like locking in vitamins and minerals for the long haul!
And the best part? Unlike expensive freeze-dryers or bulk storage systems, dehydrating food is so simple. All you really need are a few basic tools and a little time. I’ll admit, there’s something incredibly rewarding about pulling out a jar of perfectly dried apples or homemade veggie chips and thinking, “I made this!” It’s cost-effective, creative, and honestly, a little addictive.
So, what do you say? Ready to give dehydration a try? Who knows—you might just fall in love with this timeless tradition!
Getting Started with Dehydrating Foods
Tools You’ll Need
Dehydrating food is such an exciting and rewarding journey—and guess what? You don’t need to spend a fortune to get started! The tools you’ll use depend on how much food you plan to dry and how committed you are to the process. Let’s break it down with a little dash of enthusiasm:
- Dehydrator – This is the ultimate sidekick for quick and reliable results. Modern dehydrators are amazing—temperature controls, consistent drying, and even layers make the process a breeze. If you’re diving into dehydration headfirst, this might just be your best friend.
- Oven – Not ready to commit to a dehydrator? No problem! Your trusty oven can handle the job. Just make sure it has a “low” temperature setting (around 140°F/60°C is perfect). I’ve used my oven plenty of times when starting out, and it’s a great way to experiment!
- DIY Methods – Feeling creative? There’s something so satisfying about going old-school with sun-drying, especially for fruits in warm, dry climates. Imagine hanging slices of fruit under the golden sun—it feels almost poetic. You can also get resourceful with setups like a wood stove or a wire rack, using airflow and heat to do the magic.
MY PICK
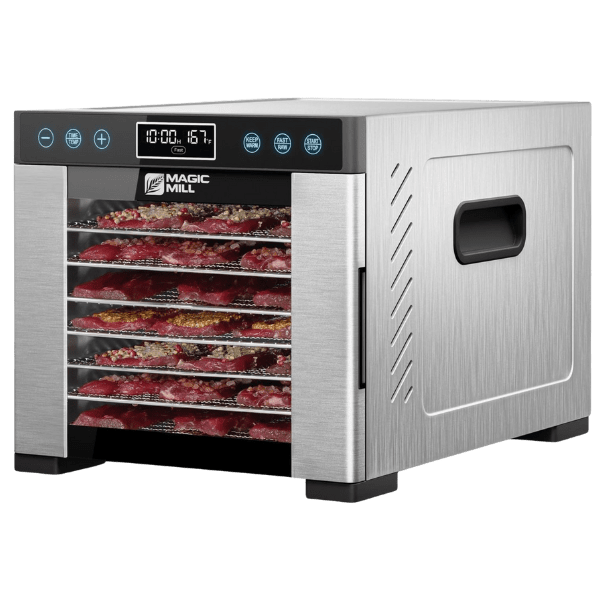
Magic Mill Pro Food Dehydrator
This electric dehydration machine is equipped with a rear-mounted drying fan and air flow circulation technology to ensure even drying, there is no need to rotate the shelves as needed by other brands, monitor the dryer process easily with the transparent door window.
My advice? Start small, experiment, and have fun with it! Dehydrating food isn’t just about preserving—it’s about exploring and creating with what you have. It’s a reminder that self-sufficiency and creativity go hand in hand, and every batch teaches you something new. So, are you ready to give it a try? Let’s dive in!
The Process of Dehydration
- Choose and Prep Your Foods
The magic starts with fresh, quality ingredients—vibrant produce, fragrant herbs, or your favorite cuts of meat. Give everything a good wash (because who wants dirt in their snacks?), trim away any bruised spots, and slice evenly for perfect, consistent drying. A little trick I love? For fruits like apples or bananas, a quick dip in lemon water keeps them beautiful and prevents browning. Trust me, it’s worth the extra step!
- Blanching (Optional but Worth It!.. trust me)
If you’re working with veggies like broccoli or carrots, blanching can be a game-changer. It’s like giving them a little spa treatment—it halts spoilage-causing enzymes and locks in that vibrant color and crisp texture. Doesn’t that sound amazing?
- The Drying Stage
Now comes the fun part! Arrange your slices on trays, making sure they don’t overlap (they need breathing room!). Set your dehydrator or oven to the perfect temp—fruits and veggies love 125°F to 135°F, while jerky demands a solid 160°F for safety. The scent that fills your kitchen? Heavenly!
- Check Doneness
Here’s where the magic reveals itself. For fruits, think leathery but flexible. For herbs, aim for brittle perfection. And jerky? It should bend without breaking—like a little chewy masterpiece. It’s so satisfying to see (and feel) your hard work pay off!
- Cool and Store
Patience, my friend—let your creations cool completely before storing. For long-term enjoyment, I swear by vacuum-sealed bags or mason jars with oxygen absorbers. There’s something so satisfying about lining up jars of your homemade snacks, ready to go when you need them.
Dehydrating food is truly an art, and like any craft, it takes practice! But with a little patience and experimentation, you’ll find your groove. Every batch teaches you something new. And trust me, when you take that first bite of perfectly dried fruit or savory jerky, you’ll know it was all worth it.
What Foods Should You Dehydrate?
Dehydration is like unlocking a treasure chest of possibilities—there’s so much you can create! From simple fruit snacks to fully dried meals, it’s an adventure worth diving into. Here are some of my favorite picks for dehydrating experiments—maybe they’ll inspire you too:
- Fruits
Who doesn’t love the natural sweetness of dried bananas, apples, mangos, or berries? They’re little bites of sunshine, perfect for snacking on the go or preserving a burst of seasonal flavor for later. No added sugar needed—just pure, delicious fruit!
- Vegetables
Dehydrated zucchini, tomatoes, and bell peppers are absolute kitchen heroes. Toss them into soups, casseroles, or stews, and watch them come back to life with their rich, concentrated flavors. (Pro tip: Check out “The Best Foods for Long-Term Storage” for even more pantry inspiration—you’ll thank me later!)
- Herbs
If you’ve ever grown or foraged your own herbs, you know how much joy they bring. Drying them is like bottling up that joy for later! Imagine sipping on a homemade herbal tea blend or sprinkling your own dried rosemary into a recipe. It’s such a satisfying way to preserve the essence of the season.
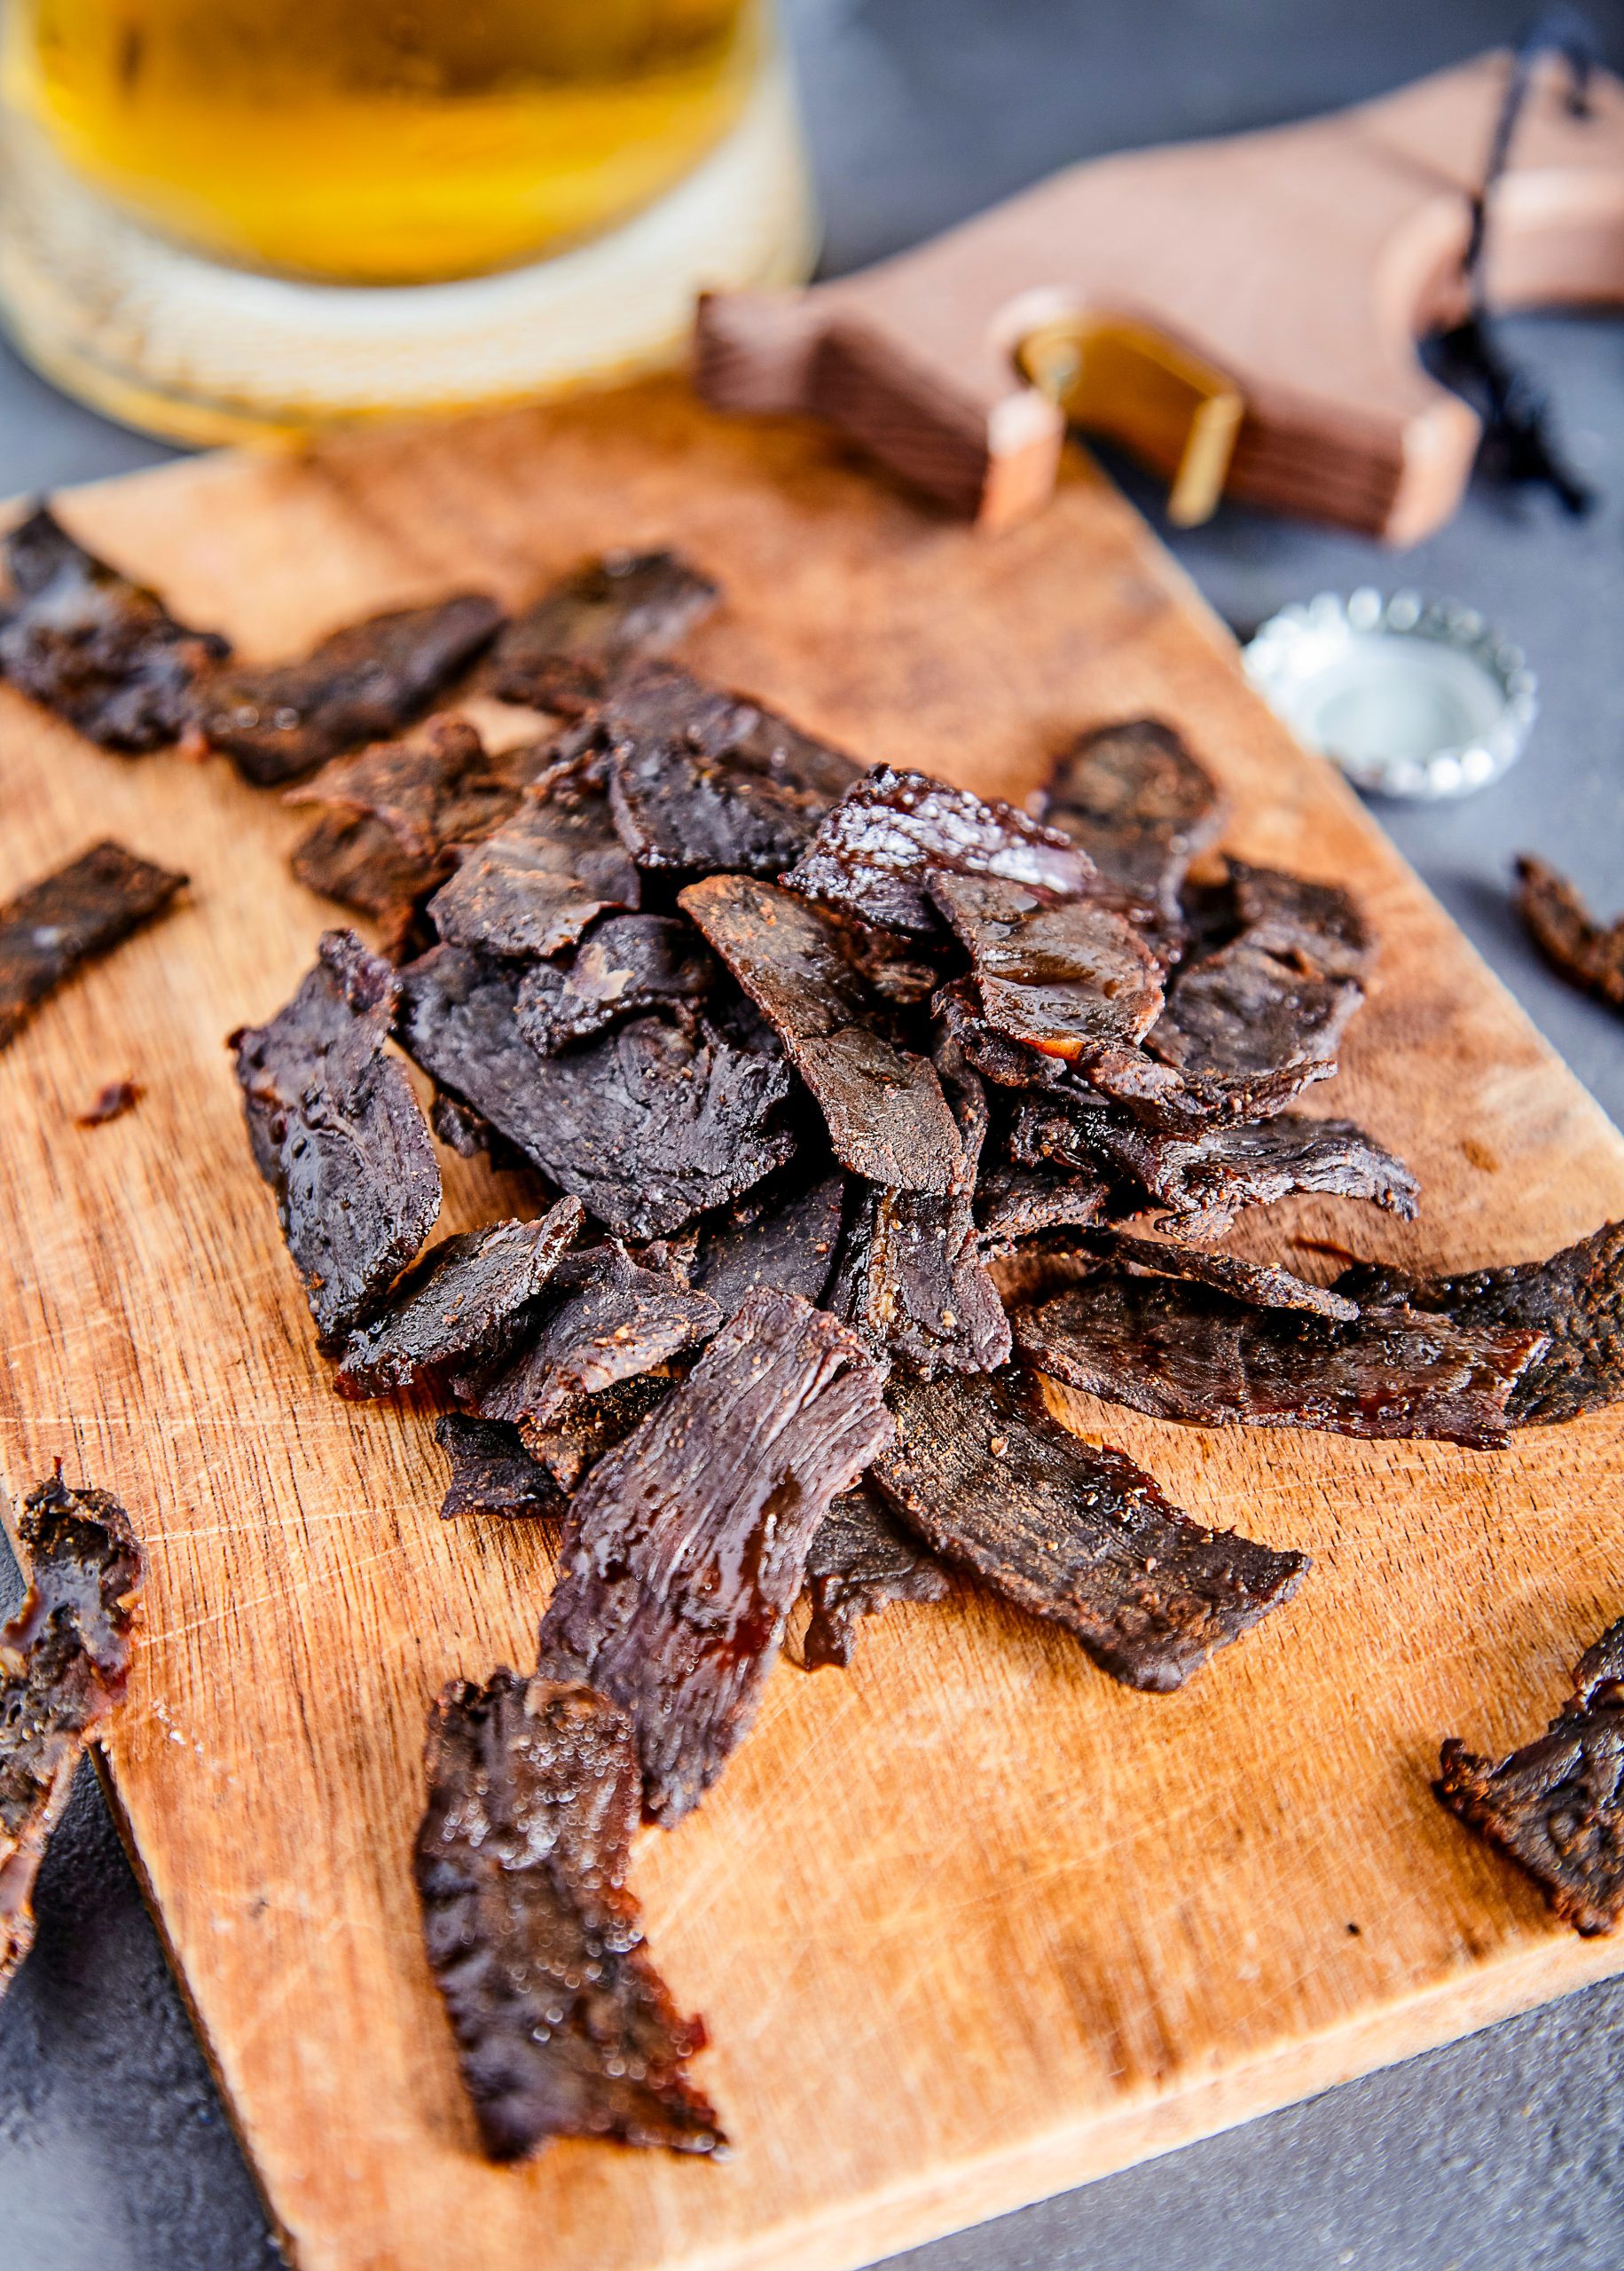
- Meat
Let’s be honest, there’s something deeply satisfying about making your own beef jerky—it’s like the ultimate DIY snack. And if you’re feeling adventurous, why not try venison or turkey jerky? Just be sure to follow the right precautions, and you’re in for a treat!
- Pasta and Prepared Meals
Did you know you can dehydrate entire cooked meals? Seriously, it feels like magic! Favorites like chili or pasta sauce can be dried, stored, and rehydrated whenever you need them. It’s a game changer for camping trips or emergency prep—so convenient and tasty!
Dehydrating foods is more than just a preservation technique; it’s a way to create a pantry that’s vibrant, versatile, and bursting with homemade goodness. What will you try first? Let your imagination run wild—you might be surprised by what you can create!
MY PICK
Magic Mill Pro Food Dehydrator
This electric dehydration machine is equipped with a rear-mounted drying fan and air flow circulation technology to ensure even drying, there is no need to rotate the shelves as needed by other brands, monitor the dryer process easily with the transparent door window.
Practical Applications for the Self-Sufficient Life
Sure, dehydrated fruit makes an excellent snack, but why stop there? For those striving for self-sufficiency, dehydrated foods offer immense practical value across various aspects of life.
When it comes to emergency preparedness, nothing screams readiness like a stash of portable, lightweight meals. Adding vacuum-packed dried foods to your bug-out bag or emergency go-kit ensures you’ll have reliable nourishment when you need it most. For gardeners, dehydrated foods are a fantastic way to preserve the abundance of your harvest. By drying fruits, vegetables, and herbs, you can transform your garden’s bounty into long-lasting ingredients for sauces, soups, or seasonings, avoiding spoilage and making the most of your hard work.
Hikers and campers also benefit greatly from dehydrated foods. Instead of splurging on expensive pre-packaged hiking snacks, you can prepare your own homemade jerky, fruit leathers, and dehydrated meals. These options are lightweight, compact, and provide satisfying nourishment during outdoor adventures. Additionally, in self-sufficiency communities, dehydrated foods can become a valuable commodity for bartering or a thoughtful, unique homemade gift for friends or family.
For more ideas on long-term uses and building an ideal supply for your household, check out my blog post, “The Best Foods for Long-Term Storage.“
How to Store Dehydrated Food for the Long Haul
Once dehydration is complete, proper storage is crucial to maintaining food quality. The key is to eliminate the three main culprits of food spoilage: air, light, and moisture.
Air is a major factor in food degradation. Oxygen promotes mold growth and causes oxidation, which destroys essential nutrients. To prevent this, you should minimize air exposure by vacuum sealing your dehydrated food or using oxygen absorbers in your storage containers.
Light is another enemy of dehydrated food. Sunlight can damage vitamins and accelerate the rancidity of fats, even when stored in glass or plastic containers. To protect your food, make sure it’s stored in a sealed container and kept in a dark place.
Finally, moisture can undo all your hard work. Even small amounts of moisture can create an ideal environment for bacteria to thrive. To combat this, use desiccant packets to absorb any remaining moisture before sealing your containers. Taking these steps will help extend the shelf life of your dehydrated food and keep it safe to enjoy.
Recap
So there you have it—everything you need to know to get started on your dehydrating journey. From choosing the right foods to practical applications and proper storage techniques, you are now equipped with the basics of dehydration. Remember, it’s a learning process, but with practice and creativity, you’ll soon be enjoying all kinds of delicious homemade snacks and meals.

Interested in learning to build more options out of the system? Click here. Or join my newsletter where I share tips each week.
Thanks for reading!


Food independence
How We Built A Years Worth of Food Security
Popular Posts

Self Sufficiency
My 2020 Wake Up Call That Changed My Life

self sufficiency
What Self Reliance Really Means

Food preservation
The #1 Skill That Saves Us $300/month


New around here? Start with these resources
the FREEBIES

How To Detox Your Home Naturally
download
Self Sufficiency Checklist
download
The World Full of Natural Remedies
download
A daily 90-second lesson delivered straight to your inbox, with the exact steps I took to eliminate my dependencies - house, electricity, water, food - and get out in just 5 years (without leaving the suburbs, without acres of land).
Fast track your exit path from 30 -> to 5 years
free email course

Join over 1K+ Individuals & families
