I'm a former tech executive who traded a corporate paycheck for a paid off house, homeschooled kids, and a family that hasn't needed the grocery store the same way in years - all from a suburban ranch home with no farm (yet).
Hi! I'm Janiece
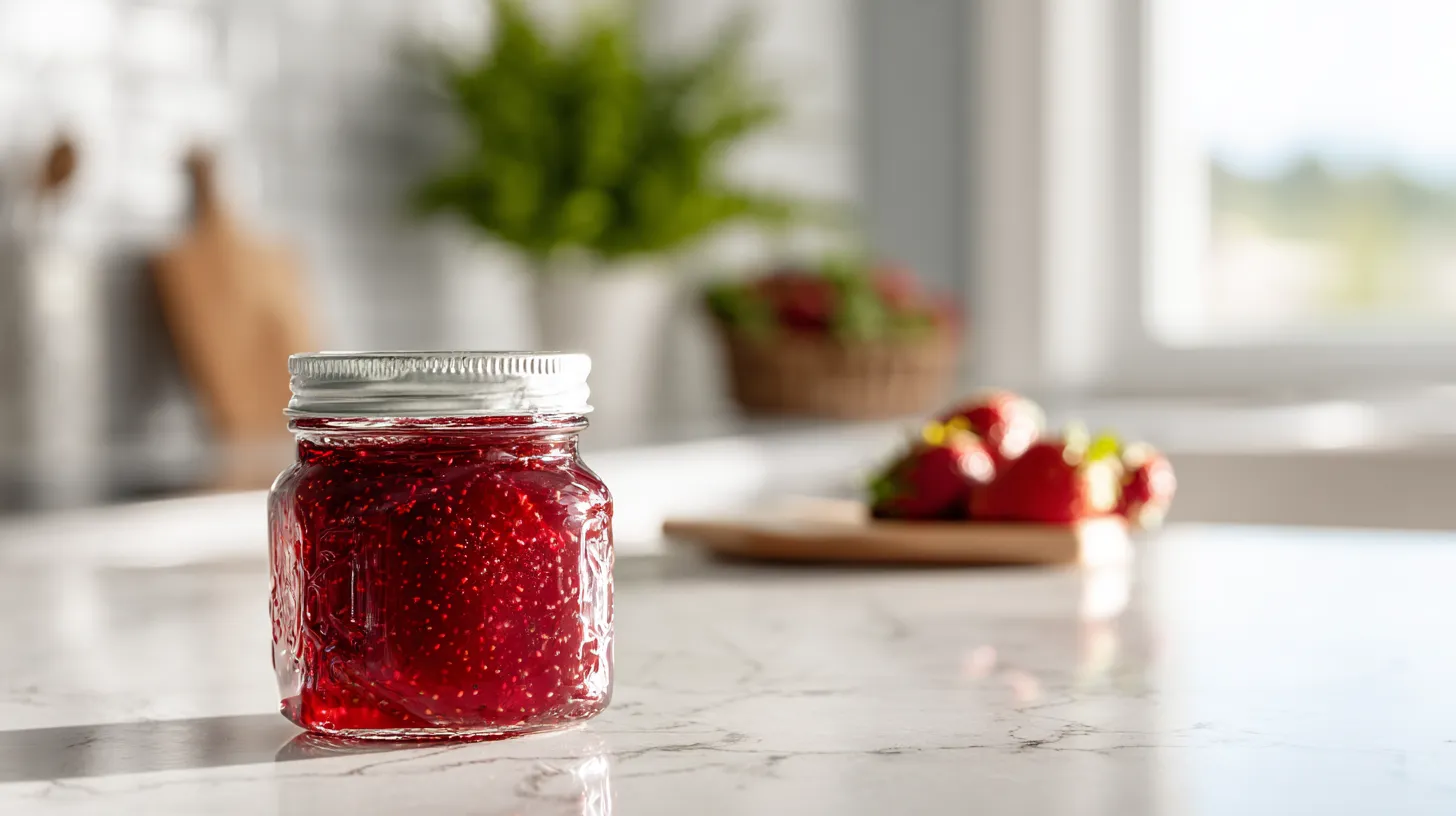
The scent of strawberries bubbling on the stove is pure magic. It fills your entire kitchen with the essence of summer. You’re transforming fresh, juicy berries into ruby-red treasure that will brighten your breakfast table for months to come. If you’ve been curious about how to make strawberry jam or wondering how to start canning your own preserves, this is the perfect beginning to your preservation journey. There’s something deeply satisfying about creating your own pantry staples using simple, wholesome ingredients.
Why Learn How to Make Strawberry Jam
Store-bought jam simply can’t compete with homemade perfection. You control every ingredient that goes into your jar. No high fructose corn syrup, no artificial colors, and no preservatives you can’t pronounce. Plus, you can adjust the sweetness to your family’s taste preferences. Making your own jam also means you can capture strawberries at their peak ripeness when they’re most affordable and flavorful.
Best Strawberries for Perfect Jam
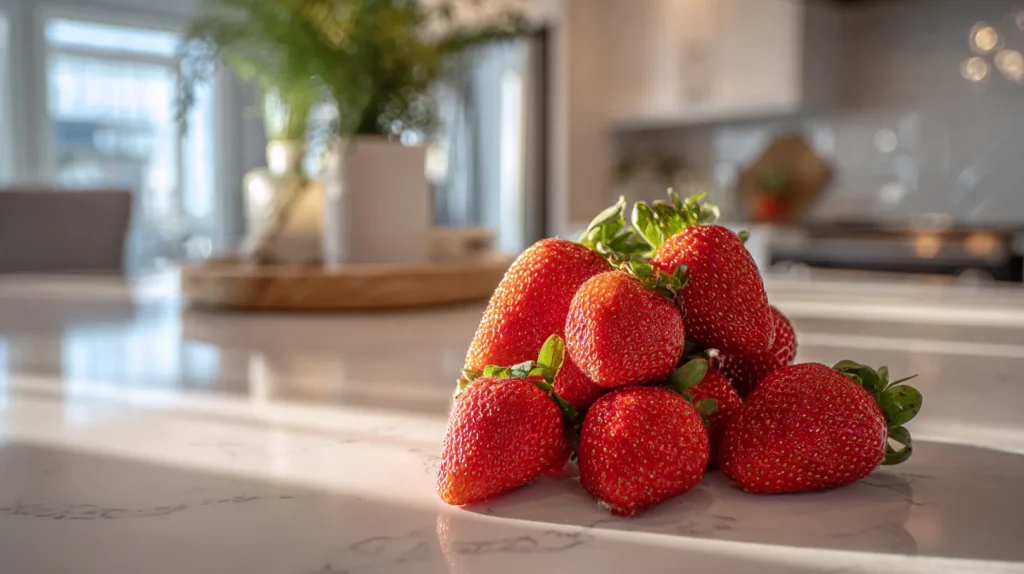
Not every strawberry makes excellent jam. Choose fully ripe berries that are deep red throughout and smell incredibly fragrant. Slightly softer berries work perfectly for jam since they’ll break down beautifully during cooking. Avoid berries with white or green shoulders, as they lack sweetness and flavor. Local, in-season strawberries always produce the most delicious results.
Essential Equipment for Strawberry Jam
You don’t need fancy equipment to create incredible jam. A heavy-bottomed pot prevents scorching and ensures even heat distribution. A wooden spoon for stirring, measuring cups, and a potato masher are your basic tools. For preservation, you’ll need canning jars with new lids, a water bath canner, and basic canning tools. These simple tools will serve you for years of jam-making adventures.
Step-by-Step Jam Making Process
Start by washing and hulling your strawberries, then chop them into your preferred size. Some people love chunky jam with visible fruit pieces, while others prefer smooth consistency. Place your prepared berries in your heavy pot and let them sit with sugar for 10 minutes. This maceration process helps berries release their natural juices.
Cook your strawberry mixture over medium heat, stirring gently to prevent sticking. As the berries heat up, they’ll release more juice and begin breaking down naturally. Simmer until the jam reaches your desired consistency, usually 15-20 minutes. The jam is ready when it coats the back of your spoon or passes the plate test.
Strawberry Jam Recipe
Learn how to make strawberry jam from scratch with this simple guide.
2quartsfresh strawberries, hulled and crushed (about 5 cups crushed)
7cupsgranulated sugar
1/4cupbottled lemon juice (do not substitute fresh)
1package(1.75 oz) powdered pectin
Equipment
Large heavy-bottomed pot for cooking jam
Potato masher or wooden spoon for crushing berries
Boiling water bath canner or large stockpot with rack
7 half-pint (8 oz) canning jars with new lids and rings
Jar lifter, bubble removal tool, and headspace gauge
Jar lifter, bubble removal tool, and headspace gauge
Method
Prepare Jars: Examine all jars for cracks or chips and discard any damaged jars. Wash jars and rings in hot soapy water, rinse thoroughly, and keep jars hot in a 180°F oven or hot water until ready to fill.
Heat Lids: Place new canning lids in a small saucepan, cover with hot water at 180°F, and keep hot until ready to use. Do not boil lids as this may damage the sealing compound.
Prepare Canner: Fill your boiling water bath canner with enough water to cover jars by 1-2 inches when submerged. Begin heating water to a rolling boil while preparing jam.
Prepare Strawberries: Wash strawberries in cold water and remove hulls. Crush berries in batches using a potato masher, leaving some texture for chunky jam or crush completely for smooth jam. Measure exactly 5 cups of crushed berries.
Combine Fruit and Pectin: In a large heavy-bottomed pot, combine crushed strawberries with powdered pectin, stirring thoroughly until pectin is completely dissolved with no lumps remaining.
Boil Fruit Mixture: Add bottled lemon juice to strawberry mixture and bring to a full rolling boil over high heat, stirring constantly. The mixture must boil vigorously and cannot be stirred down.
Add Sugar: Add all 7 cups of sugar at once to the boiling strawberry mixture, stirring constantly to dissolve completely. Return to a full rolling boil and boil hard for exactly 1 minute, stirring constantly.
Test and Fill: Remove jam from heat and quickly skim off any foam with a metal spoon. Using a ladle and wide-mouth funnel, fill hot jars with jam, leaving exactly 1/4 inch headspace from the rim.
Remove Air and Seal: Remove air bubbles by running a plastic tool around the inside of each jar, adjusting headspace if necessary. Wipe jar rims thoroughly with a clean, damp paper towel and center hot lids on jars with rings finger-tight only.
Notes
Always use bottled lemon juice to ensure consistent acidity levels for safe canning
Do not alter sugar, pectin, or fruit ratios as this affects both safety and gel formation
Check that all lids have sealed properly before storing (lids should not flex when pressed)
Store sealed jars in a cool, dark place for up to 2 years for best quality
Refrigerate after opening and use within 3 weeks
If jam fails to set properly, it can be used as a delicious fruit syrup
Natural separation or slight color changes during storage are normal
Always inspect jars before opening – discard if lid is bulging, leaking, or contents smell off
Achieving Perfect Jam Consistency
Getting the right consistency takes practice, but there are reliable tests to guide you. Drop a small amount of jam onto a cold plate – if it wrinkles when you push it with your finger, it’s perfect. The jam should hold its shape but still be spreadable. Remember that jam thickens as it cools, so don’t overcook it.
Safe Preservation Techniques
If you’re planning to preserve your jam for long-term storage, proper canning techniques are essential. Fill sterilized jars with hot jam, leaving appropriate headspace. Process in a boiling water bath for the recommended time based on your altitude and jar size. The satisfying pop of sealing lids tells you your preservation was successful.
Creative Variations for Homemade Jam
Once you master the basic technique, endless variations await you. Add fresh basil for an herbaceous twist, or vanilla extract for warmth. Balsamic vinegar creates sophisticated flavor complexity. Combine strawberries with rhubarb for classic pairing, or mix in other berries for unique blends. Each variation becomes your signature creation.
Troubleshooting Common Issues
Sometimes jam doesn’t set properly, and that’s completely okay. Runny jam makes incredible pancake syrup or ice cream topping. If your jam is too thick, simply stir in a little warm water when serving. Every batch teaches you something new about the process and helps you perfect your technique.
Build Your Preservation Skills
Learning jam-making connects you to generations of home preservers who understood the value of capturing seasonal abundance. This fundamental skill builds food independence and creates security for your family. When you discover how to start canning with simple projects like jam, you’re taking control of your family’s nutrition while building valuable life skills.
There’s incredible joy in opening your pantry and seeing rows of jewel-toned jam ready to brighten any meal. You’re not just preserving fruit – you’re preserving traditions and creating memories that will last for generations. So gather those strawberries and let’s start building your amazing, self-sufficient kitchen together!
A daily 90-second lesson delivered straight to your inbox, with the exact steps I took to eliminate my dependencies - house, electricity, water, food - and get out in just 5 years (without leaving the suburbs, without acres of land).