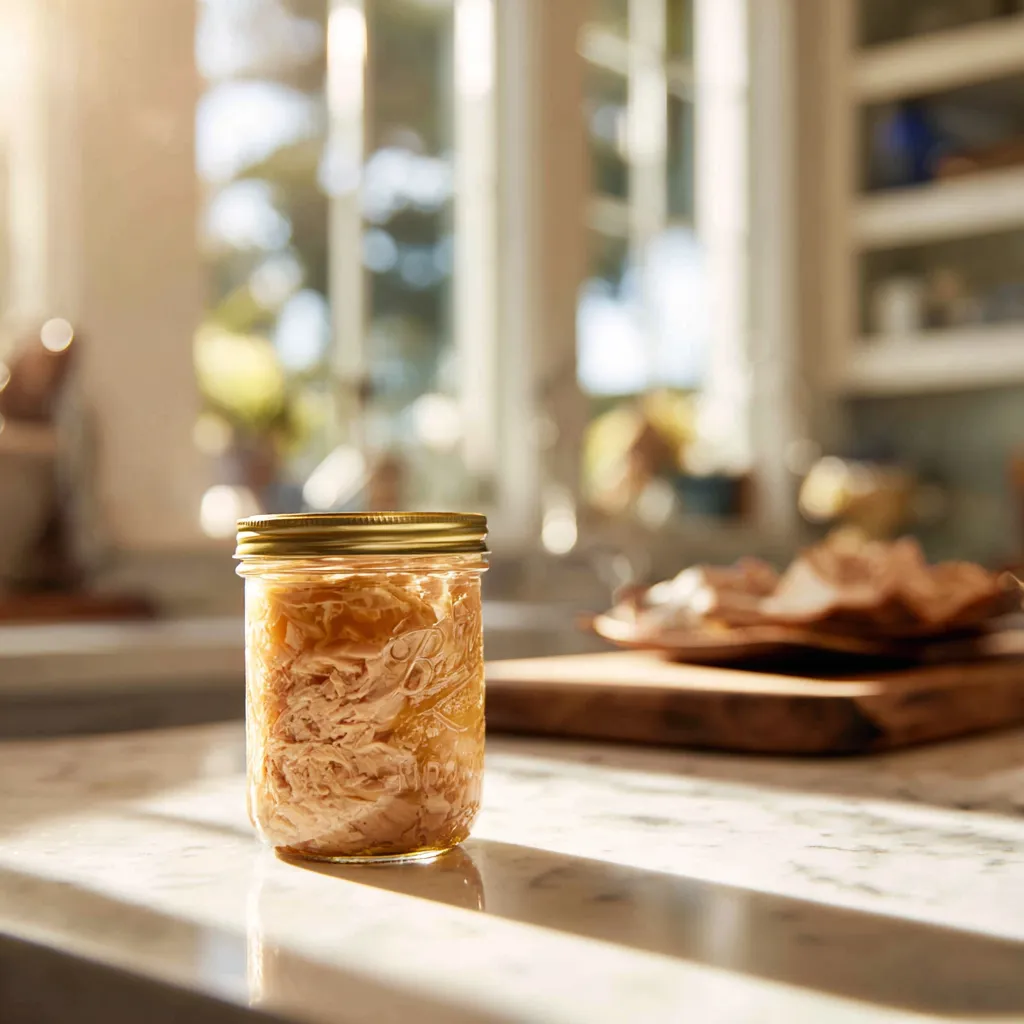
Fresh tuna transformed into shelf-stable protein is one of the most rewarding preservation projects you can tackle. The rich, meaty flavor of properly canned tuna surpasses anything you’ll find at the grocery store. You’re creating premium pantry staples that deliver restaurant-quality results in your own kitchen. If you’ve been curious about canning tuna recipes or wondering how to start canning your own seafood, this protein-packed preservation opens up incredible culinary possibilities. There’s something deeply satisfying about having high-quality protein ready at a moment’s notice.
Why Master Canning Tuna Recipes
Learning to preserve fresh tuna gives you control over every aspect of your protein source. You choose the quality of fish, the seasonings, and the preservation liquid. Store-bought canned tuna often contains added sodium, preservatives, and lower-grade fish. Your homemade version delivers pure, clean protein that’s perfect for everything from quick lunches to elegant dinner preparations. Plus, bulk purchasing fresh tuna during peak season saves significant money while ensuring superior quality.
Best Tuna for Home Preservation
Not all tuna varieties work equally well for home canning. Albacore produces the whitest, mildest meat that’s perfect for classic preparations. Yellowfin offers rich flavor and beautiful color that works wonderfully in Mediterranean-style recipes. Bluefin is premium but expensive – save it for fresh preparations unless you have access to excellent pricing. Always choose the freshest fish possible from reputable sources.
Essential Equipment for Tuna Preservation
You’ll need specific equipment for safely preserving seafood at home. A pressure canner is absolutely mandatory – tuna is a low-acid food that requires pressure processing for safety. Sharp filleting knives, cutting boards designated for seafood, and clean workspace are crucial. Standard canning jars with new lids, pressure canning tools, and accurate measuring equipment complete your setup. Never attempt to water bath can tuna – it’s simply not safe.
- 4-5 pounds fresh tuna (albacore, yellowfin, or skipjack)
- Water, vegetable oil, or olive oil for packing liquid
- 1/2 tsp salt per half-pint jar (optional)
Pressure canner with accurate gauge (dial or weighted)
7 half-pint (8 oz) canning jars with new lids and rings
Jar lifter, bubble removal tool, and headspace gauge
Sharp filleting knife and cutting board designated for seafood
Large pot for pre-cooking (optional based on method chosen)
Prepare Jars: Examine all jars for cracks or chips and discard any damaged jars. Wash jars and rings in hot soapy water, rinse thoroughly, and keep jars hot in a 180°F oven or simmering water until ready to fill.
Heat Lids: Place new canning lids in a small saucepan, cover with hot water at 180°F, and keep hot until ready to use. Do not boil lids as this may damage the sealing compound.
Ready Canner: Add 2-3 inches of water to your pressure canner and place the rack inside. Begin heating the canner while preparing the tuna to save time during processing.
Prepare Fresh Tuna: Remove all skin, bones, and dark meat from fresh tuna using a sharp filleting knife. Cut tuna into chunks that will fit easily into half-pint jars, leaving room for proper headspace. Rinse prepared tuna in cold water and drain thoroughly.
Choose Packing Method: For raw pack, fill jars with raw tuna pieces leaving 1 inch headspace, add salt if desired, then cover with boiling water, oil, or broth. For hot pack, pre-cook tuna in a large pot until heated through but not fully cooked, then pack hot fish into jars with cooking liquid.
Fill Jars with Fish: Pack tuna pieces firmly but not tightly into hot jars, leaving exactly 1 inch headspace from the rim. Add 1/2 teaspoon salt to each jar if desired for flavor enhancement.
Add Packing Liquid: Cover tuna with boiling water, vegetable oil, or olive oil, maintaining the 1 inch headspace. The liquid should cover the fish completely but not exceed the headspace requirement for safe processing.
Remove Air and Seal: Remove air bubbles by running a plastic tool around the inside of each jar, adjusting liquid level as needed to maintain proper headspace. Wipe jar rims thoroughly with a clean, damp cloth and center hot lids on jars with rings finger-tight only.
Load Canner: Place filled jars on the canner rack using a jar lifter, ensuring jars do not touch each other or the sides of the canner. Lock canner lid in place and heat on high until steam vents steadily for 10 minutes to purge air from canner.
Process Under Pressure: Place pressure regulator on vent and process at 11 pounds pressure for exactly 100 minutes for half-pint jars. Adjust pressure for altitude: 1,001-2,000 feet use 11 lbs, 2,001-4,000 feet use 12 lbs, 4,001-6,000 feet use 13 lbs, 6,001-8,000 feet use 14 lbs. After processing, turn off heat and let pressure return to zero naturally before opening canner.
- NEVER use water bath canning for tuna – pressure canning is mandatory for safety
- Do not use pint or quart jars – only half-pint jars ensure proper heat penetration for seafood
- Use only the freshest tuna possible, preferably within 24 hours of being caught
- Follow processing times and pressures exactly as specified – botulism risk is serious with seafood
- Check pressure gauge accuracy annually at your local extension office
- Store properly sealed jars in a cool, dark place for up to 5 years for best quality
- Always inspect jars before opening – discard if lid is bulging, leaking, or contents smell off
- Oil may separate during storage and this is normal – simply stir when ready to use
- If any jar fails to seal, refrigerate immediately and use within 2 days
Preparing Fresh Tuna for Preservation
Start with the freshest tuna you can source, preferably within 24 hours of being caught. Remove all skin, dark meat, and bloodline carefully – these can create off-flavors during storage. Cut tuna into chunks that fit comfortably in your jars with proper headspace. Some recipes call for pre-cooking, while others use raw pack methods. Follow tested recipes exactly for food safety.
Popular Canning Tuna Recipe Variations
Classic tuna in water creates versatile protein perfect for salads, sandwiches, or casseroles. Oil-packed versions offer richer flavor and work beautifully in pasta dishes or antipasto platters. Mediterranean-style recipes with herbs, garlic, and olive oil create gourmet pantry staples. Spicy versions with peppers or hot sauce add excitement to routine meals. Each variation opens up different culinary applications.
Critical Safety Requirements
Here’s where food safety becomes absolutely non-negotiable. Tuna must be pressure canned because it’s a low-acid food that can harbor dangerous bacteria. Follow tested recipes precisely – don’t experiment with ingredients, processing times, or pressure levels. The risk of botulism with improperly canned seafood is serious and potentially fatal. Always use current, tested recipes from reliable sources like the USDA.
Proper Pressure Processing Techniques
Fill jars according to your chosen recipe, maintaining proper headspace throughout. Remove air bubbles carefully and wipe jar rims spotlessly clean. Process at the correct pressure for your altitude and jar size. Never rush the cooling process – let pressure return to zero naturally. Listen for the satisfying pops as jars seal properly.
Storage and Serving Your Preserved Tuna
Store properly sealed jars in a cool, dark place where they’ll maintain quality for up to five years. Label each jar with the date and recipe variation. When you’re ready to use your preserved tuna, the applications are endless. Tuna salad, pasta dishes, casseroles, or elegant appetizers all become effortless with your homemade protein ready to use.
Build Your Protein Security
Mastering seafood preservation connects you to coastal communities who have understood ocean bounty for generations. This advanced skill builds serious food independence and protein security for your family. When you learn how to start canning substantial proteins like tuna, you’re creating nutritional insurance while building invaluable preservation skills.
There’s incredible confidence in knowing your pantry contains premium protein that rivals any restaurant quality. You’re not just preserving fish – you’re preserving traditions and building skills that create lasting food security for your family. So source that fresh tuna and let’s start building your amazing, protein-rich pantry together!