I'm a former tech executive who traded a corporate paycheck for a paid off house, homeschooled kids, and a family that hasn't needed the grocery store the same way in years - all from a suburban ranch home with no farm (yet).
Hi! I'm Janiece
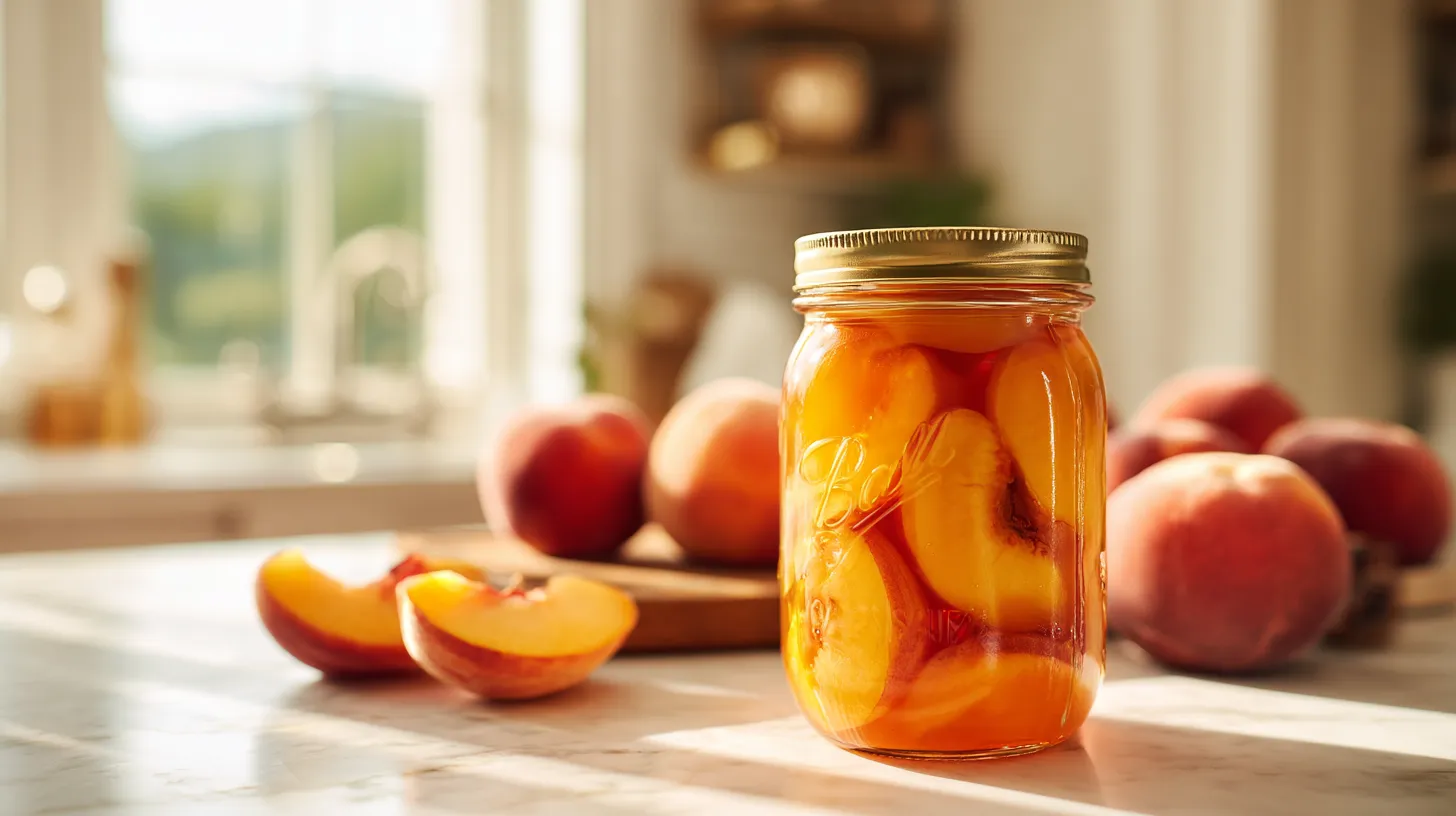
If you’ve been curious about how to can sliced peaches or wondering how to start canning your own fruit, this project offers the perfect introduction to preservation. There’s something deeply satisfying about turning a bushel of fresh peaches into pantry gold.
Why Learn How to Can Sliced Peaches
Store-bought canned peaches can’t compare to homemade perfection. You control the sweetness level and avoid artificial syrups or preservatives. Peak-season peaches captured at their ripest deliver incredible flavor that commercial versions simply can’t match. Plus, having jars of peaches ready means instant desserts, quick breakfast additions, or emergency ingredients for unexpected guests. Your family gets wholesome nutrition packed in natural sweetness.
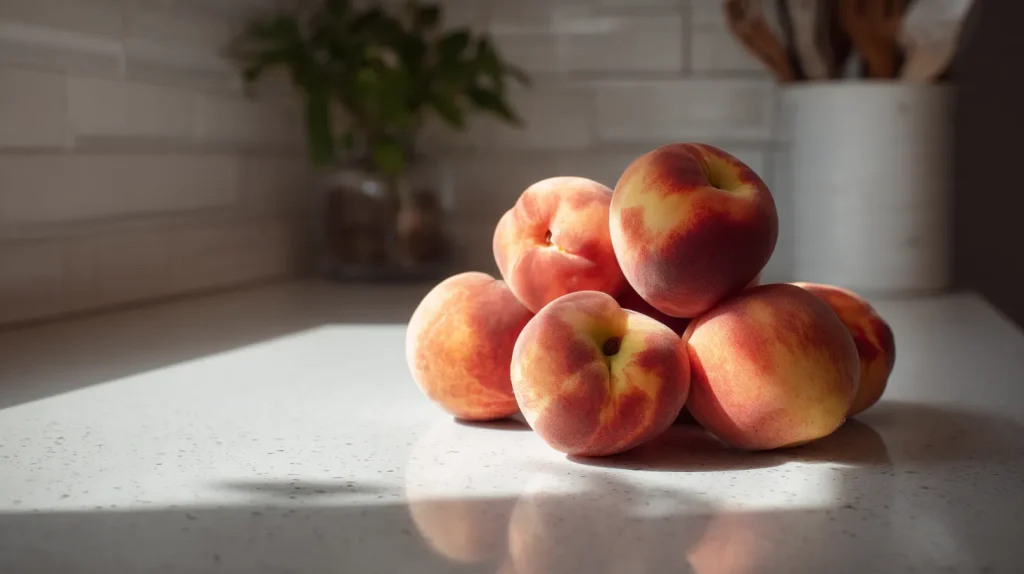
Best Peaches for Perfect Preservation
Choosing the right peaches makes all the difference in your finished product. Look for freestone varieties that separate easily from the pit – Elberta, Red Haven, and Cresthaven work beautifully. The peaches should be ripe but still firm enough to hold their shape during processing. Slightly underripe fruit actually works better than overripe for canning since they won’t turn to mush.
Essential Equipment for Peach Canning
You’ll need some basic equipment to safely preserve your golden treasures. A large pot for blanching, sharp paring knives for peeling, and a slotted spoon for handling hot fruit. Standard canning jars with new lids, a water bath canner, and basic canning tools complete your setup. A large bowl for ice water helps with the peeling process. These tools are investments that will serve you through countless preservation projects.
How to Can Sliced Peaches Recipe
Learn how to can sliced peaches safely at home with this step-by-step guide.
Light syrup: 2.25 cups sugar + 5.25 cups water (or use water/juice for sugar-free)
2tbspascorbic acid or lemon juice per gallon of water (anti-browning treatment)
Equipment
Large pot for blanching peaches
Large bowl for ice water bath
Boiling water bath canner or large stockpot with rack
7 quart (32 oz) or 14 pint (16 oz) canning jars with new lids and rings
Jar lifter, bubble removal tool, and headspace gauge
Sharp paring knives and slotted spoon
Method
Prepare Jars: Examine all jars for cracks or chips and discard any damaged jars. Wash jars and rings in hot soapy water, rinse thoroughly, and keep jars hot in a 180°F oven or hot water until ready to fill.
Heat Lids and Syrup: Place new canning lids in a small saucepan with hot water at 180°F and keep hot until ready to use. In another pot, combine sugar and water for syrup, bring to a boil, and keep hot throughout packing process.
Prepare Canner: Fill your boiling water bath canner with enough water to cover jars by 1-2 inches when submerged. Begin heating water to a rolling boil while preparing peaches.
Blanch and Peel Peaches: Wash peaches and score an X on the bottom of each fruit. Blanch peaches in boiling water for 30-60 seconds, then immediately plunge into ice water. Remove skins by slipping them off with your hands or a knife.
Slice and Treat Peaches: Cut peeled peaches in half, remove pits, and slice into uniform pieces about 1/2 inch thick. Immediately place sliced peaches in water treated with ascorbic acid or lemon juice to prevent browning while you work.
Hot Pack Method: Drain treated peaches and place in a large pot with hot syrup or water. Bring to a boil and boil gently for 5 minutes, stirring carefully to heat fruit evenly without breaking slices.
Fill Jars: Using a slotted spoon, pack hot peaches into hot jars, leaving 1/2 inch headspace. Cover with boiling syrup or water, maintaining the 1/2 inch headspace and ensuring liquid covers fruit completely.
Remove Air Bubbles: Run a plastic bubble removal tool around the inside of each jar to release trapped air bubbles, adjusting liquid level as needed to maintain proper headspace. Wipe jar rims thoroughly with a clean, damp cloth.
Seal Jars: Center hot lids on jars and apply rings finger-tight only. Using jar lifter, place filled jars on canner rack, ensuring jars do not touch each other or the sides of the canner.
Process in Water Bath: Lower jars into boiling water, ensuring they are covered by 1-2 inches of water. Process pint jars for 25 minutes or quart jars for 30 minutes, adjusting for altitude: add 5 minutes for 1,001-3,000 feet, add 10 minutes for 3,001-6,000 feet, add 15 minutes for above 6,000 feet. Remove jars and cool undisturbed on a towel for 12-24 hours.
Notes
Natural fruit acidity makes peaches safe for water bath canning without added acid
Check that all lids have sealed properly before storing (lids should not flex when pressed)
Store sealed jars in a cool, dark place for up to 2 years for best quality
Refrigerate after opening and use within 1 week
Fruit may float to top of jars and this is normal and safe
Slight darkening at top of jar is normal oxidation and does not affect safety
Always inspect jars before opening – discard if lid is bulging, leaking, or contents smell off
For raw pack method, pack raw peaches in jars and cover with hot syrup, but increase processing time by 5 minutes
Step-by-Step Peach Preparation
Start by washing your peaches gently under cool running water. Score an X on the bottom of each peach with a sharp knife. Blanch peaches in boiling water for 30-60 seconds, then immediately plunge into ice water. The skins will slip off easily – this technique saves hours of tedious peeling.
Cut your peeled peaches in half and remove the pits. Slice each half into uniform pieces, about 1/2 inch thick for best results. Treat cut peaches with ascorbic acid or lemon juice to prevent browning while you work. This step keeps your finished product looking beautiful and golden.
Choosing Your Canning Liquid
You have several options for packing liquid when learning how to can sliced peaches. Light syrup offers gentle sweetness without overwhelming the fruit’s natural flavor. Water or unsweetened juice creates a healthier, lower-calorie option. Heavy syrup works well for dessert applications. Each choice affects both flavor and nutritional content of your finished product.
Safe Water Bath Processing
Peaches are high-acid fruit, making them safe for water bath canning. Pack your prepared fruit into hot, sterilized jars and cover with your chosen liquid. Leave proper headspace as specified in tested recipes. Remove air bubbles carefully and wipe jar rims clean before applying lids. Process for the time specified for your jar size and altitude.
Storage and Creative Uses
Store your properly sealed jars in a cool, dark place where they’ll maintain quality for up to two years. Label each jar with the date and syrup type. Beyond eating straight from the jar, canned peaches shine in cobblers, smoothies, pancake toppings, or mixed into yogurt. They make incredible ice cream bases or elegant tart fillings.
Troubleshooting Common Issues
Sometimes peaches float to the top of jars, and that’s completely normal. The fruit is still safe and delicious. If any jars don’t seal properly, refrigerate them immediately and use within a week. Slight darkening at the top of jars is normal and doesn’t affect safety or quality.
Build Your Preservation Legacy
Mastering peach preservation connects you to generations of home preservers who understood seasonal abundance. This fundamental skill builds food independence while creating pantry security for your family. When you learn how to start canning beautiful fruit like peaches, you’re taking control of your family’s nutrition and building skills that last a lifetime.
There’s incredible joy in opening your pantry and seeing rows of golden peaches ready to brighten any meal or create instant desserts. You’re not just preserving fruit – you’re preserving summer memories and building traditions that will nourish your family for years to come. So gather those peaches and let’s start building your amazing, self-sufficient kitchen together!
A daily 90-second lesson delivered straight to your inbox, with the exact steps I took to eliminate my dependencies - house, electricity, water, food - and get out in just 5 years (without leaving the suburbs, without acres of land).