I'm a former tech executive who traded a corporate paycheck for a paid off house, homeschooled kids, and a family that hasn't needed the grocery store the same way in years - all from a suburban ranch home with no farm (yet).
Hi! I'm Janiece
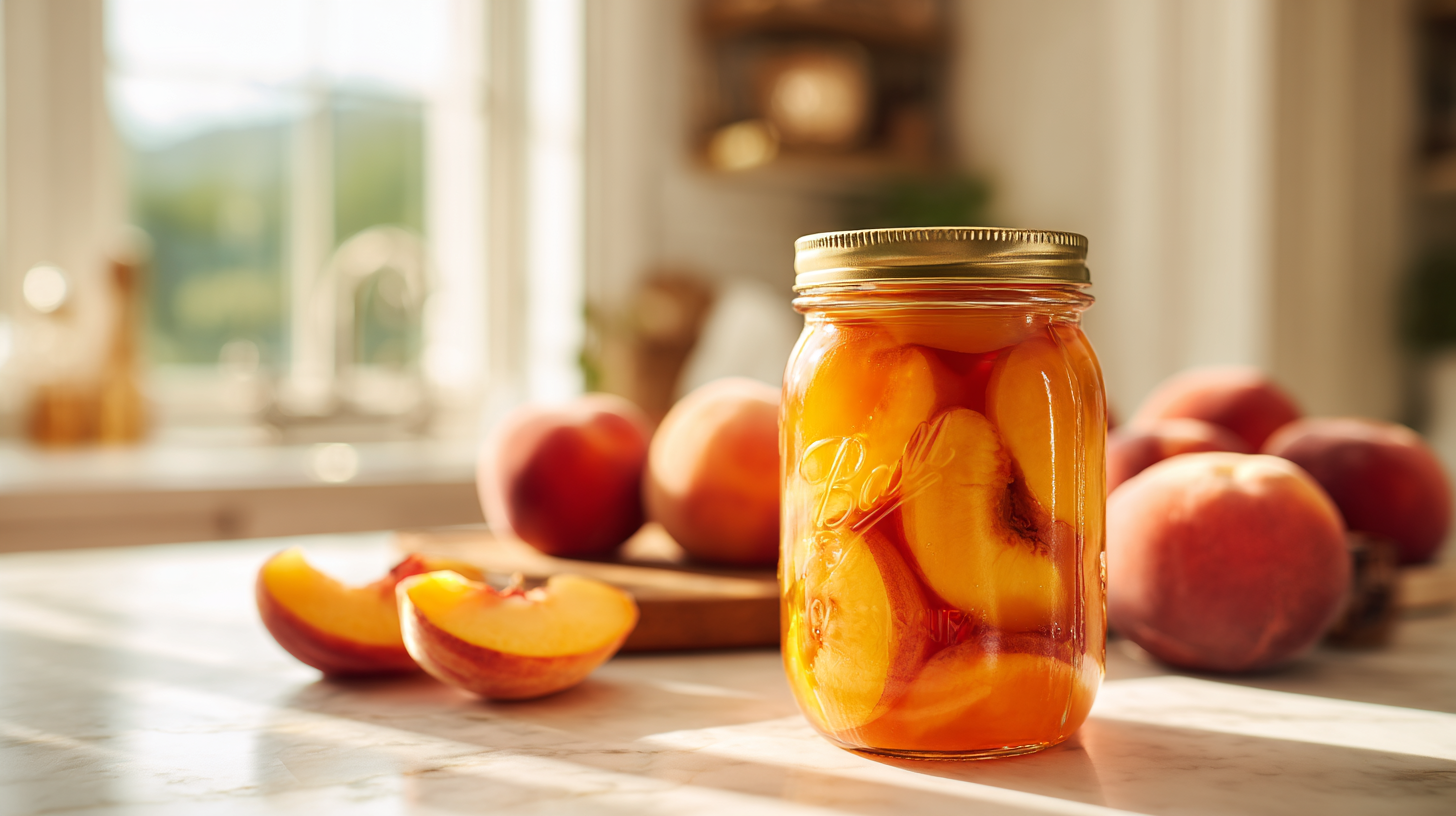
Can we talk about one of my absolute favorite summer traditions? There’s something so incredibly satisfying about transforming a basket of sun-ripened peaches into jars of golden goodness that’ll brighten your pantry all winter long. If you’ve been wondering how to can peaches, you’re in for such a treat! This process connects us to generations of women who knew the value of preserving nature’s bounty, and honestly, it’s one of the most rewarding skills you can learn. Whether you’re just discovering how to start canning or you’re ready to dive deeper into food preservation, canning peaches is the perfect place to begin your journey toward true food independence.
Why Can Peaches at Home?
Let me paint you a picture: it’s January, snow is falling, and you open a jar of peaches you canned last August. That first spoonful transports you right back to summer sunshine. That’s the magic of home canning, friends! When you can your own peaches, you’re not just preserving fruit – you’re capturing memories, saving money, and taking control of exactly what goes into your family’s food.
Store-bought canned peaches often come loaded with high-fructose corn syrup and preservatives that our great-grandmothers never needed. When you can at home, you choose the sugar content, you know the source of your fruit, and you create something truly special with your own hands.
Essential Equipment for Canning Peaches
Before we dive into the how-to, let’s gather our tools. Don’t worry – you probably already have most of what you need hiding in your kitchen! Here’s what you’ll need to get started:
Water Bath Canner or Large Pot: This is your main vessel for processing the jars. If you don’t have a proper canner, any large pot that can hold your jars with 1-2 inches of water covering the tops will work beautifully.
Canning Jars and Lids: Use only proper canning jars (like Ball or Kerr brands) with new lids. You can reuse the rings, but always use fresh lids for a proper seal.
Canning Tools: A jar lifter, canning funnel, and bubble removal tool make the process so much easier and safer. Trust me on this one!
Large Bowls and Pots: You’ll need these for blanching, peeling, and preparing your peaches.
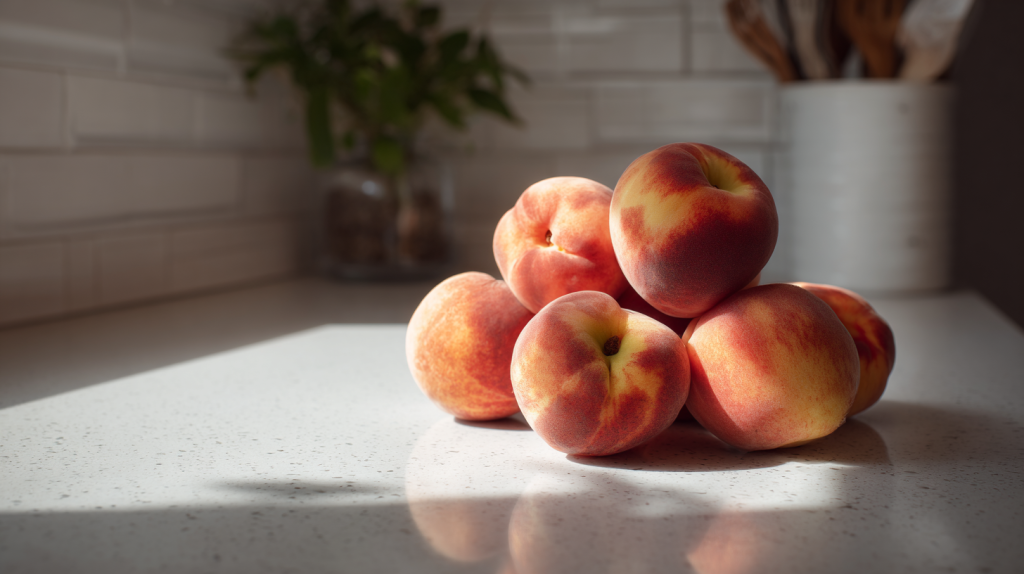
Choosing the Perfect Peaches
Here’s where the magic really begins – selecting your peaches! The best peaches for canning are freestone varieties that are ripe but still firm. Think of it like Goldilocks: not too hard, not too soft, but just right. You want peaches that give slightly to gentle pressure but aren’t mushy or overripe.
Some of my favorite varieties for canning include Elberta, Red Haven, and Belle of Georgia. Visit your local farmers market or orchard if possible – there’s something so special about knowing exactly where your food comes from, and the quality is usually exceptional.
How to Can Peaches: Step-by-Step Process
Peach Canning Recipe
Learn how to can peaches – no complexity & approved recipe for your family!
Canning jars (pint or quart size, new lids, clean rings)
Jar lifter, canning funnel, bubble removal tool
Large pot for blanching, large bowl for ice water
Method
Examine canning jars for cracks or chips and discard any damaged jars. Wash jars, lids, and rings in hot soapy water, then keep jars hot by running them through the dishwasher or submerging in hot water until ready to fill.
Fill water bath canner halfway with water and begin heating. Fill large pot with water for blanching peaches and bring to a rolling boil. Prepare large bowl with ice water.
Prepare light syrup by combining sugar and water in a large saucepan. Bring to a boil, stirring until sugar dissolves completely. Keep hot but do not continue boiling.
Wash peaches thoroughly under cold running water. Score a small X on the bottom of each peach with a sharp knife. Working in small batches, blanch peaches in boiling water for 30-60 seconds, then immediately plunge into ice water bath.
Remove skins from blanched peaches by pulling them off with your hands or a paring knife. Cut peaches in half, remove pits, and slice if desired. Treat with lemon juice if using to prevent browning.
Pack prepared peaches into hot jars using the hot pack method: layer peaches in a large pot, add hot syrup to barely cover, and heat for 5 minutes before packing into jars. Leave ½ inch headspace in each jar.
Pour additional hot syrup over peaches in jars, maintaining ½ inch headspace. Remove air bubbles by sliding a clean plastic knife or bubble removal tool around the inside of each jar.
Wipe jar rims clean with a damp cloth to remove any food residue or syrup. Center new lids on jars and apply rings until fingertip tight (do not overtighten).
Process filled jars in boiling water bath canner, ensuring water covers jar tops by 1-2 inches. Process pint jars for 20 minutes, quart jars for 25 minutes. Adjust processing time for altitude: add 5 minutes for 1,001-6,000 feet elevation, add 10 minutes above 6,000 feet.
Remove jars using jar lifter and place on towel-lined counter, leaving 1 inch space between jars. Cool completely for 12-24 hours. Check seals by pressing center of lids – properly sealed lids will not flex. Store sealed jars in cool, dark place for up to 2 years. Refrigerate any unsealed jars and use within 1 week.
Notes
Use only tested canning recipes from USDA or Ball canning guides
Never alter processing times, jar sizes, or ingredient ratios
If in doubt about seal quality, refrigerate and consume within one week
Source: Adapted from USDA Complete Guide to Home Canning, 2015 revision
Safety Tips for Canning Peaches
Safety first, always! Peaches are a high-acid fruit, which makes them perfect for water bath canning. However, never skip steps or take shortcuts when it comes to processing times and temperatures. Always use tested recipes from reliable sources like the USDA or Ball canning guides.
Check your seals after 24 hours – properly sealed jars will have lids that don’t flex when pressed. Any jars that didn’t seal should go straight into the refrigerator and be used within a few days.
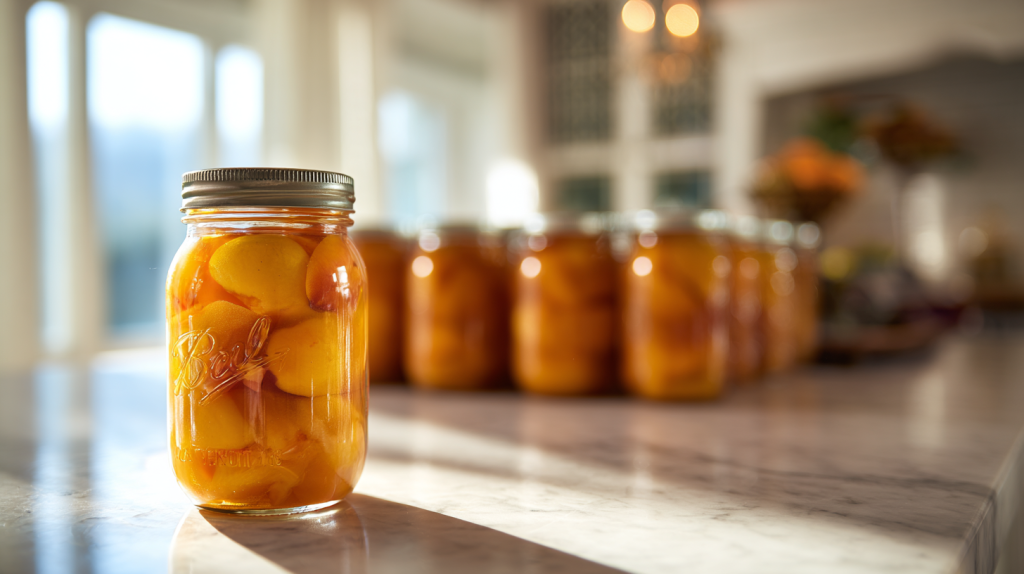
Storing Your Canned Peaches
Once cooled, remove the rings and store your beautiful jars in a cool, dark place. Properly canned peaches will keep for 1-2 years, though they’re usually so delicious they don’t last nearly that long in my house!
Label your jars with the date – you’ll thank yourself later when you’re staring at a pantry full of preserved goodness trying to remember what you canned when.
Creative Ways to Use Canned Peaches
The possibilities are endless! Beyond eating them straight from the jar (guilty!), try them in cobblers, smoothies, yogurt parfaits, or even as a topping for pancakes. They make incredible gifts too – there’s nothing quite like sharing a jar of summer sunshine with someone you love.
Take Your Food Independence to the Next Level
Learning how to can peaches is just the beginning of an incredible journey toward food independence and connecting with generational knowledge that’s been passed down through families for centuries. Our grandmothers and great-grandmothers knew the value of preserving the harvest, of having a well-stocked pantry, and of the deep satisfaction that comes from providing for your family with your own hands.
When you master the art of canning, you’re not just learning a skill – you’re reclaiming a piece of your family’s heritage and taking a powerful step toward self-sufficiency. You’re joining a long line of strong women who understood that true security comes from knowledge, preparation, and the ability to nourish your loved ones no matter what life brings.
So go ahead, beautiful – grab those peaches, fire up that canner, and start creating your own delicious legacy. Whether you’re just learning how to start canning or expanding your preservation skills, every jar you fill is an investment in your family’s future and a connection to the wisdom of generations past. Your future self (and your family) will thank you for taking this step toward true food independence!
A daily 90-second lesson delivered straight to your inbox, with the exact steps I took to eliminate my dependencies - house, electricity, water, food - and get out in just 5 years (without leaving the suburbs, without acres of land).