I'm a former tech executive who traded a corporate paycheck for a paid off house, homeschooled kids, and a family that hasn't needed the grocery store the same way in years - all from a suburban ranch home with no farm (yet).
Hi! I'm Janiece
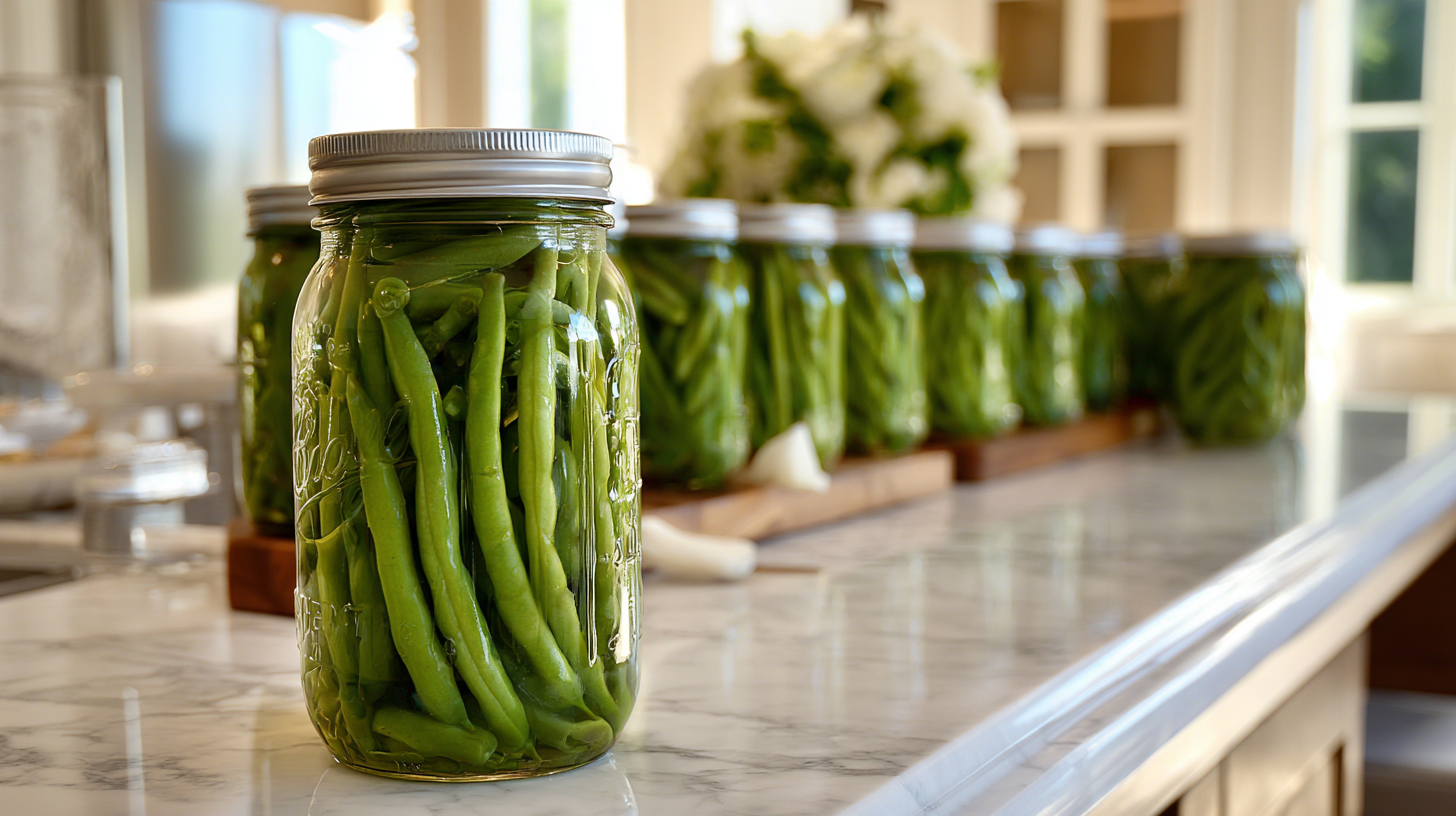
There’s something deeply satisfying about opening a jar of home-canned green beans in the middle of winter and tasting that bright, garden-fresh flavor. I remember the first time I successfully canned my grandmother’s green beans — it felt like I was carrying forward a tradition that connected me to generations of women who understood the art of preserving their harvest.
But here’s the thing about canning: while it’s incredibly rewarding, safety must always come first. Green beans are what we call a low-acid food, which means they require specific techniques to prevent dangerous bacteria like botulism. Don’t let that scare you, though! With the right knowledge and careful attention to detail, you can safely preserve your green bean harvest and enjoy that homegrown goodness all year long.
In this comprehensive guide, I’ll walk you through everything you need to know about how to can green beans safely, from selecting the perfect beans to storing your finished jars. By the end, you’ll have the confidence to tackle this essential homesteading skill with peace of mind.
Why Can Green Beans at Home?
Before we dive into the how-to, let me share why canning green beans is worth your time and effort. Fresh green beans from your garden or local farmers market have a flavor that store-bought canned versions simply can’t match. When you control the entire process, you know exactly what goes into your food — no mysterious preservatives or excessive sodium.
There’s also the incredible sense of food independence that comes with a pantry full of home-preserved vegetables. During challenging times or unexpected events, having nutritious food readily available brings genuine peace of mind. Plus, the cost savings add up significantly when you’re preserving your own harvest or taking advantage of seasonal abundance.
Understanding Green Bean Canning Safety
Green beans have a pH level above 4.6, classifying them as a low-acid food. This means harmful bacteria like Clostridium botulinum can survive in the low-oxygen environment of a sealed jar unless proper precautions are taken. The only safe method for canning green beans at home is pressure canning — water bath canning simply doesn’t reach high enough temperatures to eliminate these dangerous bacteria.
I can’t stress this enough: following tested recipes and proper procedures isn’t just about quality; it’s about keeping your family safe. The USDA and extension services have spent decades developing these guidelines based on scientific research, and they’re non-negotiable when it comes to low-acid foods.
Essential Equipment for Canning Green Beans
Before you begin, gather all the necessary equipment. You’ll need a pressure canner (not just a pressure cooker), canning jars with new lids and rings, a jar lifter, canning funnel, and a bubble removal tool. I also recommend having a kitchen scale, timer, and clean towels nearby.
Your pressure canner should be in good working condition with an accurate gauge. If you haven’t used it recently, have the gauge tested at your local extension office — this small step could prevent serious safety issues down the road.
How to Select and Prepare Green Beans for Canning
Choose young, tender green beans that snap crisply when bent. Avoid beans that are tough, stringy, or have large, developed seeds inside. I prefer beans that are pencil-thick or slightly smaller, as they tend to have better texture after processing.
Wash the beans thoroughly in cool water, removing any dirt or debris. Trim both ends and cut into uniform pieces — either 1-inch lengths or leave them whole if your beans are small enough to fit vertically in the jars with proper headspace.
Step-by-Step Guide: How to Can Green Beans Safely
Preparing Your Equipment
Start by washing your jars, lids, and rings in hot, soapy water. Keep the jars hot by leaving them in hot water or running them through the dishwasher cycle. Prepare your pressure canner according to the manufacturer’s instructions, adding the recommended amount of water.
Hot Pack Method for Green Beans
I prefer the hot pack method because it results in better color retention and flavor. Bring a large pot of water to boil and add your prepared green beans. Boil for 5 minutes, then immediately drain.
Pack the hot beans into your prepared jars, leaving 1 inch of headspace at the top. This headspace is crucial for proper sealing and safety. Add 1/2 teaspoon of salt per pint jar or 1 teaspoon per quart jar if desired — salt is purely for flavor and isn’t necessary for preservation.
Cover the beans with fresh boiling water, maintaining that 1-inch headspace. Remove air bubbles by gently sliding a clean knife or bubble removal tool around the inside edges of the jar. Wipe the jar rims clean with a damp cloth and place the lids and rings, tightening finger-tight.
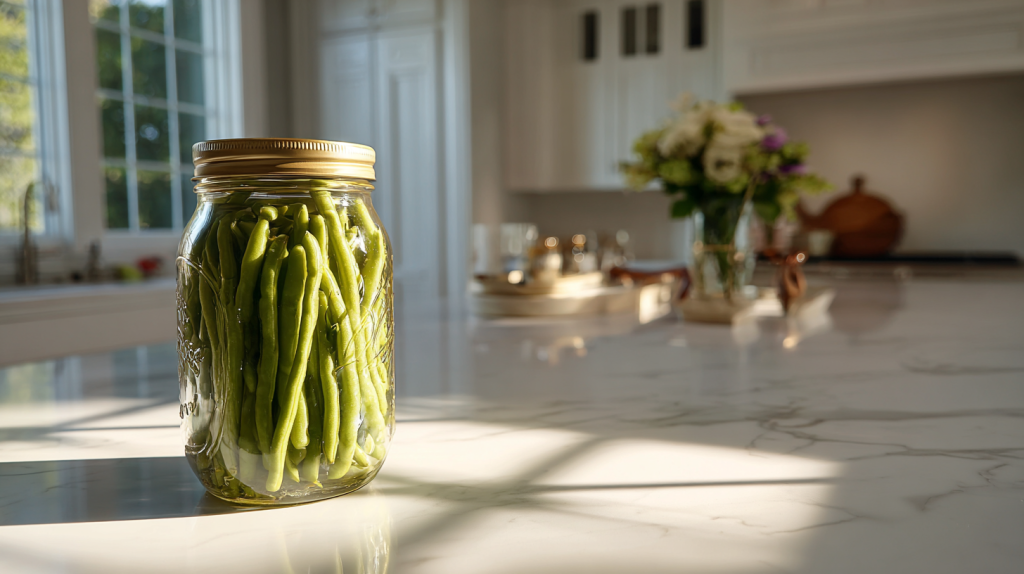
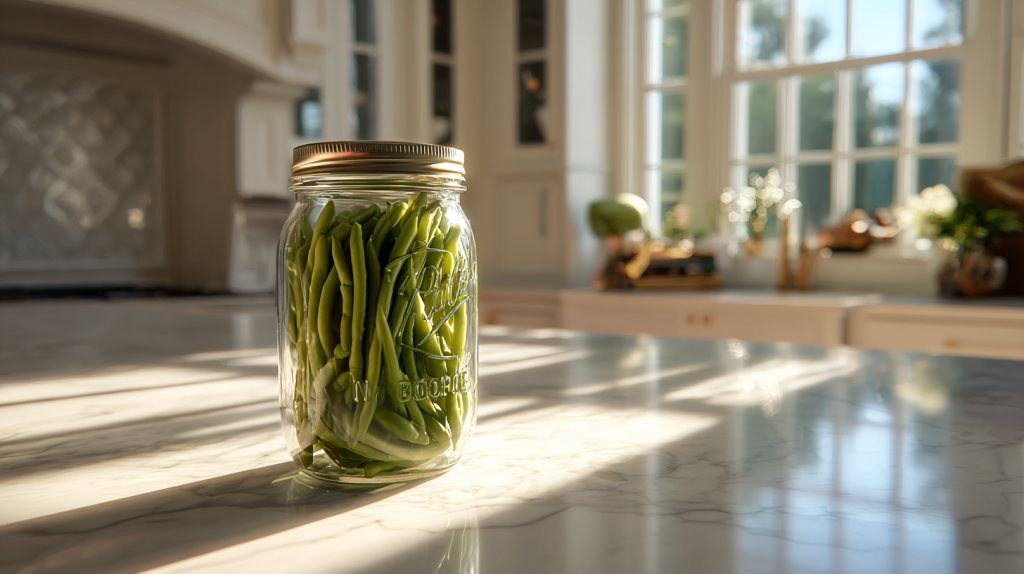
Canned Green Beans
Learn how to can green beans safely with our step-by-step guide. Master pressure canning techniques for food independence and year-round garden freshness.
Saltoptional: 1/2 teaspoon per pint, 1 teaspoon per quart
Boiling waterfor covering
Equipment
Pressure canner not pressure cooker
Canning jars (pint or quart size)
New canning lids and rings
Jar lifter
Canning funnel
Bubble removal tool or clean knife
Large pot for blanching
Kitchen timer
Method
Wash jars, lids, and rings in hot soapy water; rinse well. Keep jars hot until ready to use.
Inspect your pressure canner, ensuring the gauge is accurate and all parts are clean and working.
Select fresh, tender green beans. Wash thoroughly, trim ends, and cut into 1-inch pieces or leave whole if you prefer.
Blanch green beans in boiling water for 5 minutes, then drain.
Pack hot beans into hot jars, leaving 1 inch of headspace. Add 1/2 teaspoon salt per pint or 1 teaspoon per quart if desired.
Pour fresh boiling water over beans to cover, again leaving 1 inch of headspace.
Remove air bubbles by sliding a bubble remover or plastic knife around the inside edges of the jars. Adjust headspace if needed.
Wipe rims with a damp cloth, place lids and rings on jars, and tighten until fingertip-tight.
Place jars in the pressure canner with recommended water (usually 2–3 inches). Lock lid, vent steam for 10 minutes, then process at the correct pressure for your altitude—20 minutes for pints, 25 minutes for quarts.
When done, let the canner depressurize naturally. Wait 10 minutes before removing the lid, then carefully lift jars out. Cool undisturbed for 12–24 hours. Check seals before storing.
Notes
Never use water bath canning for green beans — pressure canning only
Always follow tested recipes and processing times
Check your pressure gauge annually for accuracy
If pressure drops during processing, start timing over
Any unsealed jars must be refrigerated and used within days
Cooling and Storage Tips
Remove jars from the canner using a jar lifter and place them on a towel-covered surface away from drafts. You’ll hear the delightful “ping” of lids sealing as they cool — music to any canner’s ears!
Let jars cool completely for 12 to 24 hours before checking seals. Press the center of each lid; properly sealed lids won’t flex up and down. Any jars that didn’t seal should be refrigerated and used within a few days.
Store properly sealed jars in a cool, dark place for up to one year. Label each jar with contents and date — trust me, you’ll think you’ll remember, but after a busy canning season, those labels become essential!
Common Mistakes When Canning Green Beans
Over the years, I’ve seen several common mistakes that can compromise safety or quality. Never attempt to can green beans using a water bath method — this is simply not safe. Don’t skip the pressure testing or ignore processing times and pressures.
Overpacking jars is another frequent error that can prevent proper heat penetration. Those headspace measurements exist for important safety reasons, so measure carefully. Finally, resist the urge to adjust tested recipes or processing times based on personal preference. It’s tough – I know.
Take Your Food Independence to the Next Level
Mastering the art of canning green beans is just the beginning of your food preservation journey. While this guide gives you the essential foundation, there’s so much more to discover about creating true food independence for your family.
A daily 90-second lesson delivered straight to your inbox, with the exact steps I took to eliminate my dependencies - house, electricity, water, food - and get out in just 5 years (without leaving the suburbs, without acres of land).