I'm a former tech executive who traded a corporate paycheck for a paid off house, homeschooled kids, and a family that hasn't needed the grocery store the same way in years - all from a suburban ranch home with no farm (yet).
Hi! I'm Janiece
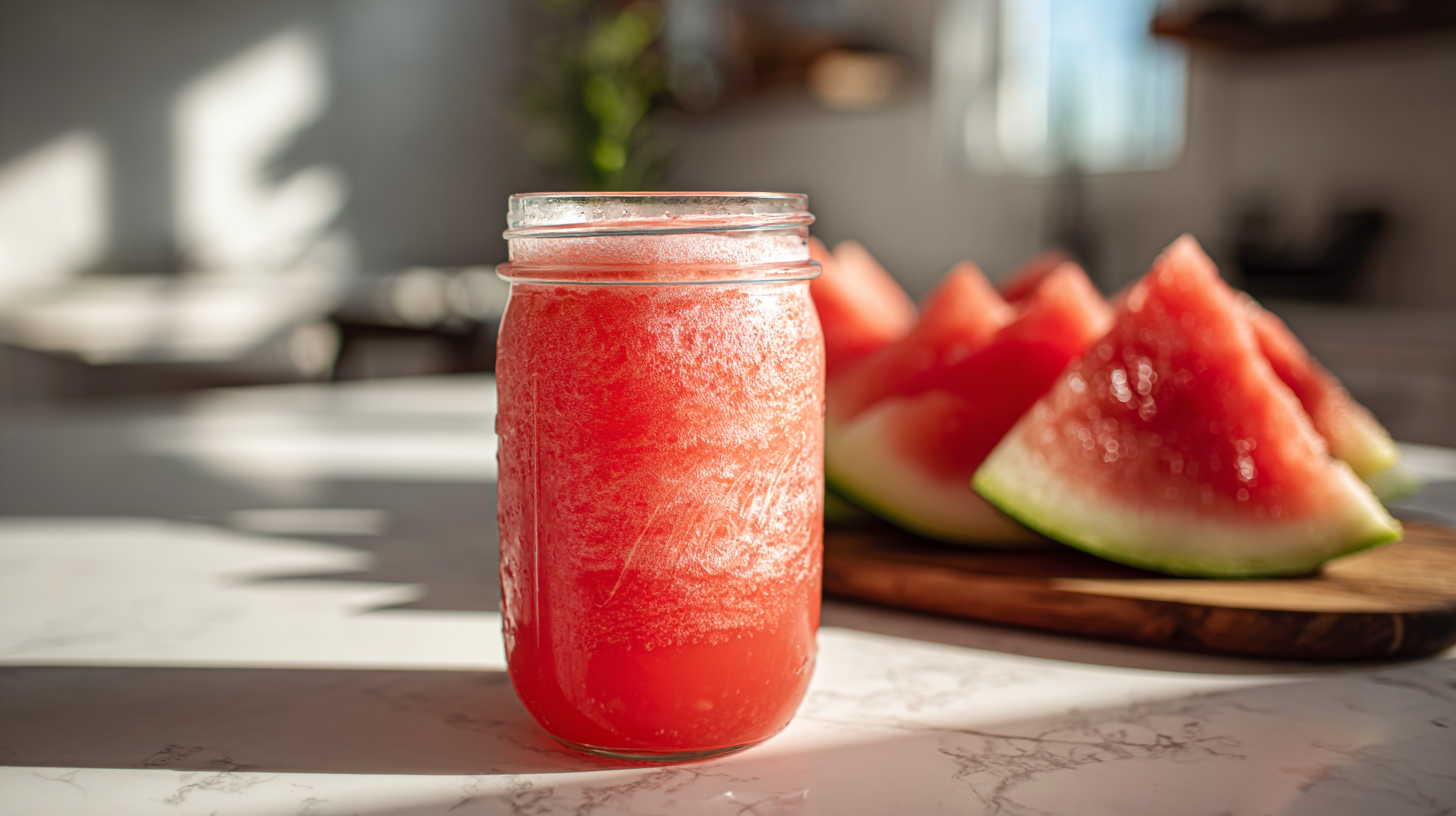
Can I confess something? Last weekend, I found myself standing in my kitchen at 6 AM, still in my pajamas, surrounded by watermelon rinds and sticky counters, grinning like an absolute maniac. Why? Because I had just finished my first batch of canned watermelon lemonade, and honey, it was LIFE-CHANGING.
You know that feeling when you discover something so good you want to shout it from the rooftops? That’s exactly where I am with this pink perfection. If you’re wondering how to start canning or you’re looking for your next obsession in the preserving world, buckle up because canning watermelon lemonade is about to become your new favorite summer ritual. Trust me when I say your pantry (and your taste buds) will never be the same!
Why Canning Watermelon Lemonade is a Game-Changer
Before we jump into the how-to, let’s chat about why canning watermelon lemonade should be on every home preserver’s bucket list. First, it’s an incredible way to use up those massive watermelons that seem to multiply in your kitchen during peak season. Second, this refreshing drink captures the essence of summer in a way that store-bought alternatives simply can’t match.
The combination of fresh watermelon juice and zesty lemon creates a flavor profile that’s both nostalgic and sophisticated. Plus, having shelf-stable watermelon lemonade means you can whip up refreshing drinks for unexpected guests or treat yourself to a taste of summer whenever your heart desires.
Essential Equipment for Canning Watermelon Lemonade
Let’s talk about what you’ll need to make this magic happen. The beauty of canning watermelon lemonade is that you don’t need fancy equipment – just some basic canning supplies that will serve you well for years to come.
You’ll need a large pot for processing, canning jars with new lids, a jar lifter, and a canning funnel. If you’re serious about your canning journey, investing in a proper canner is worth every penny, but a large stockpot will work beautifully for beginners.
Perfect Watermelon Lemonade Recipe for Canning
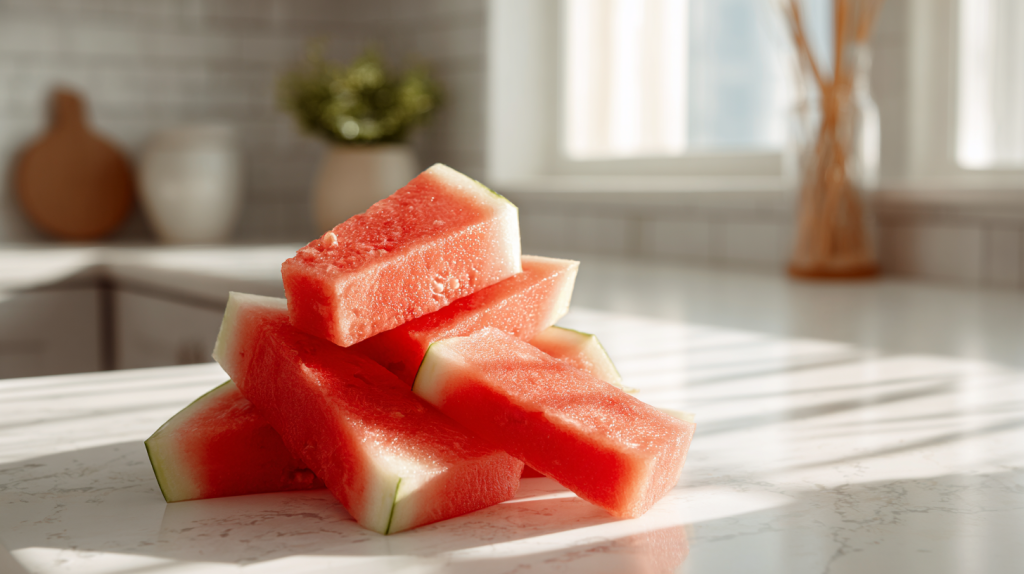
Here’s where the magic happens! For canning watermelon lemonade, you’ll want to start with the freshest, ripest watermelon you can find. The sweeter your melon, the more incredible your final product will be.
Combine 6 cups of fresh watermelon juice (strained to remove seeds and pulp), 2 cups of fresh lemon juice, and 2 cups of sugar. The key is balancing that sweet watermelon flavor with the bright acidity of fresh lemons. This recipe creates the perfect base for safe canning while delivering that restaurant-quality taste we’re all after.
Step-by-Step Canning Process
Now for the fun part – actually canning watermelon lemonade! Start by sterilizing your jars and preparing your water bath canner. Heat your watermelon lemonade mixture to a rolling boil, then carefully ladle it into your hot jars, leaving proper headspace.
Wipe the jar rims clean, apply your lids and rings, and process in your boiling water bath for the recommended time based on your altitude. The satisfying “pop” of properly sealed jars is honestly one of life’s simple pleasures!
Canning Watermelon Lemonade Recipe
Learn how to can watermelon lemonade with this easy step-by-step guide.
Sanitize jars and lids by washing in hot soapy water, then keeping jars hot in a 200°F oven or hot water until ready to fill.
Prepare your canner by filling with water and heating to a rolling boil while you prepare the watermelon lemonade mixture.
Strain watermelon juice thoroughly through fine mesh strainer or cheesecloth to remove all seeds and pulp for smooth consistency.
Combine ingredients in a large, heavy-bottomed pot and bring watermelon juice, bottled lemon juice, and sugar to a full rolling boil, stirring constantly.
Maintain boiling for 2 minutes while stirring continuously to ensure sugar is completely dissolved and mixture is properly heated.
Fill hot jars using canning funnel, leaving exactly ¼ inch headspace measured from the rim to the surface of the liquid.
Remove air bubbles by running a plastic knife around the inside edges, then wipe jar rims clean with damp cloth to ensure proper seal.
Apply lids and rings by centering lids on jars and screwing rings on fingertip-tight (don't over-tighten).
Process in water bath for exactly 10 minutes once water returns to rolling boil, ensuring jars are covered by 1-2 inches of water.
Cool and check seals by removing jars to towel-lined counter, listening for the "pop" of sealing, and checking that lids don't flex when pressed after 24 hours.
Notes
Important Safety Note: This recipe follows safe canning principles by ensuring proper acidification. Always use bottled lemon juice for consistent acidity levels.
Storage and Serving Your Canned Creation
Once your canning watermelon lemonade adventure is complete, proper storage is key to maintaining that incredible flavor. Store your sealed jars in a cool, dark place, and they’ll keep for up to a year.
When you’re ready to enjoy, simply chill and serve over ice. You can drink it straight from the jar or dilute it with sparkling water for a fizzy twist that’s absolutely divine.
Take Your Food Independence to the Next Level
Ready to transform your relationship with food preservation? Canning watermelon lemonade is just the beginning of an incredible journey toward food independence and generational knowledge that you’ll treasure forever.
There’s something deeply satisfying about knowing exactly what goes into your food and having the skills to preserve nature’s bounty for your family. How to start canning might seem overwhelming at first, but with each successful batch, you’re building confidence and creating traditions that can be passed down through generations.
Your pantry – and your future self – will thank you for taking this delicious leap into the world of home canning!
A daily 90-second lesson delivered straight to your inbox, with the exact steps I took to eliminate my dependencies - house, electricity, water, food - and get out in just 5 years (without leaving the suburbs, without acres of land).