I'm a former tech executive who traded a corporate paycheck for a paid off house, homeschooled kids, and a family that hasn't needed the grocery store the same way in years - all from a suburban ranch home with no farm (yet).
Hi! I'm Janiece
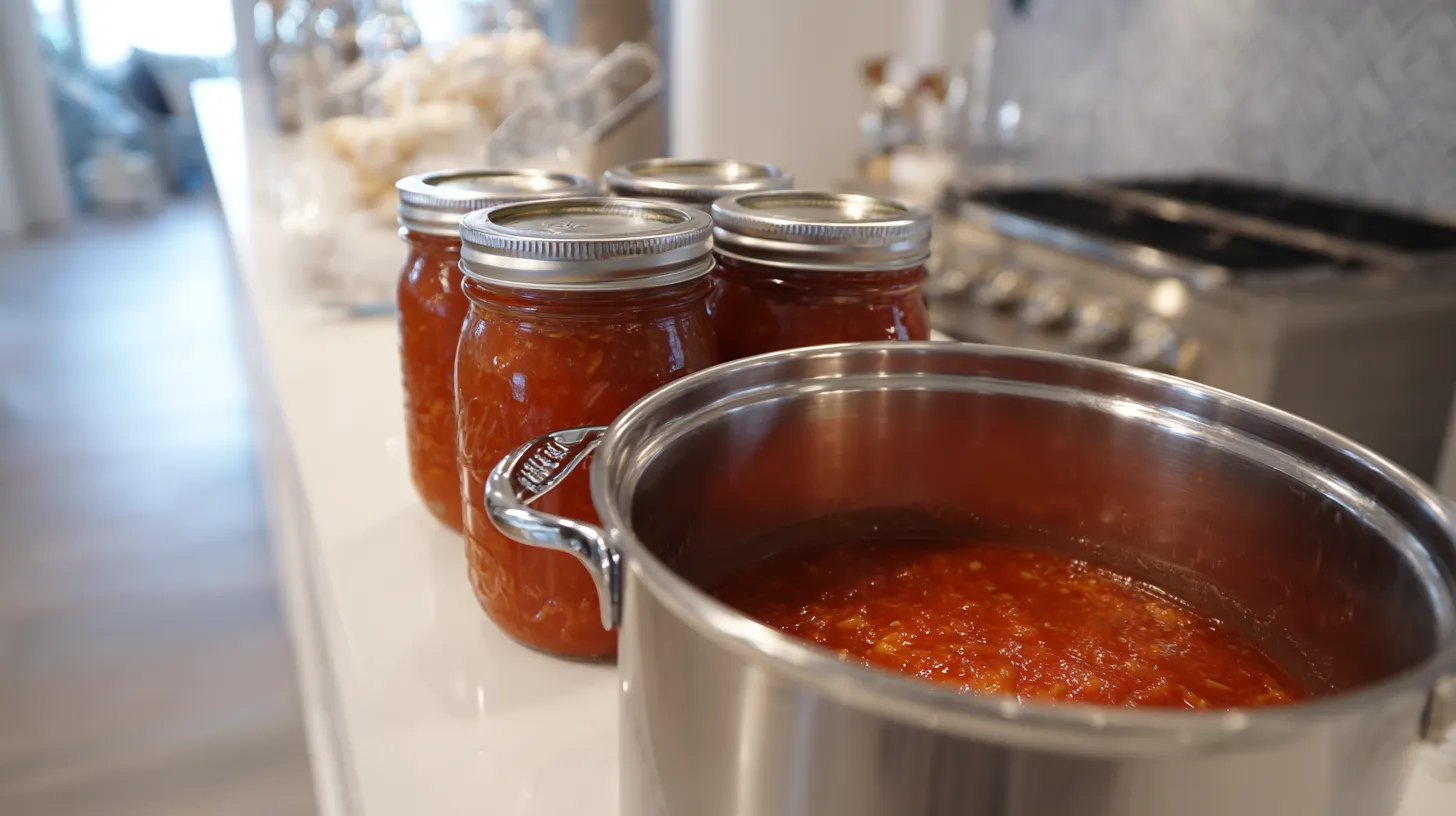
There’s nothing quite like opening a jar of homemade spaghetti sauce in the middle of winter and tasting pure summer sunshine. The rich aroma of tomatoes, herbs, and garlic fills your kitchen instantly. Your family gets restaurant-quality pasta sauce made with love and the finest ingredients. If you’ve been wondering about canning spaghetti sauce or looking for ways how to start canning your own pantry staples, this is the perfect place to begin. You’ll transform baskets of fresh tomatoes into liquid gold that graces your dinner table all year long.
Why Canning Spaghetti Sauce Changes Everything
Learning to preserve homemade sauce revolutionizes your meal planning completely. You control every single ingredient that goes into your family’s food. No high fructose corn syrup, no artificial preservatives, and no mystery ingredients you can’t pronounce. Store-bought sauce simply can’t compete with the depth of flavor you create at home. Plus, having jars of ready-made sauce means dinner is just pasta away on even the busiest nights.
Best Tomatoes for Perfect Sauce
Not all tomatoes are created equal when it comes to sauce making. Paste tomatoes like San Marzano, Roma, and Amish Paste have the perfect balance of flesh to juice for thick, rich sauce. They’re naturally lower in water content, which means less cooking time and more concentrated flavor. If you’re using slicing tomatoes, you’ll need to cook them longer to achieve the right consistency.
Essential Equipment for Canning Spaghetti Sauce
You’ll need some key equipment to safely preserve your homemade sauce. A large, heavy-bottomed pot prevents scorching during the long cooking process. A food mill removes skins and seeds effortlessly if you prefer smooth sauce. Standard canning jars with new lids, a water bath canner, and basic canning tools complete your setup. These investments will serve you for years of sauce-making adventures.
Step-by-Step Sauce Making Process
Start by washing and coring your tomatoes, then blanch them in boiling water for 60 seconds. The skins will slip off easily after a quick ice bath. Core and chop your tomatoes, keeping all that precious juice. In your large pot, sauté onions and garlic until fragrant, then add your tomatoes and seasonings.
Cook your sauce slowly over medium-low heat, stirring regularly to prevent sticking. This process takes patience – good sauce can’t be rushed. Simmer until it reaches your desired thickness, usually 1-3 hours depending on your tomatoes and preferred consistency. Taste and adjust seasonings as it cooks.
2tbspbottled lemon juice per pint jar (DO NOT substitute fresh)
Equipment
Large heavy-bottomed pot for cooking sauce
Food mill or large strainer (optional for smooth sauce)
Boiling water bath canner or large stockpot with rack
8-9 pint (16 oz) canning jars with new lids and rings
Jar lifter, bubble removal tool, and headspace gauge
Ladle and wide-mouth funnel
Method
Prepare Jars: Examine all jars for cracks or chips and discard any damaged jars. Wash jars and rings in hot soapy water, rinse thoroughly, and keep jars hot in a 180°F oven or hot water until ready to fill.
Heat Lids: Place new canning lids in a small saucepan, cover with hot water at 180°F, and keep hot until ready to use. Do not boil lids as this may damage the sealing compound.
Prepare Canner: Fill your boiling water bath canner with enough water to cover jars by 1-2 inches when submerged. Begin heating water to a rolling boil while preparing sauce.
Process Tomatoes: Wash tomatoes and remove stems and any blemishes. Blanch tomatoes in boiling water for 60 seconds, then plunge into ice water. Remove skins and cores, then chop tomatoes, reserving all juice.
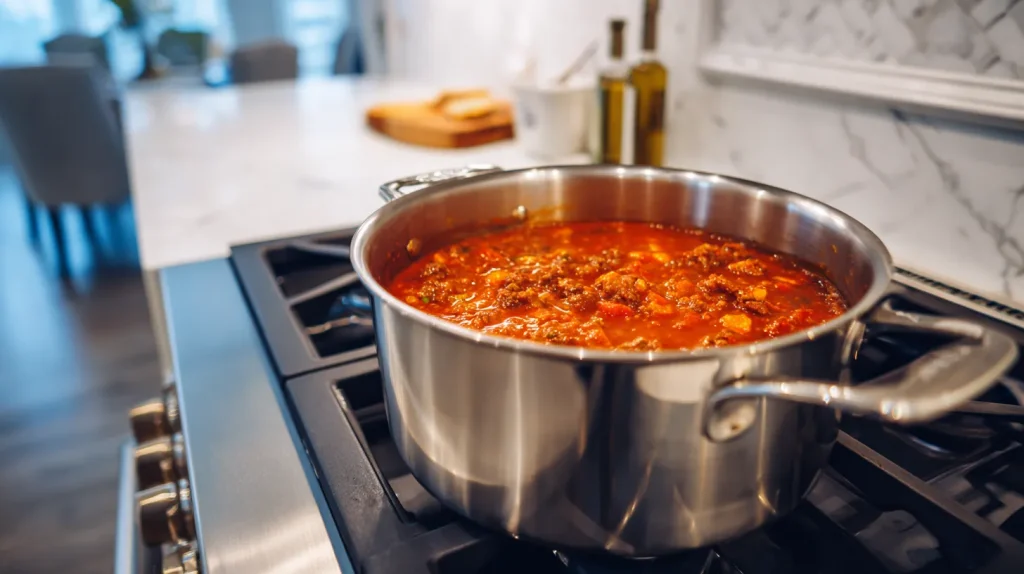
Cook Base Vegetables: In a large heavy-bottomed pot, sauté chopped onions, bell peppers, and garlic over medium heat until softened, about 5 minutes. Add chopped tomatoes with their juice and bring to a boil.
Simmer Sauce: Reduce heat to medium-low and simmer sauce uncovered, stirring frequently to prevent sticking, until sauce reaches desired consistency, usually 1-3 hours depending on tomato water content and preferred thickness.
Season Sauce: During the last 30 minutes of cooking, stir in basil, oregano, salt, and black pepper. Taste and adjust seasonings as needed, keeping in mind that flavors will concentrate during storage.
Add Required Acid: Place 2 tablespoons of bottled lemon juice in the bottom of each clean pint jar before filling with sauce. This acid addition is mandatory for safe water bath canning and cannot be omitted or substituted.
Fill Jars: Using a ladle and wide-mouth funnel, fill jars with hot sauce over the lemon juice, leaving exactly 1/2 inch headspace. Remove air bubbles by running a plastic tool around the inside of each jar and wipe jar rims clean with a damp paper towel.
Process in Water Bath: Center hot lids on jars and apply rings finger-tight only. Using jar lifter, place filled jars on canner rack and lower into boiling water, ensuring jars are covered by 1-2 inches of water. Process pint jars for 35 minutes or quart jars for 40 minutes, adjusting for altitude: add 5 minutes for 1,001-3,000 feet, add 10 minutes for 3,001-6,000 feet, add 15 minutes for above 6,000 feet. Remove jars and cool undisturbed for 12-24 hours.
Notes
Always use bottled lemon juice, never fresh, to ensure proper acidity for safe canning
Do not add meat, cheese, or other low-acid ingredients as these require pressure canning
Do not thicken sauce with flour, cornstarch, or other starches before canning
Maintain proper headspace and processing times exactly as specified for food safety
Check that all lids have sealed properly before storing (lids should not flex when pressed)
Store sealed jars in a cool, dark place for up to 18 months for best quality
Refrigerate after opening and use within 1 week
If sauce separates in jar, simply stir when ready to use – this is normal
Always inspect jars before opening – discard if lid is bulging, leaking, or contents smell off
Safe Canning Requirements
Here’s where food safety becomes crucial for preserving your sauce safely. Tomatoes are right on the borderline of acidity, so you must add acid to ensure safe water bath canning. Add bottled lemon juice or citric acid to every jar – this isn’t optional. Never skip this step or substitute fresh lemon juice, which can vary in acidity.
Proper Processing Techniques
Fill your sterilized jars with hot sauce, leaving proper headspace as specified in tested recipes. Remove air bubbles carefully and wipe rims clean before applying lids. Process in a boiling water bath for the time specified for your jar size and altitude. The satisfying pop of sealing lids tells you preservation was successful.
Creative Uses for Homemade Sauce
Your preserved sauce isn’t limited to spaghetti night! Use it as pizza sauce, simmer it with meat for quick Bolognese, or add it to soups and stews. It makes incredible chicken parmesan or serves as a base for shakshuka. The versatility of homemade sauce opens up endless culinary possibilities throughout the year.
Troubleshooting Common Issues
Sometimes sauce separates slightly in jars, and that’s perfectly normal. Just stir it when you open the jar. If any jars don’t seal properly, refrigerate them immediately and use within a week. You can also freeze unsealed jars for longer storage.
Build Your Culinary Independence
Mastering sauce preservation connects you to generations of home cooks who understood the value of putting summer’s bounty by for winter meals. This skill builds true food independence and security for your family. When you learn how to start canning fundamental ingredients like sauce, you’re taking control of your family’s nutrition while building invaluable life skills.
There’s incredible satisfaction in opening your pantry and seeing rows of ruby-red sauce ready to create delicious family meals. You’re not just preserving tomatoes – you’re preserving traditions and building skills that will nourish your family for years to come. So gather those tomatoes and let’s start building your amazing, self-sufficient kitchen together!
A daily 90-second lesson delivered straight to your inbox, with the exact steps I took to eliminate my dependencies - house, electricity, water, food - and get out in just 5 years (without leaving the suburbs, without acres of land).