I'm a woman who left a corporate job, paid off every bill we used to owe every month, and bought back our time decades before retirement. My mission? To teach families how to do the same by owning more of their life.
Hi! I'm Janiece
Listen to the pod
Ownership Playbook
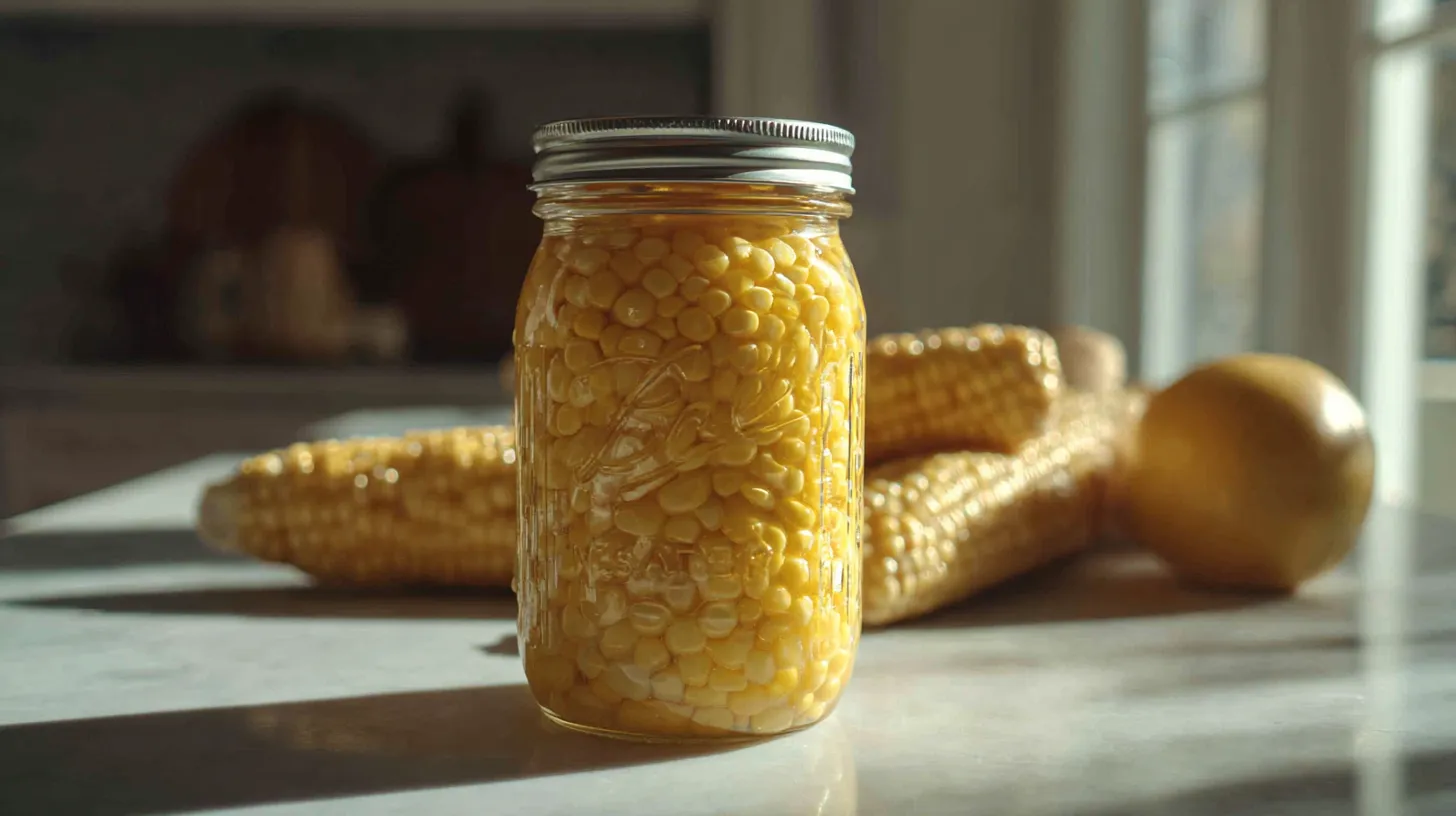
Summer corn represents everything wonderful about seasonal eating – sweet kernels bursting with sunshine, harvested at peak perfection when flavor is most intense. Those golden ears won’t last long fresh, but with proper preservation techniques, you can enjoy farm-fresh taste all year long. If you’ve been searching for recipes for canning corn or wondering how to start canning vegetables safely, corn offers incredible versatility and nutritional value that makes it worth mastering. There’s pure satisfaction in transforming baskets of fresh ears into shelf-stable treasures that will brighten winter meals.
Why Master Corn Preservation Techniques
Learning recipes for canning corn gives you control over one of summer’s most beloved vegetables. Fresh corn loses sweetness rapidly after harvest, but proper canning captures that peak flavor permanently. You can buy corn in bulk during peak season when prices are lowest and quality is highest. Having preserved corn ready means quick side dishes, soup ingredients, or casserole additions are always within reach.
Best Corn Varieties for Preservation
Not every corn variety preserves equally well in home canning. Sweet corn varieties like Silver Queen, Butter and Sugar, and Honey Select maintain excellent texture and flavor during processing. Avoid super-sweet varieties as they can become mushy during the pressure canning process required for corn. Choose ears that are at peak ripeness with plump, milky kernels that haven’t started to dent or dry out.
Essential Equipment for Corn Canning
You’ll need specific equipment for safely preserving corn at home. A pressure canner is absolutely mandatory – corn is a low-acid vegetable that requires pressure processing for safety. Sharp knives for cutting kernels, large cutting boards, and clean work surfaces are essential. Standard canning jars with new lids, pressure canning tools, and accurate measuring equipment complete your setup. Never attempt water bath canning for corn as it’s simply not safe.
Popular Corn Preservation Methods
Traditional whole kernel corn offers the most versatility in your preserved pantry. Cream-style corn creates rich, thick preparations perfect for casseroles and soups. Corn salsa combines corn with tomatoes and peppers for zesty preserved mixtures. Each method requires specific techniques and processing times, so always follow tested recipes exactly for food safety.
Canning Corn Recipe
Learn to preserve fresh corn kernels and cream-style corn at home.
31.5poundsfresh sweet corn in husks (yields approximately 20 cups cut kernels)
Water for processing and covering
1tspsalt per quart jar or 1/2 teaspoon salt per pint jar (optional)
Equipment
Pressure canner with accurate gauge (dial or weighted)
7 quart (32 oz) or 14 pint (16 oz) canning jars with new lids and rings
Jar lifter, bubble removal tool, and headspace gauge
Sharp knife and large cutting board for kernel removal
Large pot for hot pack method (optional)
Method
Prepare Jars: Examine all jars for cracks or chips and discard any damaged jars. Wash jars and rings in hot soapy water, rinse thoroughly, and keep jars hot in a 180°F oven or simmering water until ready to fill.
Heat Lids: Place new canning lids in a small saucepan, cover with hot water at 180°F, and keep hot until ready to use. Do not boil lids as this may damage the sealing compound.
Ready Canner: Add 2-3 inches of water to your pressure canner and place the rack inside. Begin heating the canner while preparing the corn to save time during processing.
Prepare Fresh Corn: Remove husks and silk from fresh corn ears completely, then rinse under cool running water. Cut kernels from cobs using a sharp knife, cutting about 2/3 the depth of kernels and avoiding cutting into the cob itself.
Choose Packing Method: For raw pack, fill jars with raw corn kernels leaving 1 inch headspace, add salt if desired, then cover with boiling water maintaining headspace. For hot pack, place cut corn in a large pot, add boiling water to barely cover, bring to boil for 5 minutes, then pack hot corn and cooking liquid into jars.
Fill Jars with Corn: Pack corn into hot jars using your chosen method, leaving exactly 1 inch headspace from the rim. Do not press corn down firmly as this can prevent proper heat penetration during processing.
Add Water and Salt: Add salt to each jar if desired for flavor, then cover corn with boiling water or cooking liquid, maintaining the 1 inch headspace. Ensure liquid covers corn completely but does not exceed headspace requirements.
Remove Air and Seal: Remove air bubbles by running a plastic tool around the inside of each jar, adjusting liquid level as needed to maintain proper headspace. Wipe jar rims thoroughly with a clean, damp cloth and center hot lids on jars with rings finger-tight only.
Load Canner: Place filled jars on the canner rack using a jar lifter, ensuring jars do not touch each other or the sides of the canner. Lock canner lid in place and heat on high until steam vents steadily for 10 minutes to purge air from canner.
Process Under Pressure: Place pressure regulator on vent and process at 11 pounds pressure for 55 minutes for pints or 85 minutes for quarts. Adjust pressure for altitude: 1,001-2,000 feet use 11 lbs, 2,001-4,000 feet use 12 lbs, 4,001-6,000 feet use 13 lbs, 6,001-8,000 feet use 14 lbs. After processing, turn off heat and let pressure return to zero naturally before opening canner.
Notes
NEVER use water bath canning for corn – pressure canning is mandatory for safety
Do not add butter, cream, or other dairy products as these affect heat penetration and safety
Use only the freshest corn possible, preferably within 24 hours of harvest
Maintain proper headspace and processing times exactly as specified for food safety
Check pressure gauge accuracy annually at your local extension office
Store properly sealed jars in a cool, dark place for up to 5 years for best quality
Always inspect jars before opening – discard if lid is bulging, leaking, or contents smell off
Liquid may become cloudy due to starch release and this is normal and safe
If any jar fails to seal properly, refrigerate immediately and use within 3 days
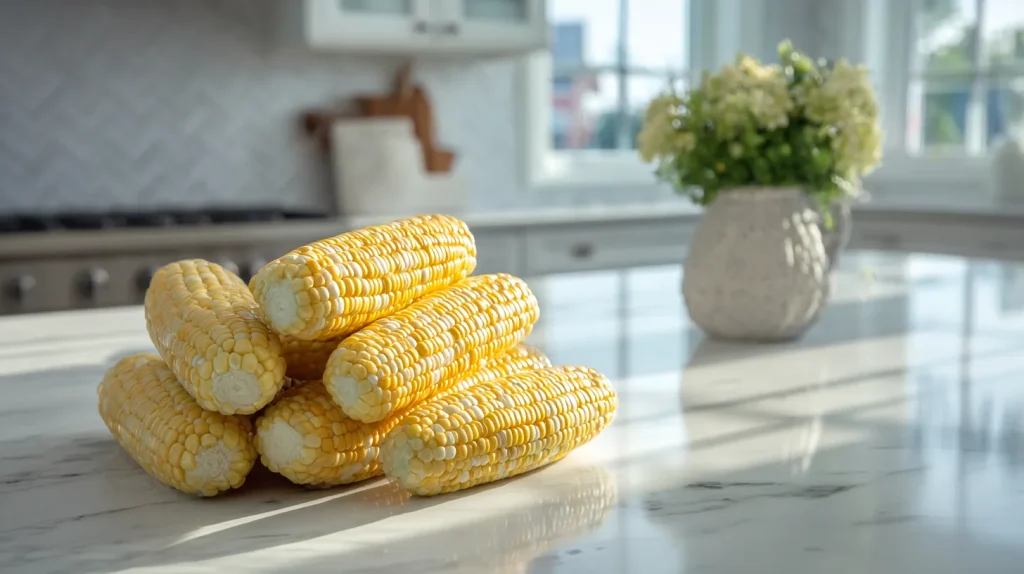
Step-by-Step Corn Preparation
Start with the freshest corn possible, ideally processed within hours of harvest. Remove husks and silk completely, then rinse ears under cool running water. Cut kernels from cobs using a sharp knife, working over a large bowl to catch all kernels and natural juices. For cream-style preparations, scrape the cobs after cutting to extract the milky pulp that creates the characteristic texture.
Critical Safety Requirements
Here’s where food safety becomes absolutely non-negotiable. Corn must be pressure canned because it’s a low-acid food that can harbor dangerous bacteria. Follow tested recipes precisely – don’t experiment with ingredients, processing times, or pressure levels. The risk of botulism with improperly canned vegetables is serious and potentially fatal. Always use current, tested recipes from reliable sources like the USDA.
Proper Pressure Processing Methods
Fill jars according to your chosen recipe, maintaining proper headspace throughout the process. Raw pack and hot pack methods each have specific requirements for corn preservation. Remove air bubbles carefully and wipe jar rims spotlessly clean before applying lids. Process at the correct pressure for your altitude and jar size, never rushing the cooling process.
Creative Corn Recipe Variations
Once you master basic techniques, exciting flavor combinations await your experimentation. Mexican-style corn with peppers and spices creates fiesta-ready ingredients. Corn and bean combinations offer complete protein in convenient preserved form. Sweet corn relish makes an excellent condiment for burgers and hot dogs. Each variation expands your culinary possibilities significantly.
Storage and Usage Tips
Store properly sealed jars in cool, dark places where they’ll maintain quality for up to five years. Label each jar clearly with contents and processing date. When planning meals, remember that preserved corn works wonderfully in both side dishes and main course preparations. It’s perfect for quick soup bases, casserole ingredients, or stand-alone vegetable sides.
Build Your Vegetable Preservation Skills
Mastering various recipes for canning corn connects you to agricultural communities who have understood seasonal abundance for generations. These essential skills build food independence while creating nutritional security for your family. When you learn how to start canning substantial vegetables like corn, you’re building a foundation that supports year-round nutrition and meal planning flexibility.
There’s incredible confidence in knowing your pantry contains farm-fresh corn that rivals any restaurant quality. You’re not just preserving vegetables – you’re preserving traditions and building skills that create lasting food security for your family. So gather that fresh corn and let’s start building your amazing, harvest-rich pantry together!
Interested in learning to accelerate your path to freedom? Click here. I'll help you speed up your path to freedom by decades.
I cut decades off my family's path to financial freedom by refusing to play the game everybody else was playing. Now, I help thousands of families build the life of their dreams through ownership and good ol' fashioned skills.
If you're tired of renting your life and ready to own it, you'll get the real stories, the lessons that saved me years, and one small step each week to move you closer. You in?