I'm a woman who left a corporate job, paid off every bill we used to owe every month, and bought back our time decades before retirement. My mission? To teach families how to do the same by owning more of their life.
Hi! I'm Janiece
Listen to the pod
Ownership Playbook
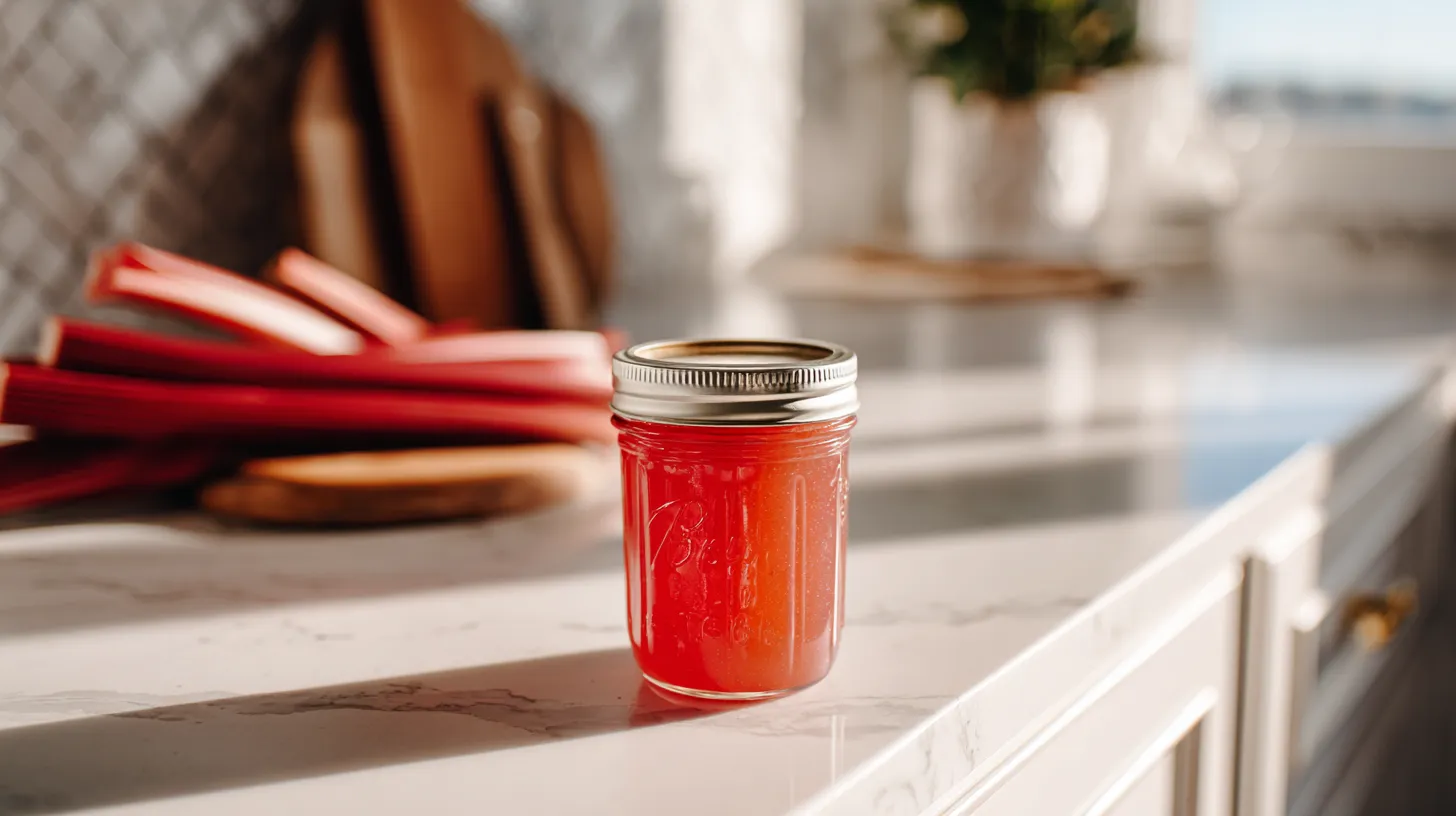
Spring brings us one of nature’s most unique flavors – tart, vibrant rhubarb that transforms into liquid ruby when made into jelly. This incredible preserve captures the essence of early garden harvests in every jewel-toned spoonful. The beautiful pink color alone makes it worthy of your prettiest breakfast table, but the complex sweet-tart flavor will have your family asking for more. If you’ve been searching for a recipe rhubarb jelly or wondering how to start canning with something truly special, this preserve offers the perfect balance of simplicity and sophistication. There’s magic in transforming those thick red stalks into elegant, crystal-clear jelly.
Why This Recipe Rhubarb Jelly Works
Rhubarb makes exceptional jelly because of its high pectin content and naturally acidic properties. You don’t need to add commercial pectin if you follow traditional methods, though it certainly speeds up the process. The natural tartness of rhubarb creates a preserve that’s never cloying or overly sweet. This jelly pairs beautifully with both sweet and savory applications, making it incredibly versatile in your kitchen.
Best Rhubarb for Perfect Jelly
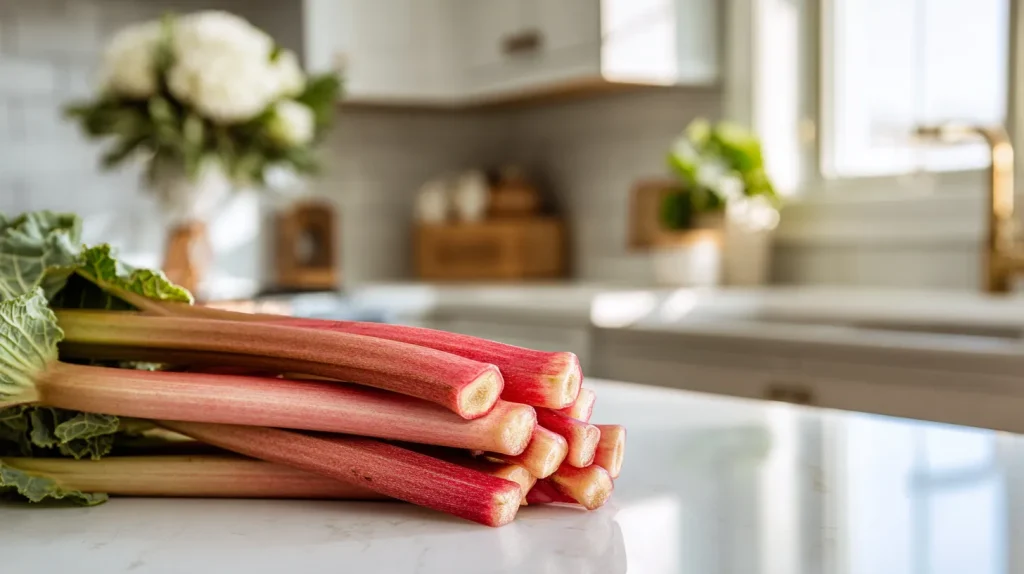
Choose rhubarb stalks that are firm, crisp, and deeply colored for the most beautiful jelly. Red varieties create stunning ruby-colored preserves, while green rhubarb produces equally delicious but lighter-colored jelly. Avoid any stalks that are soft, stringy, or have blemishes. Young, tender rhubarb from early season harvests typically has the best flavor and texture for preserving.
Essential Equipment for Rhubarb Jelly
You’ll need some basic equipment to create this gorgeous preserve. A large, heavy-bottomed pot prevents scorching during the cooking process. A fine-mesh strainer or jelly bag extracts clear juice for crystal-clear jelly. Standard canning jars with new lids, a water bath canner, and basic canning tools complete your setup. A candy thermometer helps achieve perfect consistency if you’re not using commercial pectin.
Rhubarb Jelly Recipe
Learn to make beautiful, tart-sweet jelly using fresh garden rhubarb.
4 1/2poundsfresh rhubarb stalks, washed and chopped
3cupswater
3cups granulated sugar (adjust based on juice yield – use 3/4 cup sugar per cup of strained juice)
1package (1.75 oz)powdered pectin (optional for firmer set)
Equipment
1 Large heavy-bottomed pot for cooking rhubarb
1 Fine-mesh strainer or jelly bag for juice extraction
1 Boiling water bath canner or large stockpot with rack
6 Half-pint (8 oz) canning jars with new lids and rings
1 Jar lifter, bubble removal tool, and headspace gauge
1 Ladle and wide-mouth funnel
Method
Prepare Jars: Examine all jars for cracks or chips and discard any damaged jars. Wash jars and rings in hot soapy water, rinse thoroughly, and keep jars hot in a 180°F oven or hot water until ready to fill.
Heat Lids: Place new canning lids in a small saucepan, cover with hot water at 180°F, and keep hot until ready to use. Do not boil lids as this may damage the sealing compound.
Prepare Canner: Fill your boiling water bath canner with enough water to cover jars by 1-2 inches when submerged. Begin heating water to a rolling boil while preparing jelly.
Extract Rhubarb Juice: Place chopped rhubarb and water in a large pot and bring to a boil over medium-high heat. Reduce heat and simmer for 10-15 minutes until rhubarb is completely soft and broken down, stirring occasionally to prevent sticking.
Strain Juice: Pour cooked rhubarb into a fine-mesh strainer or jelly bag suspended over a large bowl. Allow juice to drip for 2-4 hours or overnight without pressing solids for clearest jelly. Measure strained juice and calculate sugar needed at 3/4 cup per cup of juice.
Cook Jelly Base: Pour measured rhubarb juice into a large heavy-bottomed pot. If using pectin, stir it into the juice until completely dissolved. Bring juice to a full rolling boil over high heat, stirring constantly.
Add Sugar: Add all measured sugar at once to the boiling juice, stirring constantly to dissolve completely. Return to a full rolling boil that cannot be stirred down and boil hard for 1 minute if using pectin, or until jelly reaches 220°F or passes the plate test if making without pectin.
Test and Skim: Remove jelly from heat and quickly skim off any foam with a metal spoon. Test consistency by dropping a small amount on a cold plate – it should wrinkle when pushed with your finger and hold its shape.
Fill Jars: Using a ladle and wide-mouth funnel, fill hot jars with jelly, leaving exactly 1/4 inch headspace. Remove air bubbles by running a plastic tool around the inside of each jar and wipe jar rims clean with a damp paper towel.
Process in Water Bath: Center hot lids on jars and apply rings finger-tight only. Using jar lifter, place filled jars on canner rack and lower into boiling water, ensuring jars are covered by 1-2 inches of water. Process for exactly 10 minutes, adjusting for altitude: add 5 minutes for 1,001-6,000 feet, add 10 minutes for above 6,000 feet. Remove jars and cool undisturbed for 12-24 hours.
Notes
Natural rhubarb acidity makes this safe for water bath canning without added acid
Check that all lids have sealed properly before storing (lids should not flex when pressed)
Store sealed jars in a cool, dark place for up to 2 years for best quality
Refrigerate after opening and use within 3 weeks
If jelly fails to set properly, it can be used as a delicious syrup for pancakes or desserts
Natural color may fade slightly over time and this is normal for rhubarb jelly
Always inspect jars before opening – discard if lid is bulging, leaking, or contents smell off
Do not double recipes as this can prevent proper gel formation and affect safety
Step-by-Step Jelly Making Process
Start by washing and chopping your rhubarb into small pieces – there’s no need to peel the stalks. Place chopped rhubarb in your large pot with just enough water to prevent sticking, usually about 1 cup per 2 pounds of rhubarb. Cook over medium heat until the rhubarb completely breaks down and releases its juice, typically 10-15 minutes of gentle simmering.
Strain the cooked rhubarb through a fine-mesh strainer or jelly bag overnight. Don’t press the pulp if you want crystal-clear jelly – let gravity do all the work. You should end up with beautiful, clear rhubarb juice that’s the foundation of your jelly.
Troubleshooting Jelly Issues
Sometimes jelly doesn’t set perfectly, and that’s completely okay! Soft jelly makes incredible pancake syrup or ice cream topping. If your jelly is too firm, gently warm it before serving. Every batch teaches you something new about working with natural pectin and achieving that perfect consistency.
Build Your Preservation Heritage
Creating this recipe rhubarb jelly connects you to generations of home preservers who understood seasonal abundance. This traditional skill builds food independence while creating something truly beautiful for your family. When you learn how to start canning with projects like rhubarb jelly, you’re preserving more than fruit – you’re preserving traditions.
There’s incredible satisfaction in transforming humble garden rhubarb into elegant preserves that grace your table throughout the year. You’re building skills that connect you to the rhythms of seasons while creating edible treasures that store-bought versions simply can’t match. So gather that rhubarb and let’s start building your amazing, self-sufficient pantry together!
Interested in learning to accelerate your path to freedom? Click here. I'll help you speed up your path to freedom by decades.
I cut decades off my family's path to financial freedom by refusing to play the game everybody else was playing. Now, I help thousands of families build the life of their dreams through ownership and good ol' fashioned skills.
If you're tired of renting your life and ready to own it, you'll get the real stories, the lessons that saved me years, and one small step each week to move you closer. You in?