I'm a woman who left a corporate job, paid off every bill we used to owe every month, and bought back our time decades before retirement. My mission? To teach families how to do the same by owning more of their life.
Hi! I'm Janiece
Listen to the pod
Ownership Playbook
Can we talk about flavor combinations that make your taste buds absolutely sing? Because today, I’m sharing a recipe that’s been a total game-changer in my kitchen – and I have a feeling it’s about to become your new obsession too. This strawberry jalapeño jam recipe is the perfect marriage of sweet summer strawberries and that gentle kick of heat that keeps you coming back for more. Whether you’re just learning how to start canning or you’re a seasoned pro looking to expand your preserve collection, this recipe is going to blow your mind and elevate your food independence journey in the most delicious way possible.
Why This Strawberry Jalapeño Jam Recipe Works
Listen, I’ve tried a lot of jam combinations over the years, but this one? It’s pure magic. The natural sweetness of ripe strawberries perfectly balances the subtle heat from fresh jalapeños, creating a complex flavor profile that works on everything from morning toast to grilled cheese sandwiches. Plus, there’s something incredibly empowering about creating your own pantry staples – it’s like giving yourself a little gift every time you open that jar.
Strawberry Jalapeño Jam Recipe Ingredients
Here’s what you’ll need to make this incredible jam (and trust me, you probably have most of these ingredients already):
2 pounds fresh strawberries, hulled and chopped
2-3 medium jalapeños, seeded and finely diced (adjust to your heat preference)
1 cup granulated sugar
1/4 cup fresh lemon juice
1 packet (1.75 oz) pectin
1/4 teaspoon salt
The beauty of this recipe is its simplicity. No complicated techniques, no fancy equipment – just pure, wholesome ingredients that come together beautifully.
Step-by-Step Strawberry Jalapeño Jam Recipe
Prep Your Ingredients: Start by washing and hulling your strawberries, then chop them into small, uniform pieces. For the jalapeños, remove the seeds (unless you want extra heat!) and dice them finely. Pro tip: wear gloves when handling the peppers – your eyes will thank you later.
Combine and Macerate: In a large, heavy-bottomed pot, combine your strawberries, jalapeños, sugar, lemon juice, and salt. Let this mixture sit for about 10 minutes to allow the strawberries to release their natural juices. This step is crucial for developing that perfect jammy consistency.
Cook Your Jam: Bring the mixture to a rolling boil over medium-high heat, stirring constantly. Add the pectin and continue boiling for exactly 1 minute. The jam should start to thicken and coat the back of your spoon beautifully.
Test for Doneness: Drop a small amount of jam onto a cold plate. If it wrinkles when you push it with your finger, it’s ready! If not, continue cooking for another minute and test again.
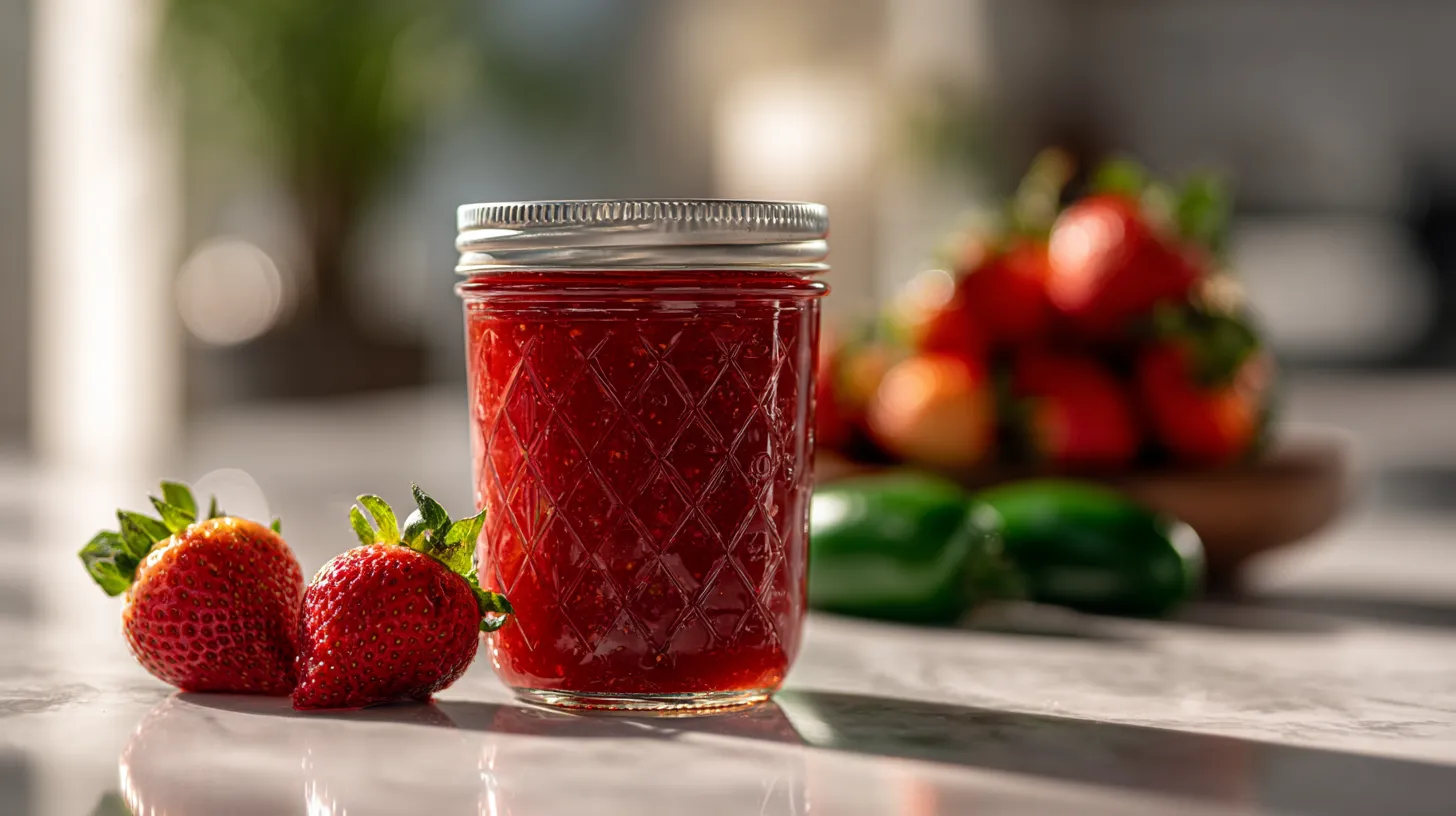
Strawberry Jalepeno Jam Recipe
Learn to make the perfect strawberry jalapeño jam recipe with sweet berries and gentle heat.
2quartsFresh strawberries, hulled and crushed (about 3 pounds whole berries)
1/4cupFinely chopped jalapeño peppers, seeds removed (about 2-3 medium peppers)
6cupsGranulated sugar
1/4cupBottled lemon juice (do not substitute fresh
1packagePowdered pectin
Equipment
Large heavy-bottomed pot for cooking jam
Boiling water bath canner or large stockpot with rack
7 Half-pint (8 oz) canning jars with new lids and rings
Jar lifter, bubble removal tool, and headspace gauge
Ladle and wide-mouth funnel
Method
Examine all jars for cracks or chips and discard any damaged jars. Wash jars in hot soapy water, rinse thoroughly, and keep hot in a 180°F oven or hot water until ready to fill.
Place new canning lids in a small saucepan, cover with water, and bring to 180°F (do not boil). Keep lids hot until ready to use. Wash rings in hot soapy water and set aside.
Fill your boiling water bath canner with enough water to cover jars by 1-2 inches when submerged. Begin heating water to a rolling boil while preparing jam.
In a large heavy-bottomed pot, combine crushed strawberries and chopped jalapeños. Stir in powdered pectin until completely dissolved, ensuring no lumps remain.
Bring strawberry-jalapeño mixture to a full rolling boil over high heat, stirring constantly. Add sugar and bottled lemon juice all at once, stirring to dissolve completely.
Return mixture to a full rolling boil that cannot be stirred down. Boil hard for exactly 1 minute, stirring constantly. Remove from heat and quickly skim off any foam with a metal spoon
Using a ladle and wide-mouth funnel, fill hot jars with jam, leaving exactly 1/4 inch headspace. Measure headspace with a headspace gauge and adjust if necessary.
Remove air bubbles by running a plastic bubble removal tool around the inside of each jar. Wipe jar rims clean with a damp paper towel to remove any jam residue that could prevent proper sealing.
Center hot lids on jars and apply rings finger-tight only (do not over-tighten). Using jar lifter, place filled jars on canner rack and lower into boiling water, ensuring jars are covered by 1-2 inches of water.
Process in boiling water bath for exactly 10 minutes (adjust processing time for altitude: add 5 minutes for 1,001-6,000 feet, add 10 minutes for above 6,000 feet). Remove jars and cool on a towel for 12-24 hours without disturbing.
Notes
Only use tested recipes from USDA guidelines for safe canning
Always use bottled lemon juice to ensure proper acidity levels
Do not alter sugar, acid, or vegetable ratios as this affects safety
Check that all lids have sealed properly before storing (lids should not flex when pressed)
Store sealed jars in a cool, dark place for up to 1 year
Refrigerate after opening and use within 3 weeks
Canning Your Strawberry Jalapeño Jam Recipe
If you’re planning to preserve this gorgeous jam for long-term storage, sterilize your canning jars and lids according to standard canning practices. Fill your jars leaving 1/4 inch headspace, wipe the rims clean, and process in a boiling water bath for 10 minutes. The satisfaction of hearing those lids pop as they seal? Pure magic.
Serving Suggestions for Your Homemade Jam
This strawberry jalapeño jam is incredibly versatile. Spread it on sourdough toast with cream cheese, use it as a glaze for grilled chicken, pair it with sharp cheddar on a charcuterie board, or swirl it into your morning yogurt. The possibilities are truly endless, and each one is more delicious than the last.
Take Your Food Independence to the Next Level
There’s something deeply satisfying about creating your own pantry staples, isn’t there? This strawberry jalapeño jam recipe is just the beginning of your journey toward greater food independence and carrying on generational knowledge that connects us to our roots. When you learn how to start canning and preserving your own foods, you’re not just saving money – you’re creating a legacy, building skills that can be passed down, and taking control of what goes into your family’s meals.
So grab those strawberries, embrace the heat, and let’s get jamming! Your future self (and your taste buds) will thank you for taking this delicious step toward food independence.
Interested in learning to accelerate your path to freedom? Click here. I'll help you speed up your path to freedom by decades.
I cut decades off my family's path to financial freedom by refusing to play the game everybody else was playing. Now, I help thousands of families build the life of their dreams through ownership and good ol' fashioned skills.
If you're tired of renting your life and ready to own it, you'll get the real stories, the lessons that saved me years, and one small step each week to move you closer. You in?