I'm a woman who left a corporate job, paid off every bill we used to owe every month, and bought back our time decades before retirement. My mission? To teach families how to do the same by owning more of their life.
Hi! I'm Janiece
Listen to the pod
Ownership Playbook
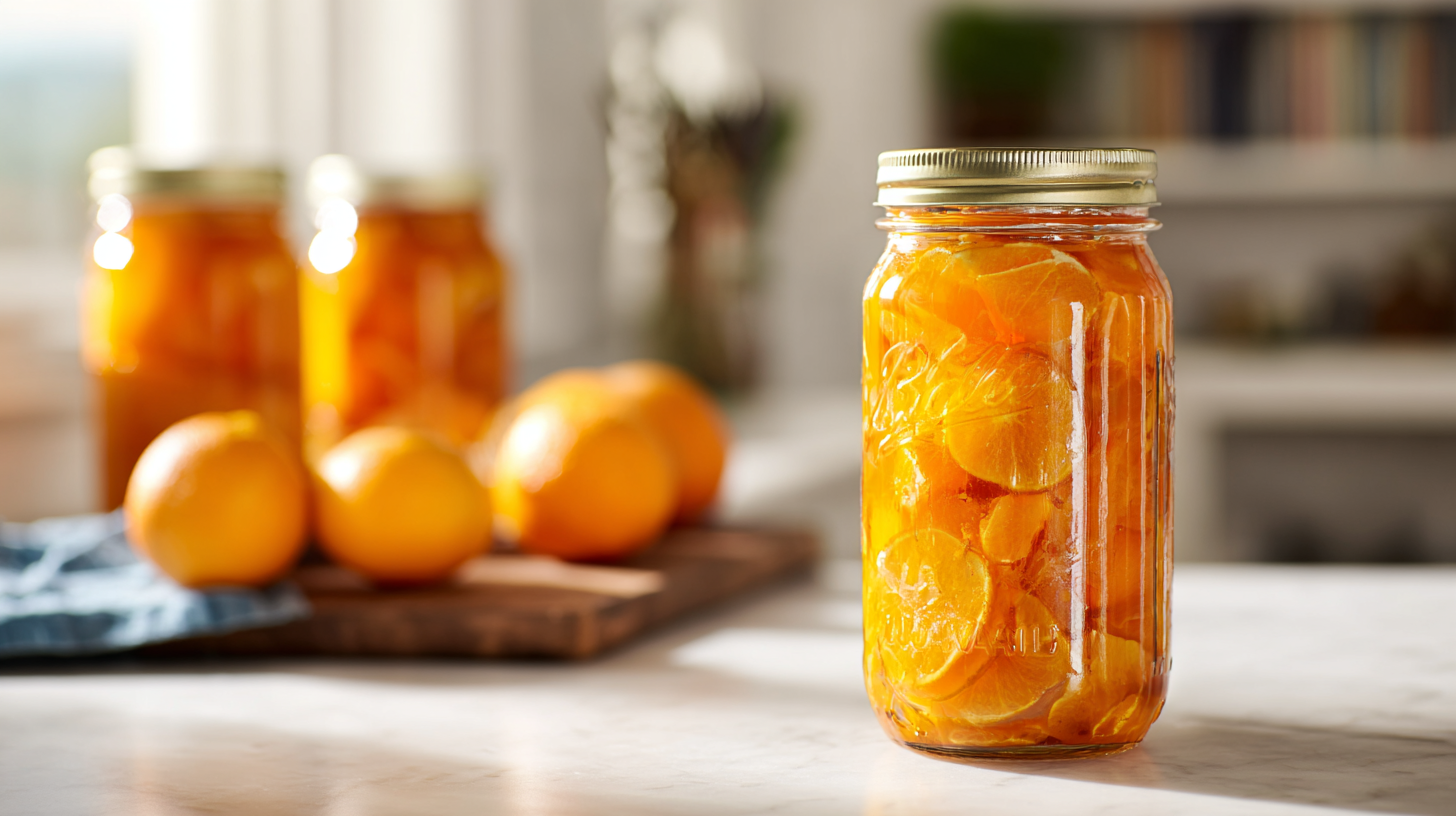
Sweet friend, let me paint you a picture: it’s the middle of February, snow is falling outside your window, and you crack open a jar of perfectly preserved oranges that taste like pure summer happiness. That burst of citrus sunshine? It’s not just a dream – it’s exactly what happens when you learn the beautiful art of canning oranges! I’m absolutely obsessed with this simple skill that transforms ordinary winter days into something magical. Whether you’re brand new to preservation or wondering how to start canning with something a little different, oranges are your golden ticket to year-round brightness and the most rewarding pantry staples you’ll ever create.
The Magic Behind Canning Oranges
Here’s what I absolutely love about canning oranges – you’re literally bottling up sunshine for the darker months ahead. There’s something so incredibly hopeful about filling your pantry with these glowing jars of citrusy goodness. When you can oranges at home, you’re not just preserving fruit; you’re creating little vessels of joy that’ll brighten your breakfast table, jazz up your desserts, and remind you that abundance is always within reach.
Plus, let’s be real – have you ever tasted store-bought canned oranges? They’re nothing compared to the fresh, vibrant flavor you can achieve in your own kitchen. When you take control of the process, you get to decide exactly what goes into those precious jars.
Why Can Oranges at Home?
Commercial canned oranges are often swimming in heavy syrup that masks the natural sweetness of the fruit. When you can oranges yourself, you can pack them in their own juice or a light syrup that enhances rather than overwhelms their natural flavor. It’s like the difference between a filtered photo and the real, unfiltered beauty of a sunset – there’s just no comparison!
Beyond the incredible taste, there’s something so deeply satisfying about building your food security one jar at a time. Every time you preserve food at home, you’re investing in your family’s future and connecting with generations of women who understood the power of putting food by.
Essential Tools for Canning Oranges
Before we dive into the delicious details, let’s make sure you have everything you need for success:
Fresh, high-quality oranges
Canning jars with new lids and rings
Water bath canner or large stockpot
Jar lifter and canning tools
Sharp paring knife
Large bowl for segments
Bottled lemon juice
Sugar (if making syrup)
The beauty of this process is that you don’t need anything fancy – just good quality basics and a willingness to embrace the rhythm of preservation.
How to Can Oranges: Step-by-Step
Selecting Your Oranges
Choose oranges that are at their peak – firm, heavy for their size, and bursting with that incredible citrus fragrance. Valencia and navel oranges work beautifully for canning, each bringing their own unique sweetness to your finished product.
Preparing the Fruit
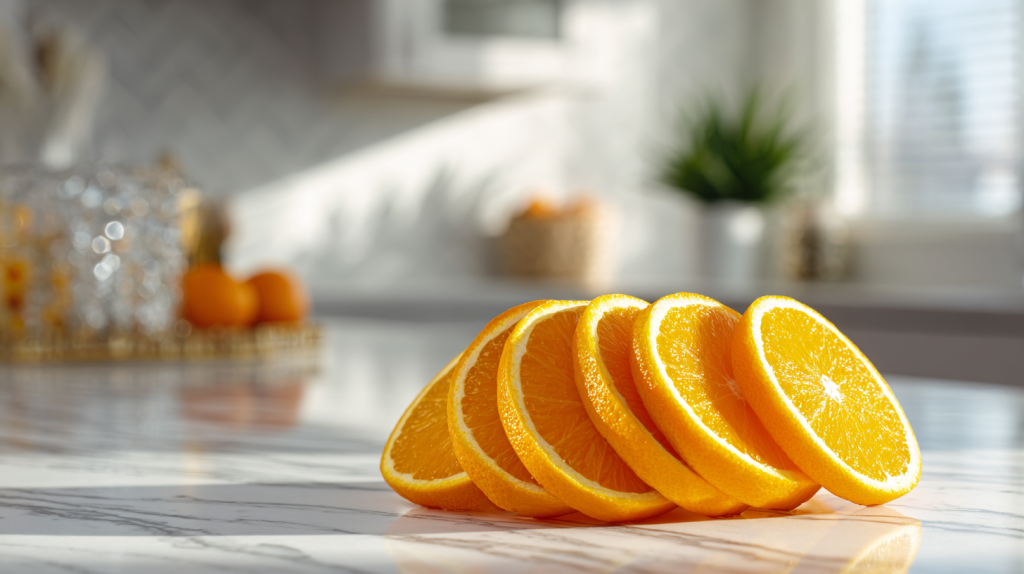
The key to gorgeous canned oranges is taking your time with the prep. Peel your oranges completely, removing all the white pith, then separate into segments. This extra attention to detail makes all the difference in your final product.
Packing Your Jars
Here’s where the magic happens! Pack your orange segments into sterilized jars, being generous but not overcrowding. You want those beautiful segments to have room to shine.
Adding Liquid and Processing
Cover your oranges with their own juice or a light syrup, add that crucial tablespoon of lemon juice for safety, and process in your water bath canner. The gentle heat transforms your fresh oranges into shelf-stable treasures.
Wash canning jars in hot soapy water, rinse thoroughly, and keep hot in a 200°F oven or in hot water until ready to fill, then place new lids in a small saucepan with water heated to 180°F without boiling.
Fill boiling water bath canner with enough water to cover jars by 1-2 inches and bring to a rolling boil, then prepare light syrup by boiling sugar and water together until sugar dissolves completely, keeping hot until needed.
Wash oranges thoroughly, peel completely removing all white pith, separate into segments, and remove all seeds and membrane pieces, working over a bowl to catch any juice.
Pack orange segments firmly into hot jars leaving exactly 1/2 inch headspace, then add 1 tablespoon bottled lemon juice to each pint jar or 1/2 tablespoon to each half-pint jar.
Cover orange segments with boiling water, reserved orange juice, or hot light syrup, maintaining 1/2 inch headspace and ensuring all fruit is completely covered with liquid.
Remove air bubbles using a plastic bubble removal tool, wipe jar rims clean with a damp cloth, place hot lids on jars, and apply screw bands fingertip tight.
Process filled jars in boiling water bath for 10 minutes for both pint and half-pint sizes, adding 5 minutes for altitudes 1,001-3,000 feet, 10 minutes for 3,001-6,000 feet, or 15 minutes for altitudes above 6,000 feet.
Turn off heat and let jars rest in canner for 5 minutes, then remove jars using jar lifter and place on a towel-lined counter to cool undisturbed for 12-24 hours before checking seals and storing.
Notes
Only use pint or half-pint jars for safe processing times
Bottled lemon juice is required for safe acidity levels
Do not alter processing times or reduce lemon juice amounts
Properly sealed lids should not flex when pressed in center
Store sealed jars in cool, dark place for up to 2 years
Refrigerate after opening and use within one week
Storing Your Liquid Sunshine
Once your jars have cooled and sealed properly, store them in a cool, dark place where they’ll keep beautifully for up to two years. Though honestly, once you taste how incredible they are, I doubt they’ll last nearly that long!
Embrace the Art of Preservation
Learning how to can oranges is like unlocking a secret superpower that connects you to the wisdom of previous generations while creating security for your own family. There’s something so empowering about knowing you can take the abundance of one season and stretch it throughout the entire year.
Ready to transform your relationship with food and embrace the confidence that comes from true self-sufficiency? Take your food independence to the next level with generational knowledge that’s been passed down through families for centuries. Start with these sunny orange preserves, and discover how to start canning opens up a world of possibilities that’ll nourish both your body and soul. Your future self will thank you for every golden jar!
Interested in learning to accelerate your path to freedom? Click here. I'll help you speed up your path to freedom by decades.
I cut decades off my family's path to financial freedom by refusing to play the game everybody else was playing. Now, I help thousands of families build the life of their dreams through ownership and good ol' fashioned skills.
If you're tired of renting your life and ready to own it, you'll get the real stories, the lessons that saved me years, and one small step each week to move you closer. You in?