I'm a woman who left a corporate job, paid off every bill we used to owe every month, and bought back our time decades before retirement. My mission? To teach families how to do the same by owning more of their life.
Hi! I'm Janiece
Listen to the pod
Ownership Playbook
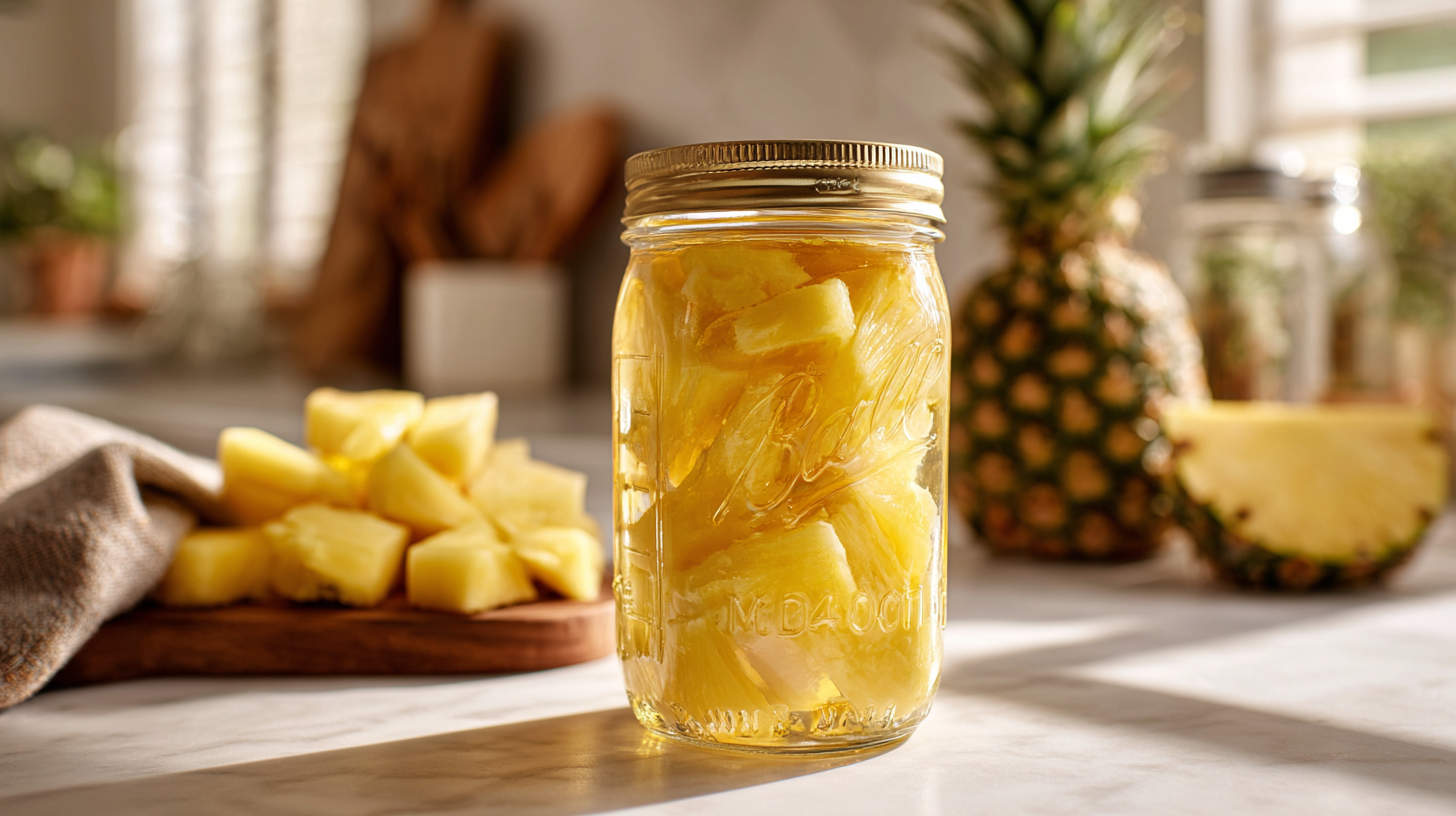
Can we talk about one of my absolute favorite ways to bring a little sunshine into my pantry? I’m talking about canning fresh pineapple, and let me tell you – it’s a game-changer that’ll have you feeling like a total domestic goddess. There’s something so incredibly satisfying about opening a jar of perfectly preserved pineapple in the dead of winter and instantly being transported back to those sweet summer vibes. If you’ve been wondering how to start canning or looking to expand your preservation skills, learning how to can pineapple is the perfect place to dive in – it’s easier than you think and absolutely worth every minute!
Why Can Pineapple at Home?
Listen, I get it. You can grab canned pineapple at any grocery store, but trust me when I say there’s absolutely no comparison to what you can create in your own kitchen. When you can pineapple yourself, you control every single ingredient that goes into those beautiful jars. No mysterious preservatives, no added sugars you don’t want, just pure, sweet pineapple goodness that tastes like it was just picked from a tropical paradise.
Plus, there’s something so deeply satisfying about building your food storage with items you’ve lovingly prepared yourself. It’s like creating little jars of security and self-sufficiency that your future self will absolutely thank you for.
Essential Supplies for Canning Pineapple
Before we dive into the how-to, let’s make sure you have everything you need to make this process smooth and successful:
Fresh, ripe pineapples (obviously!)
Canning jars with new lids and rings
Large canning pot or pressure canner
Jar lifter and canning funnel
Sharp knife and cutting board
Large mixing bowl
Sugar (optional, for syrup)
Lemon juice
The beauty of canning pineapple is that you really don’t need anything fancy – just good quality basics that’ll serve you well for all your future canning adventures.
How to Can Pineapple Step-by-Step
Prepare Your Pineapple
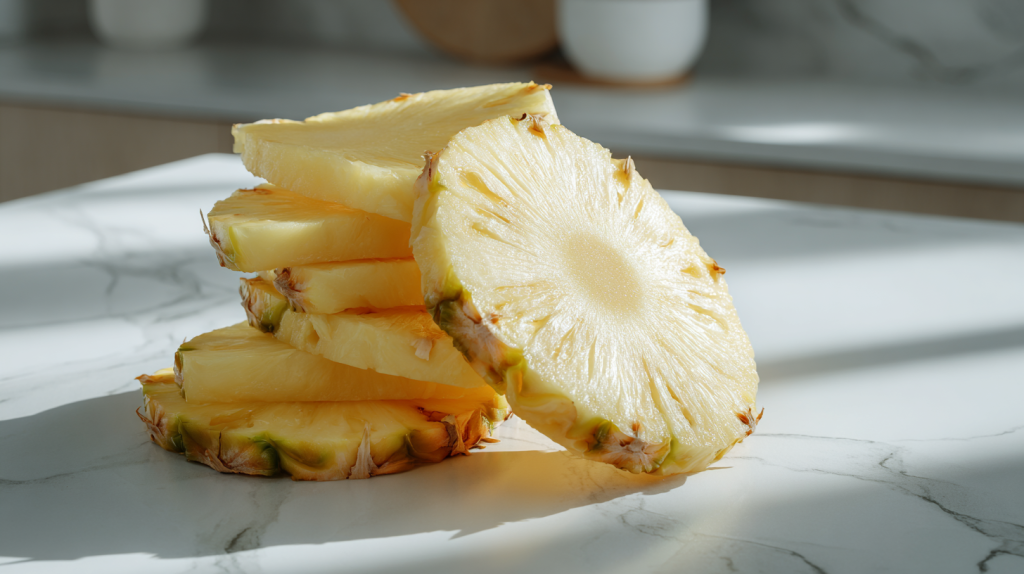
Start by selecting the most gorgeous, ripe pineapples you can find. You’ll know they’re ready when they give slightly when pressed and smell sweet at the base. Remove the crown and skin, then core and cut your pineapple into chunks or rings – whatever makes your heart happy!
Choose Your Packing Method
You can pack your pineapple in its own juice (my personal favorite for that pure, clean taste) or in a light syrup if you prefer things a bit sweeter. For syrup, combine 2 cups sugar with 4 cups water and bring to a boil.
Fill and Process Your Jars
Pack your pineapple pieces into sterilized jars, leaving about 1/2 inch headspace. Add a tablespoon of lemon juice to each jar to maintain that beautiful color and fresh taste. Pour your chosen liquid over the fruit, maintaining that headspace.
Wipe the jar rims clean, apply your lids, and process in a boiling water bath for 15-20 minutes (adjusting for altitude as needed).
Canning Pineapple Recipe
Learn how to can pineapple at home with this easy step-by-step guide. Preserve fresh tropical flavor year-round and build food independence with simple canning techniques.
2tbspBottled lemon juice per pint jar (1 tablespoon per half-pint)
Water or light syrupoptional: 2 cups sugar + 4 cups water, boiled until dissolved
Equipment
Boiling water bath canner with rack
Pint or half-pint canning jars
New canning lids and screw bands
Jar lifter, bubble removal tool, headspace gauge
Large stainless steel pot for heating liquid
Method
Wash canning jars in hot soapy water and rinse thoroughly, then keep hot in a 180°F oven or hot water until ready to fill. Place new lids in a small saucepan, cover with water, and heat to 180°F (do not boil).
Fill your boiling water bath canner with enough water to cover jars by 1-2 inches and bring to a rolling boil. Maintain boiling throughout the process.
Remove crown, peel, and core from pineapples using a stainless steel knife, then cut into 1/2-inch thick slices or bite-sized chunks, discarding any bruised or damaged portions.
Pack pineapple pieces firmly into hot jars, leaving exactly 1/2 inch headspace at the top of each jar.
Add 2 tablespoons of bottled lemon juice to each pint jar or 1 tablespoon to each half-pint jar to maintain safe acidity levels.
Cover pineapple with boiling water or hot light syrup, maintaining the 1/2 inch headspace and ensuring all fruit pieces are completely covered with liquid.
Remove air bubbles by sliding a plastic bubble removal tool around the inside of each jar, then adjust liquid levels if needed to maintain proper headspace.
Wipe jar rims clean with a damp cloth, place hot lids on jars, and apply screw bands fingertip tight (do not overtighten).
Using a jar lifter, carefully place filled jars on the canner rack and lower into the boiling water, ensuring water covers jars by 1-2 inches.
Process pint and half-pint jars for exactly 20 minutes in a rolling boil (add 5 minutes for altitudes 1,001-3,000 feet, 10 minutes for 3,001-6,000 feet, 15 minutes for altitudes above 6,000 feet), then turn off heat and let jars sit in canner for 5 minutes before removing to cool on a towel-lined counter for 12-24 hours.
Notes
Only use pint or half-pint jars for safe processing times
Do not alter processing times or ingredients
Jars must seal properly (lid should not flex when pressed)
Store sealed jars in a cool, dark place for up to 2 years
Refrigerate after opening and use within one week
Storing Your Canned Pineapple
Once your jars have cooled and you hear those satisfying “pop” sounds of successful seals, store them in a cool, dark place. Properly canned pineapple will stay delicious for up to two years, though I guarantee yours won’t last nearly that long once you taste how incredible it is!
Making Food Independence Your Reality
Learning how to can pineapple is just the beginning of an incredible journey toward greater food independence and self-sufficiency. There’s something so empowering about knowing you can preserve the abundance of summer to enjoy all year long. This skill connects us to generations of women who understood the value of putting food by, creating security and comfort for their families through the simple act of preservation.
Ready to take your food independence to the next level with generational knowledge that’s been passed down through families for centuries? Start with this sweet pineapple project, and I promise you’ll be hooked on the magic of how to start canning. Your pantry – and your future self – will thank you for taking this delicious step toward greater self-sufficiency!
Interested in learning to accelerate your path to freedom? Click here. I'll help you speed up your path to freedom by decades.
I cut decades off my family's path to financial freedom by refusing to play the game everybody else was playing. Now, I help thousands of families build the life of their dreams through ownership and good ol' fashioned skills.
If you're tired of renting your life and ready to own it, you'll get the real stories, the lessons that saved me years, and one small step each week to move you closer. You in?