

When I first got started with canning, I was so overwhelmed. I could not find many resources on canning basics that weren’t ironically complicated. There were so many different methods, so many rules, and don’t even get me started on all the equipment I thought I needed. I had no idea where to begin, and honestly, I almost gave up before I even started.
But here’s the thing—I figured it out. And I’m going to make sure you don’t feel that same overwhelm. By the time you finish this guide, you’ll know exactly what you need, how to start, and how to build the canning stash of your dreams—without the confusion.
Why Canning?
Canning is one of the oldest and most effective ways to preserve food for months (or even years). Unlike freezing, it doesn’t rely on electricity, and it lets you take advantage of seasonal produce, bulk buys, and homegrown food without waste.
Some of the biggest benefits of canning include:
- Saving money by buying in bulk or preserving garden harvests.
- Reducing food waste by extending the shelf life of fresh ingredients.
- Building food security with shelf-stable, homemade meals.
- Controlling ingredients (no preservatives, just real food!).
- Enhancing flavor—home-canned food often tastes fresher and richer than store-bought versions.
- Creating homemade convenience—having jars of ready-to-eat soups, sauces, and fruits means less reliance on processed foods and last-minute takeout.
- A connection to tradition—canning has been a key survival skill for generations and is a great way to preserve family recipes.
Whether you’re canning for convenience, self-sufficiency, or just the satisfaction of stocking your own pantry, learning this skill is well worth the effort.
Canning Methods
Now, when you hear people say “canning” you have to know that there are different methods and approaches to canning. You may hear terms like water bath canning, pressure canning, rebel canning, steam canning, and so many more. I have an entire article on water bath canning vs pressure canning, the two most popular methods. What you should know is that the method used comes down to what you’re canning. If the food is acid then you’re likely going to be water bath canning. If it’s not acid, you’re going to be pressure canning.
Now, of course, there are always rule breakers. I recommend you be safe and only used approved recipes from trusted sources.
The Best Canning Recipes
These are the best canning recipes (from yours truly) that will help you preserve the food you family depends on as make for perfect preserves and gifts for those you love.
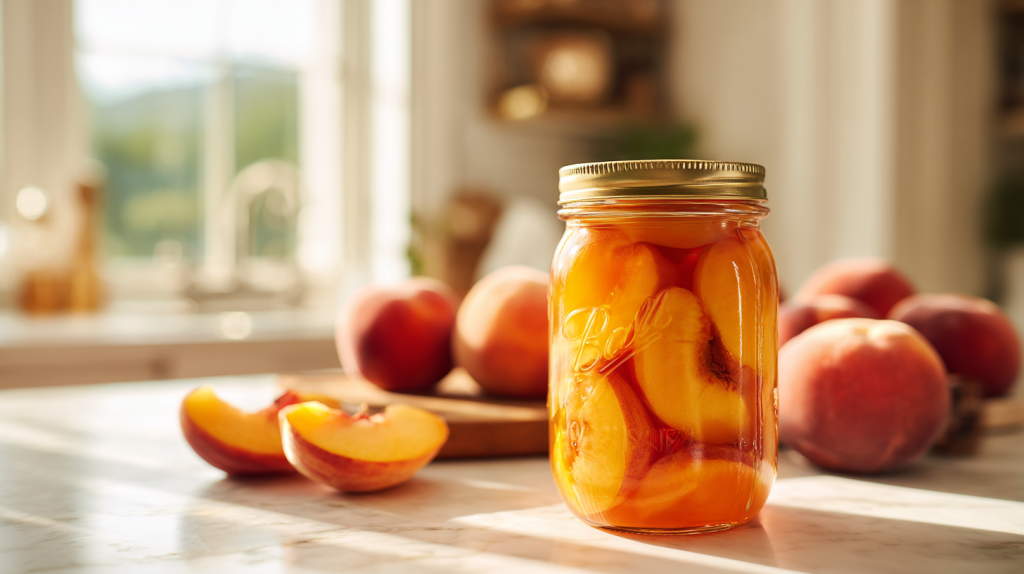
Fruit Canning
Vegetable Canning
- Canning sweet potatoes recipe
- Brussel sprouts
- Zucchini
- Fresh corn
- Homemade baked beans (legume, *cough*)
- Split peas
- Green beans
Preserves Canning
Meat Canning (shh, I know)
Soups, Mixes and More
- Onion Soup
- Corn salsa mix
- Meatless spaghetti sauce
- Traditional spaghetti sauce
- Watermelon lemonade
- Lemonade concentrate
Must-Have Canning Supplies
Before you start, you’ll need the right tools. The good news? Most of these are affordable, reusable, and last for years.
Jars & Lids
Mason jars are the gold standard for canning. They come in different sizes, but pint and quart jars are the most common. You’ll also need two-piece lids (a flat metal lid with a sealing compound and a screw-on ring).
Need supplies? Check out my Food Preservation Essentials Collection for recommended jars and lids.
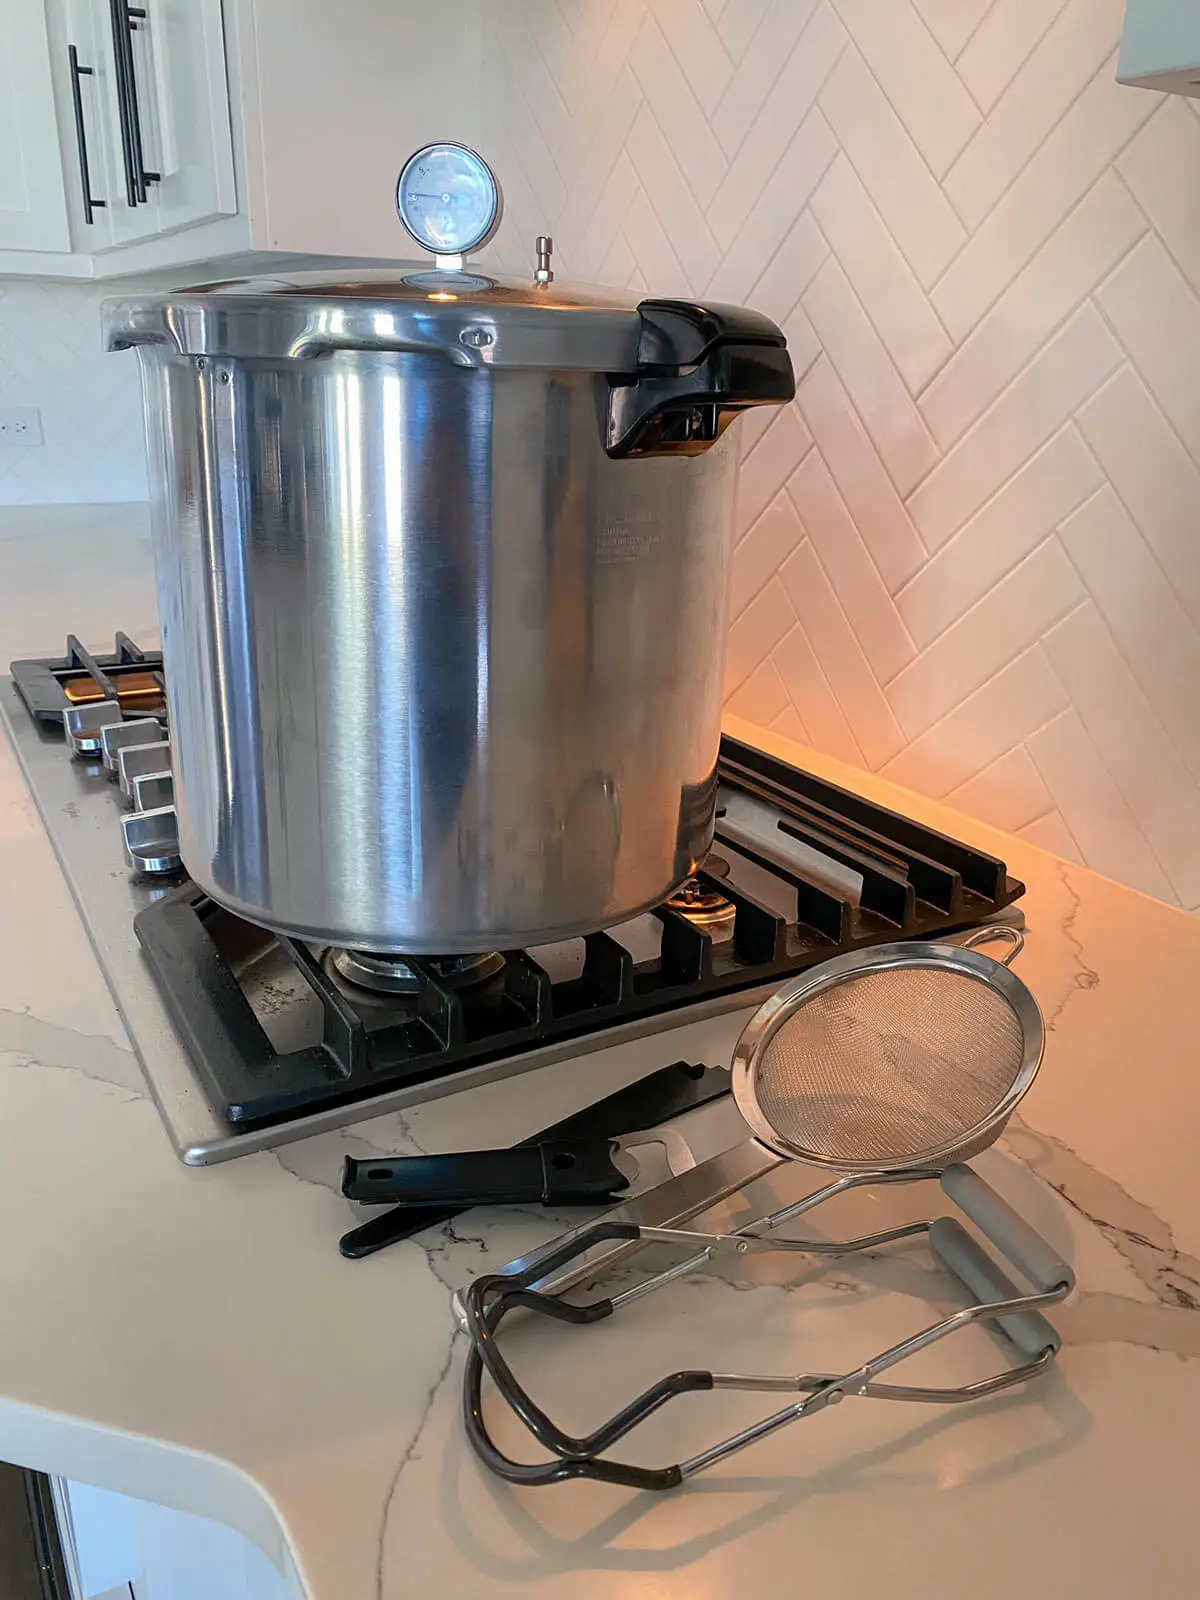
Canning Pot or Pressure Canner
The type of canner you need depends on what you’re preserving:
- Water Bath Canner – Best for high-acid foods like jams, pickles, and tomatoes.
- Pressure Canner – Required for low-acid foods like meats, beans, and non-pickled vegetables.
MY PICK

Stainless Steel Stockpot 12 Quart
Durable Stainless-Steel Construction: Crafted with durable stainless steel, our pots and pans ensure high quality and long-lasting performance for the years to come.
MY PICK

12-inch Canning Rack, Stainless Steel
Canning rack is made of 18/10 stainless steel with thicker steel wire, making it stronger, more durable, rust-resistant, and less likely to deform.
Jar Lifter & Funnel
- A jar lifter keeps you from burning yourself when handling hot jars.
- A funnel makes it easier to fill jars without messy spills.
Bubble Remover & Headspace Ruler
Trapped air bubbles can affect the seal, so a bubble remover (or a simple butter knife) is key. A headspace ruler ensures you leave the right amount of space at the top of each jar.
Labels & Storage System
Always label jars with the date and contents. Store in a cool, dark place for best shelf life.
Additional Helpful Tools
- A food mill or sieve for making smooth sauces and purées.
- Canning tongs for handling hot jars safely.
- Thermometer for precise temperature control in certain recipes.
- Canning recipe book with tested, safe recipes to follow.
- Reusable silicone lids as an alternative to traditional metal lids.
- Pickling weights to keep food submerged in brine for best preservation.
Step-by-Step Canning Basics Process
Now that you have your supplies, let’s go through the canning basic steps for safe, successful canning.
Step 1: Prep Your Jars & Lids
Before you start, wash jars, lids, and rings in hot, soapy water. Keep jars warm in the canner or oven to prevent cracking when hot food is added.
Step 2: Prepare Your Food
What you’re canning determines the prep method:
- For jams & jellies, cook the fruit with sugar and pectin.
- For pickles, soak veggies in a vinegar brine.
- For vegetables & meats, cook or blanch as needed.
Step 3: Fill the Jars
Use a funnel to pack the food into jars, leaving the appropriate headspace (typically ¼ inch for jams, ½ inch for most other foods).
Step 4: Remove Air Bubbles & Wipe Rims
Run a bubble remover or knife around the inside of the jar. Wipe the rim clean to ensure a tight, secure seal.
Step 5: Apply Lids & Process in Canner
- Water Bath Method: Submerge jars in boiling water for the required time.
- Pressure Canning: Seal jars and process under the correct pressure level for your food type.
Processing times vary, so always follow a trusted canning time chart.
Step 6: Cool & Store
Let jars sit undisturbed for 12-24 hours. Check seals by pressing the center of the lid—if it doesn’t pop back, it’s sealed! There’s also a cool little ding test (at least thats what I call it) to see if it sealed properly. Simply take a knife and lightly tap all of the sealed lids and they should all sound the same. If one sounds different, check it. It’s very obvious when you do them all at the same time. Store in a cool, dark place, and enjoy shelf-stable food all year long.
Common Canning Mistakes & How to Avoid Them
Even seasoned canners make mistakes. I’ve had my fair share of oops in the kitchen when I was first starting out too. Here are the biggest ones to watch out for:
Skipping the headspace – Jars need the right amount of empty space at the top to seal properly. Not processing jars long enough – Always follow tested recipes to ensure food safety. Using old lids – Lids are single-use; always start with fresh ones for a proper seal. Not checking for seal failures – If a lid pops when pressed, refrigerate and eat soon. Using untested recipes – Always follow USDA-approved guidelines to prevent food related illness. Not storing jars correctly – Heat and light can reduce shelf life; always store in a cool, dark place.
Final Thoughts: Canning Basics
Canning doesn’t have to be complicated. Start with something simple—like jam or pickles—and build your confidence from there. The more you do it, the easier it gets.
Having home-canned food on hand is incredibly satisfying. It saves money, reduces waste, and means you always have something delicious in your pantry.
If you’re ready to start, check out my Food Preservation Collection for all the essential tools you’ll need. Happy canning!

Interested in learning to accelerate your path to freedom? Click here. I'll help you speed up your path to freedom by decades.
Thanks for reading!


Food independence
How We Built A Years Worth of Food Security
Popular Posts

Self Sufficiency
My 2020 Wake Up Call That Changed My Life

self sufficiency
What Self Reliance Really Means

Food preservation
The #1 Skill That Saves Us $300/month
New around here? Start with these freebies
The Digital
FREEBIES
The Ownership Playbook
Cut off 10+ years to early freedom

The Book of Natural Remedies
download

The Canning Quick Start Guide
Can your first batch in 2 hours

