

I love DIY projects, so learning to make body butter and lotions at home was super exciting to me. These products do an excellent job of nourishing the skin and keeping us looking younger. I’ve experimented with them before, but this time, I decided to make the perfect homemade butter for glowing skin!
In this blog post, I’ll show you how to make my favorite butter; I hope you enjoy it as much as I do. This homemade body butter recipe is easy and makes an excellent moisturizer. I love to make it because it leaves your skin glowing and smooth while restoring dry, damaged skin.
Before we dive in, Nigermany is a participant in the Amazon Services LLC Associate program and occasionally utilizes some affiliate links which may generate a small commission from the clicks that result in a purchase.
What I Think You’ll Love About This
- Super Simple: All you have to do is melt the ingredients, cool the mixture in the fridge, and then use a hand mixer or fork to whip. That’s all!
- Natural and Non-toxic: This recipe involves simple, natural ingredients. No preservatives or unwanted components, just ingredients that are good for your skin!
- Inexpensive: If you’ve ever looked into purchasing butter at the store, you know that it can cost a fortune. Making your own is the cheaper option. You usually have to buy ingredients in bulk, but you can make multiple jars once you have them.
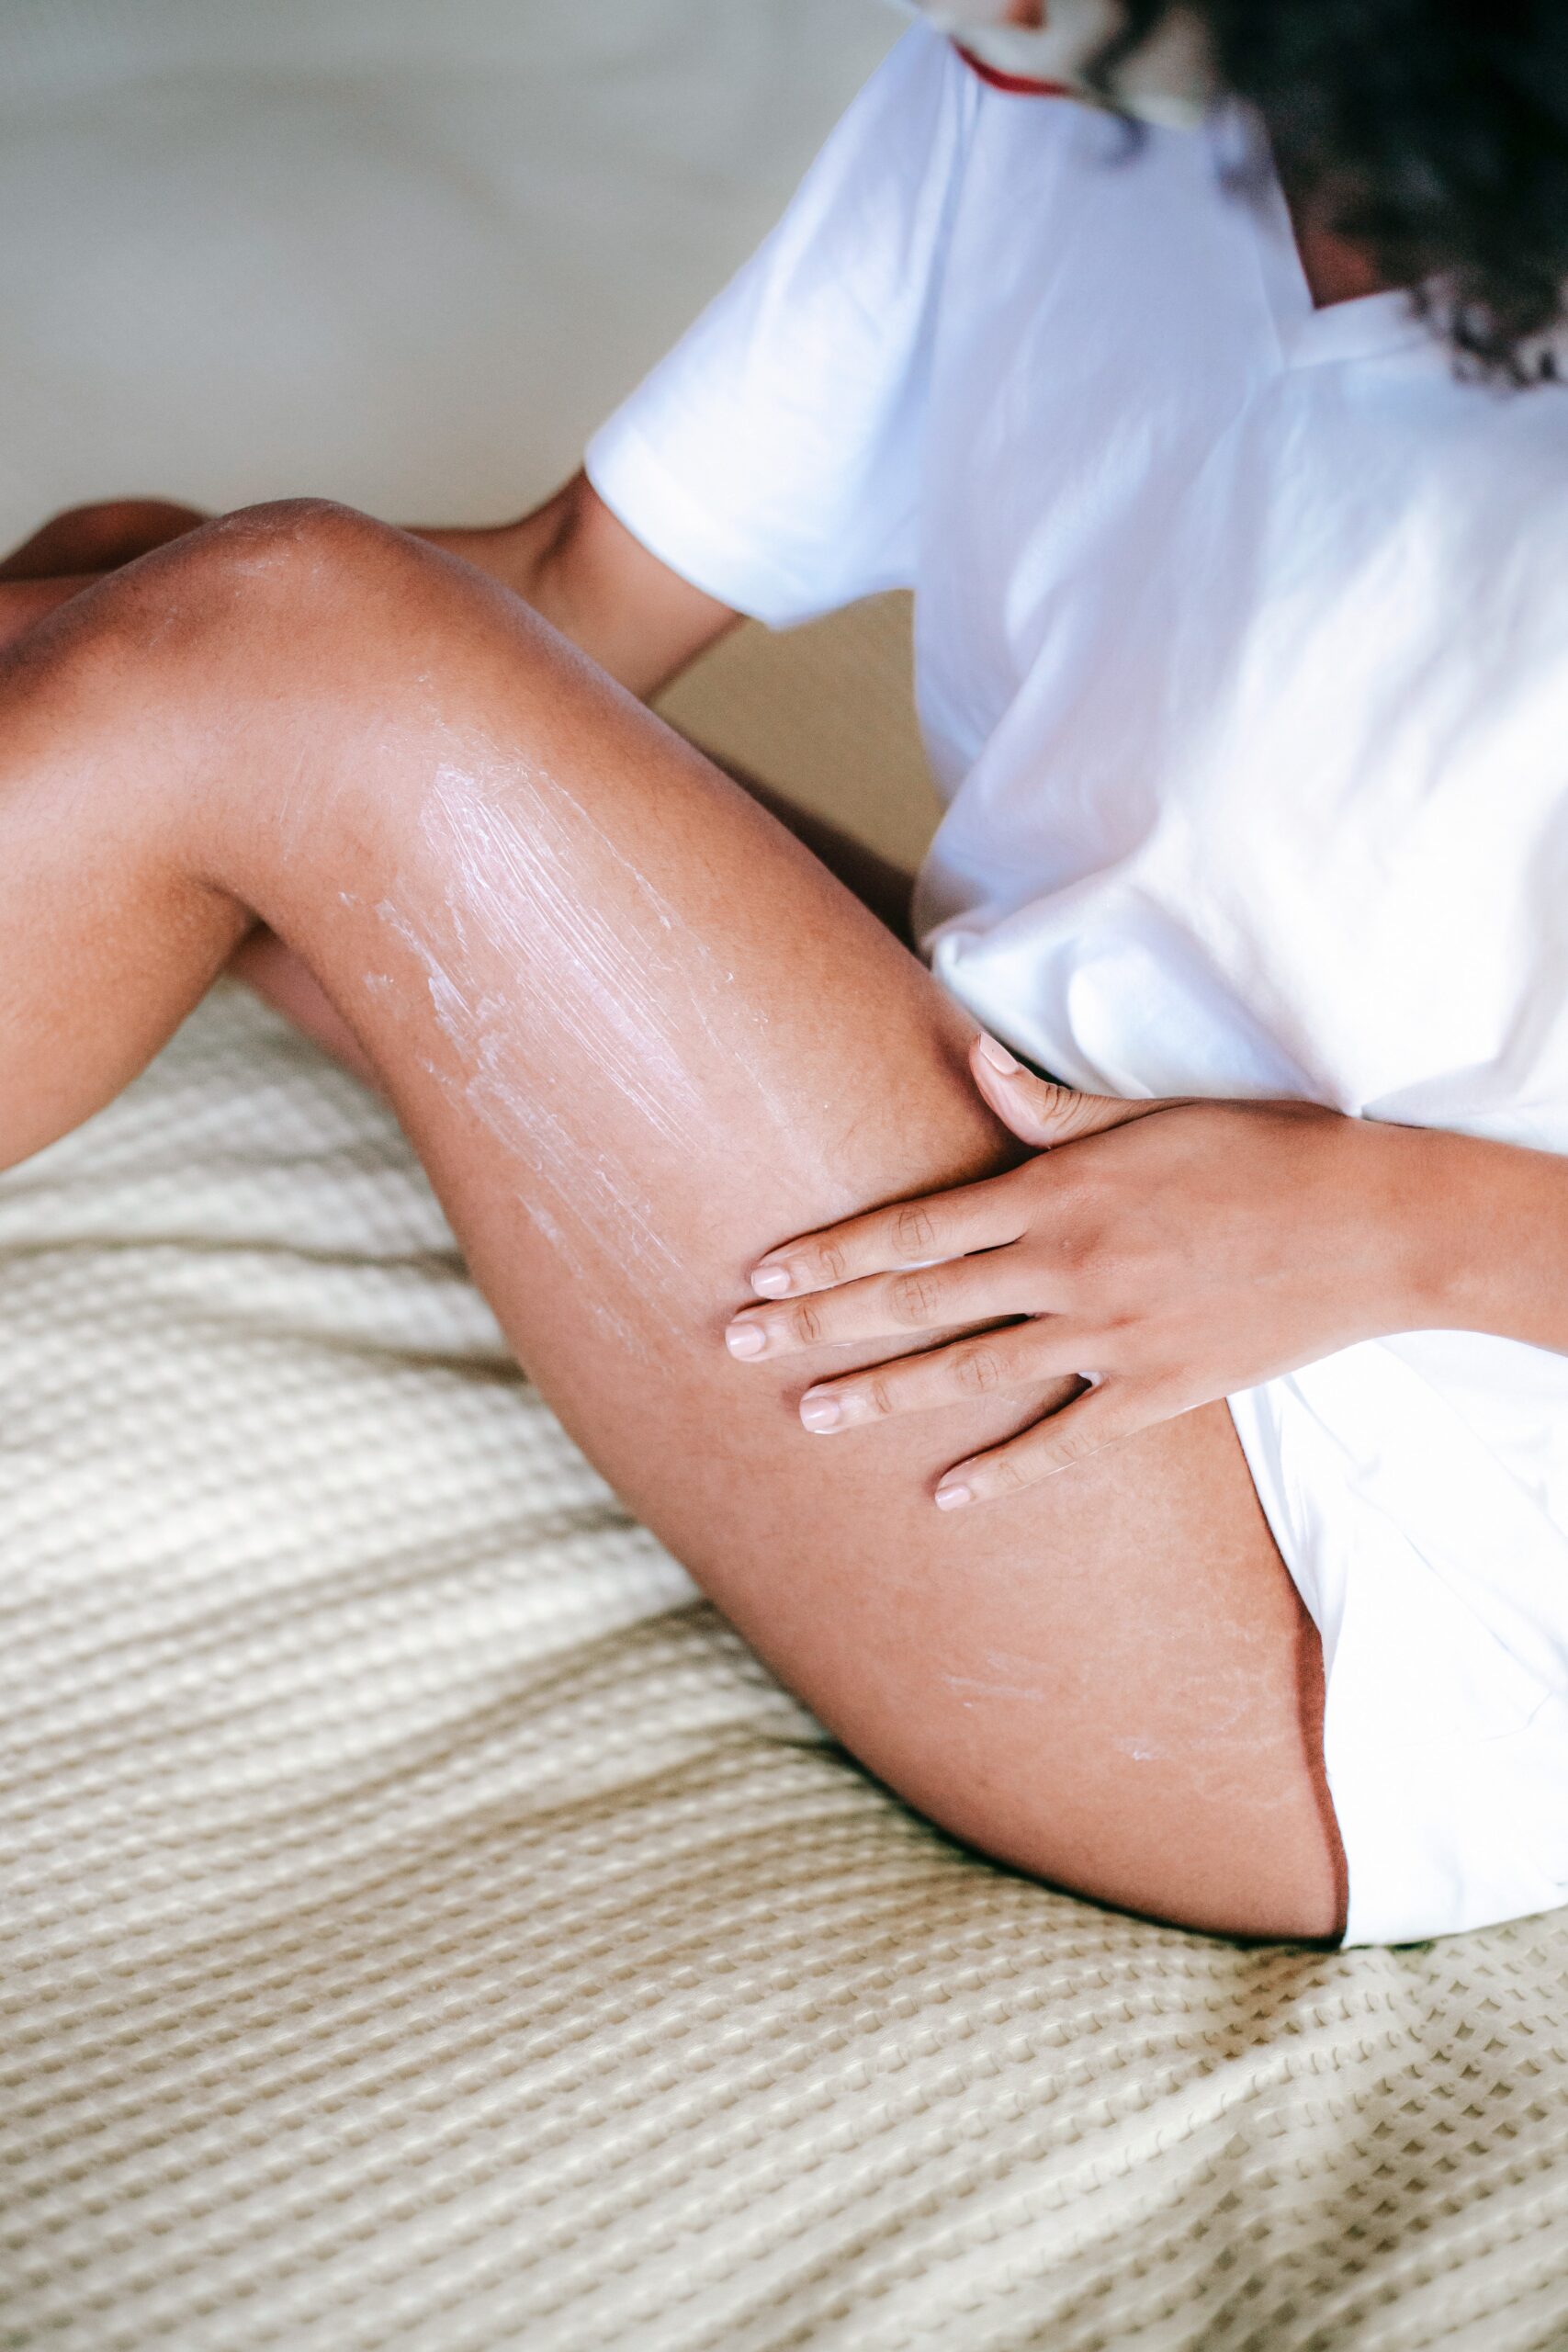
- Moisturizing: This butter soaks into the skin and feels luxurious, delivering fantastic moisture. This recipe is especially ideal for those with cracked, dry skin.
What is Body Butter?
Body butter is a moisturizing, rich product for the skin that’s usually made with either shea butter or cocoa butter. It’s commonly used instead of lotion since its main job is to hydrate the skin. It can be used all over the body, but be careful on the face because, for those with sensitive skin, it can cause breakouts.
What’s the Difference Between Lotion and Body Butter?
Lotion is made with oil and water, so it’s silky, smooth, airy, and light. Homemade body lotion either needs a preservative or has to be used quickly (due to the water and how it encourages bacterial growth). It also requires an emulsifier to blend the water and oil properly.
Body butter is made with specific ingredients to achieve its dense and thick consistency. It will last for up to 6 months, and no preservatives are needed.
Both of these products are used in the same way: to hydrate the skin. However, butters offer more moisture since it’s not diluted with water. It’s ideal for all skin types, especially dry skin.
The Recipe
My whipped body butter recipe includes the following ingredients:
- 1/2 cup coconut oil
- 1 cup shea butter (cocoa butter and/or mango butter can be used as well)
- 1/2 cup jojoba oil (other carrier oils can be used, like sweet almond oil)
- 10–30 drops of lavender essential oil (or essential oil of your choice)
Make sure you have the proper equipment as well:
- small saucepan
- hand mixer or fork
- metal or glass bowl (it needs to be big enough to sit on top of your saucepan)
- storage jar (preferably glass)
- fridge
What You Should Know About Each Ingredient
Shea Butter
Shea butter comes from the pit of the fruit found on the Karite Tree. When in it’s unrefined state, it has a strong scent. I use unrefined shea butter in my recipes, but if you don’t care for the strong natural fragrance, you can use refined shea butter instead. It may be used with carrier oil or combined with other butter like mango body butter or cocoa butter.
Carrier Oils
Jojoba and coconut oil are great for making butter that can easily absorb into the skin. I choose to work with these oils because they’re great for most skin types. However, be careful if you’re acne-prone; using coconut oil can be problematic since it makes the product greasy.
Essential Oil
An essential oil can be added for additional benefits along with scent. You can mix a few essential oils to create different scents or use just one. If you don’t feel confident in blending essential oils together, you can find essential oil blends online, which are bottles of pre-blended, different essential oils.
I use a 1% dilution in my recipe. I recommend reading the back of the bottle you’ll be using for specific dilution recommendations before using any essential oil,
How to Make Homemade Body Butter For Glowing Skin: Step-by-Step
Step 1: Melt Ingredients in a double boiler
First, partially fill your saucepan with water, about a quarter of the way full. Next, place your metal or glass bowl on top of the saucepan.
Place the shea butter you’ll be using into the bowl. Turn your stovetop to medium heat and place the double boiler on top of the heat. Allow the butter to melt completely. This usually takes 3 to 5 minutes).
Step 2: Combine the shea butter and oil
Once your butter is melted, carefully remove the bowl with the melted butter inside from the double boiler. Add the oil, stir, and combine the ingredients with a spoon.
Step 3: Cool in the fridge
At this point, the mixture should be cooler. If you can’t touch the outside of the bowl, allow it to rest for a few more minutes. When you can handle touching the bowl, place the mixture in the fridge and allow it to solidify. This takes about 30 minutes to an hour, depending on the location in the refrigerator and the temperature.
Step 4: Add Essential Oils (optional)
Remove the bowl from the fridge once the mixture is opaque and a bit firm but not completely solid. Add your essential oil(s) if you have any.
It’s important that you add the essential oils when the mixture is cool. This is because heat will cause the essential oil to evaporate.
Step 5: Whip the Butter
If you used mango and/or shea butters, you can use either a fork or use a hand mixer to “whip” the butter.
If you used cocoa butter, whisk with a fork until it appears “whipped.” Just be sure you don’t over-whip it.
Step 6: Scoop into a Storage Jar
Spoon the mixture into a jar and attach the lid, and you’re done. Now it’s ready to use!
Store in a sealed jar at room temperature and out of direct sunlight for up to 6 months.
That’s it, friends! I hope you enjoy this very simple (and toxin-free) lotion recipe that is oh so simple to make. Feel free to share your creations with me. I always love to see it.

Interested in learning to accelerate your path to freedom? Click here. I'll help you speed up your path to freedom by decades.
Thanks for reading!


Food independence
How We Built A Years Worth of Food Security
Popular Posts

Self Sufficiency
My 2020 Wake Up Call That Changed My Life

self sufficiency
What Self Reliance Really Means

Food preservation
The #1 Skill That Saves Us $300/month
New around here? Start with these freebies
The Digital
FREEBIES
The Ownership Playbook
Cut off 10+ years to early freedom

The Book of Natural Remedies
download

The Canning Quick Start Guide
Can your first batch in 2 hours

